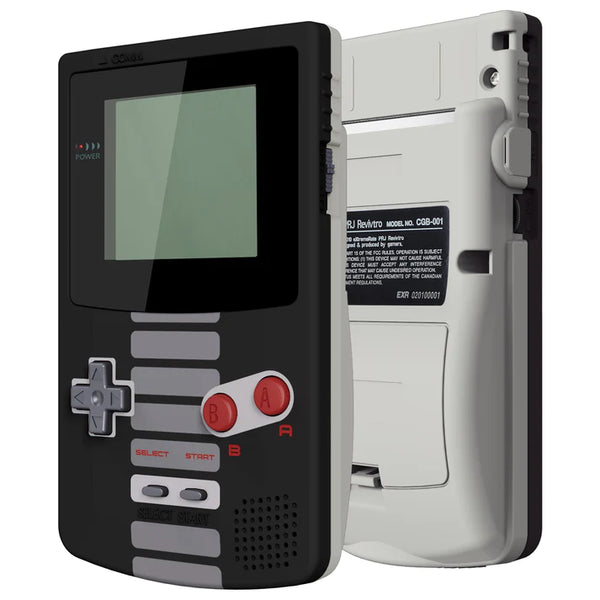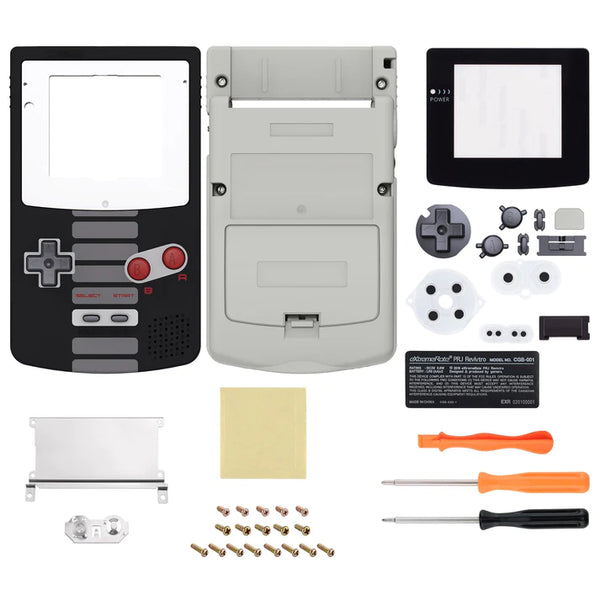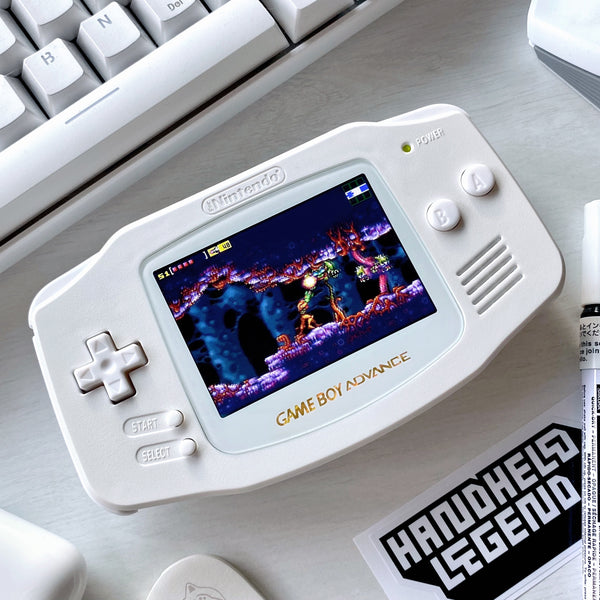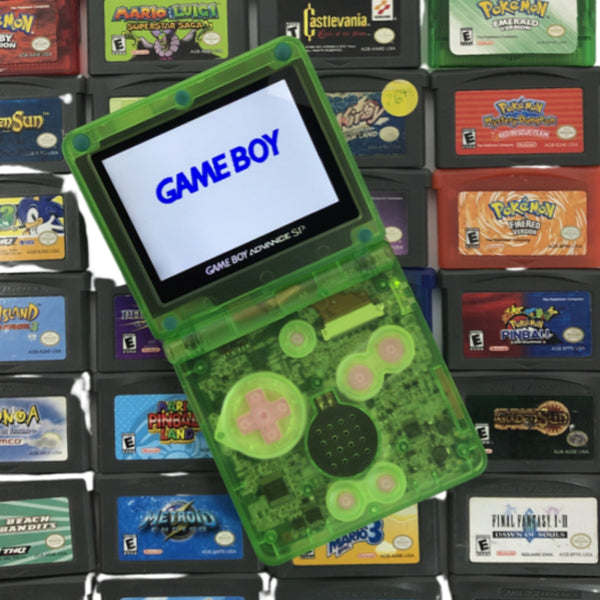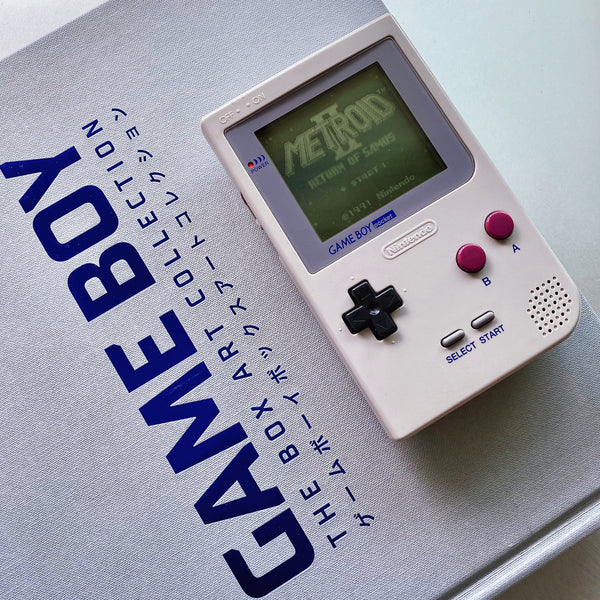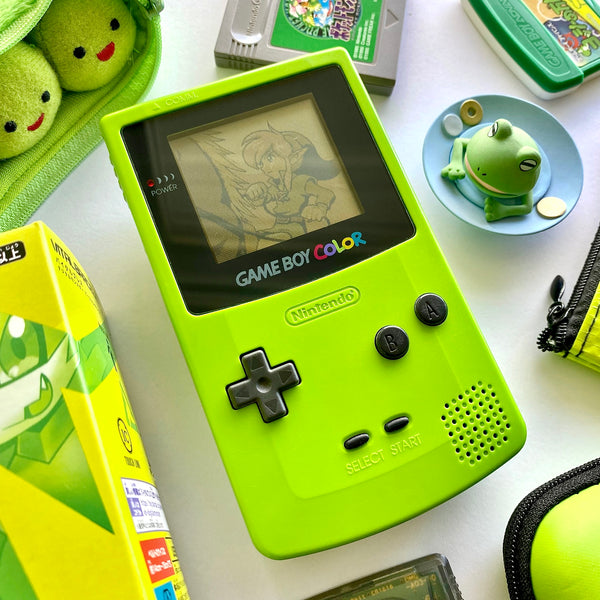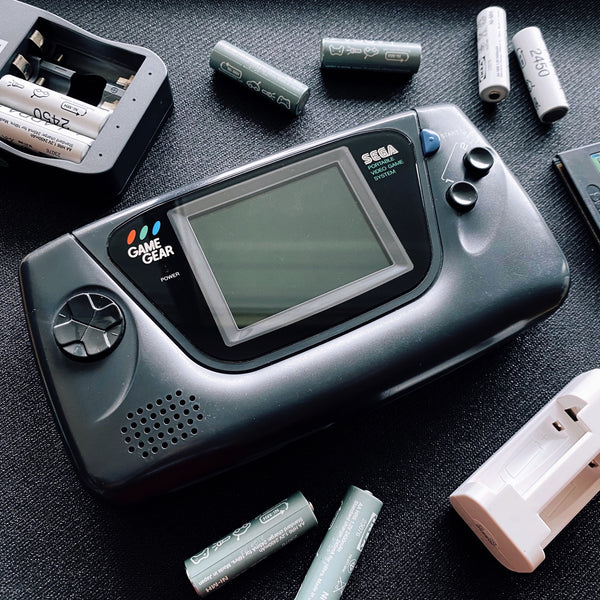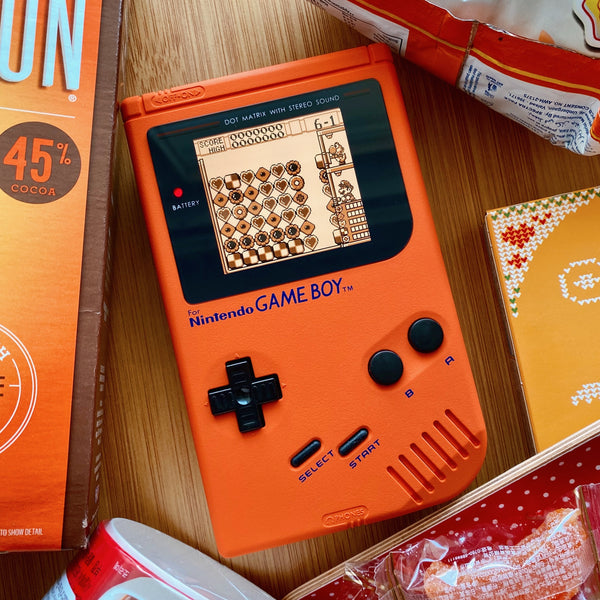

Perfecting vintage console with upgrades and modern technology. Restore and recreate your childhood gaming memories with custom designed parts and mods. Play your consoles in the dark, give them the makeover of a decade, or add new functionality. Each and every gaming console is to be preserved, restored and brought back to its former glory and more. Hand Held Legend offers retro game mods for the modern day gamer. From custom mods, to IPS & TFT backlights, shells, buttons, rechargeable Batteries, and more.
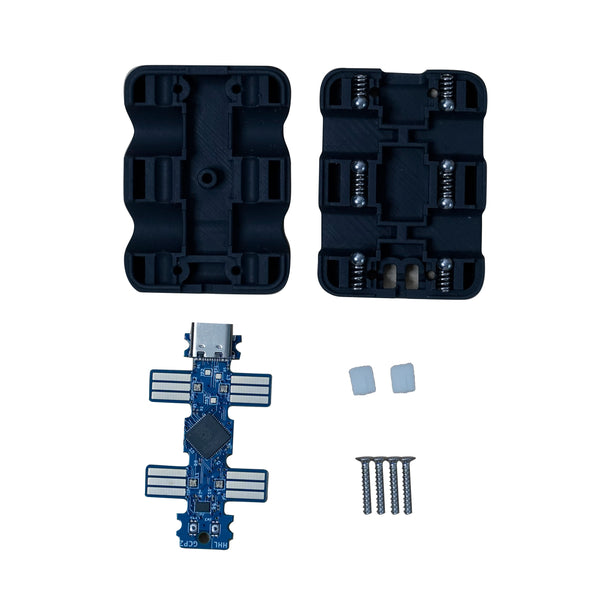
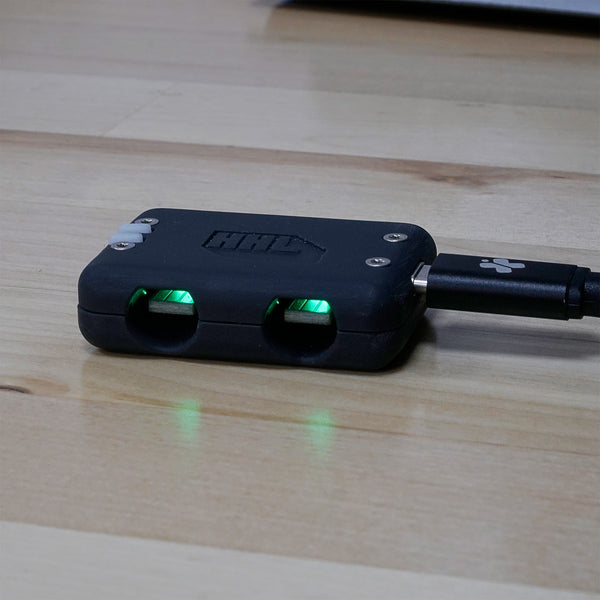
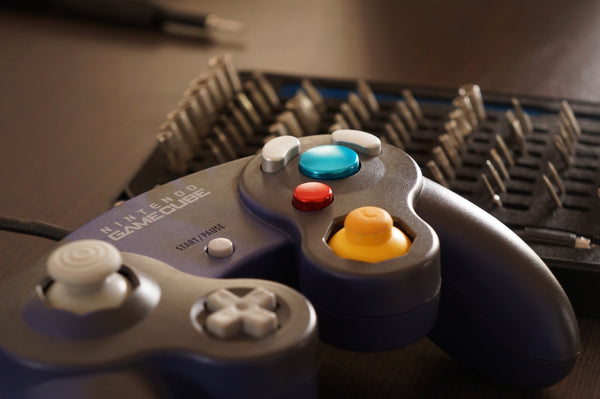
Agree this is the final form GC controller adapter. Simple assembly, amazingly intuitive web-based firmware update and config mode. Was confused at first that it didn't immediately work with Dolphin. Then remembered I needed to use Zadig to replace the USB driver from the much bigger and unwieldy Mayflash adapter I'd been using. After that it worked perfectly, and I honestly feel like I notice a huge latency improvement playing Mario Golf. Just excellent all-around work here guys, thanks for making this product!