A Guide To The IPS V2 Kit

The IPS V2 kit is an LCD upgrade that is completely solderless and offers additional brightness functions. This guide is very similar to our V3 kit guide, just with some fewer steps. Also, we will go over what could happen if you were to install this mod without using an IPS-ready shell. If you want to learn more, please watch the beginning of the video as we break down that section beforehand. For this quick start guide specifically, we are only going to focus on the installation of this mod with an IPS ready shell. As always, we will begin with a quick start guide and follow it up at the end of the guide with a video for additional help!
Here is some of the equipment that you'll need to get you started:
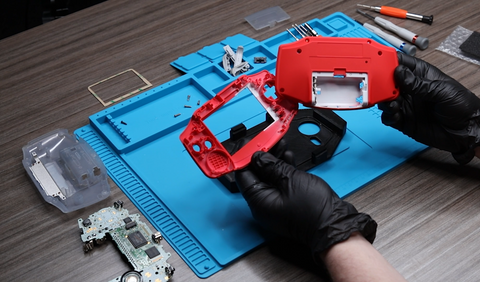
Step 1: Prepare Your IPS Shell & Insert Your Buttons

Step 2: IPS V2 Kit Prep & LCD Ribbon Connection


*Be sure to be careful when connecting the ribbon cable. Make sure you here a "snap" so that its securely in place. Also, make sure the text on the back of the LCD is lined up correctly with the funnyplaying logo on the ribbon.
Step 3: Ribbon, Bracket & Membrane Placement

*Again, be careful with the ribbon as it can be damaged without care.

*Make sure the bracket is placed on the left side and is securely in place.

Step 4: Foam Placement & Re-screwing Motherboard


Step 5: Ribbon Insertion Into Motherboard


Step 6: Inserting Shoulder/Power Switch Buttons, Re-screwing Shell & Lens Placement


IPS V2 Kit Video Tutorial
If you need further help or just need more of a visual guide for your installation process, you can follow along with our IPS V2 Kit Tutorial video below! If you still need additional support, please contact us at support@handheldlegend.com.