Game Boy Color RetroGlow RGB LED Flex Board
Color
Game Boy Color RetroGlow RGB LED Flex Board
Black
Hand Held Legend
519 Davisville Road
Unit 102
Willow Grove PA 19090
United States
Choose options
Color
Color
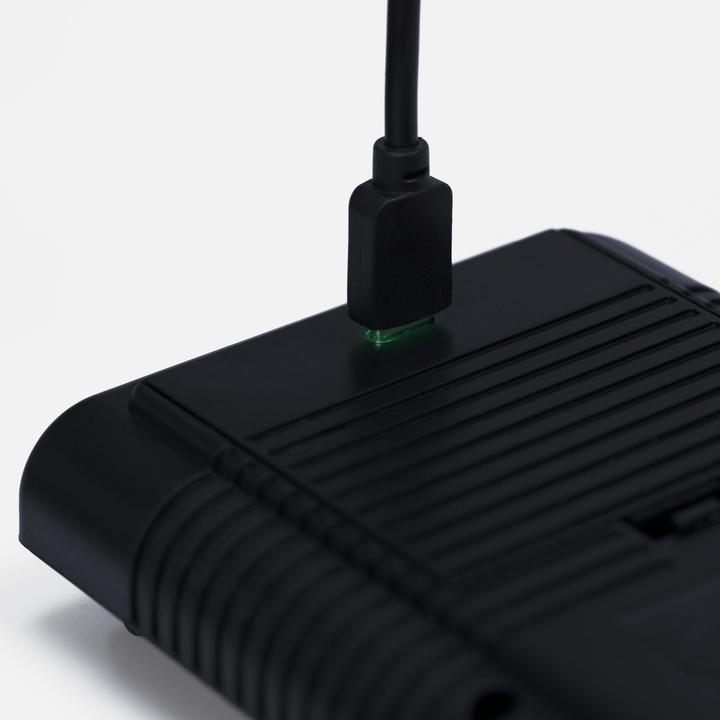
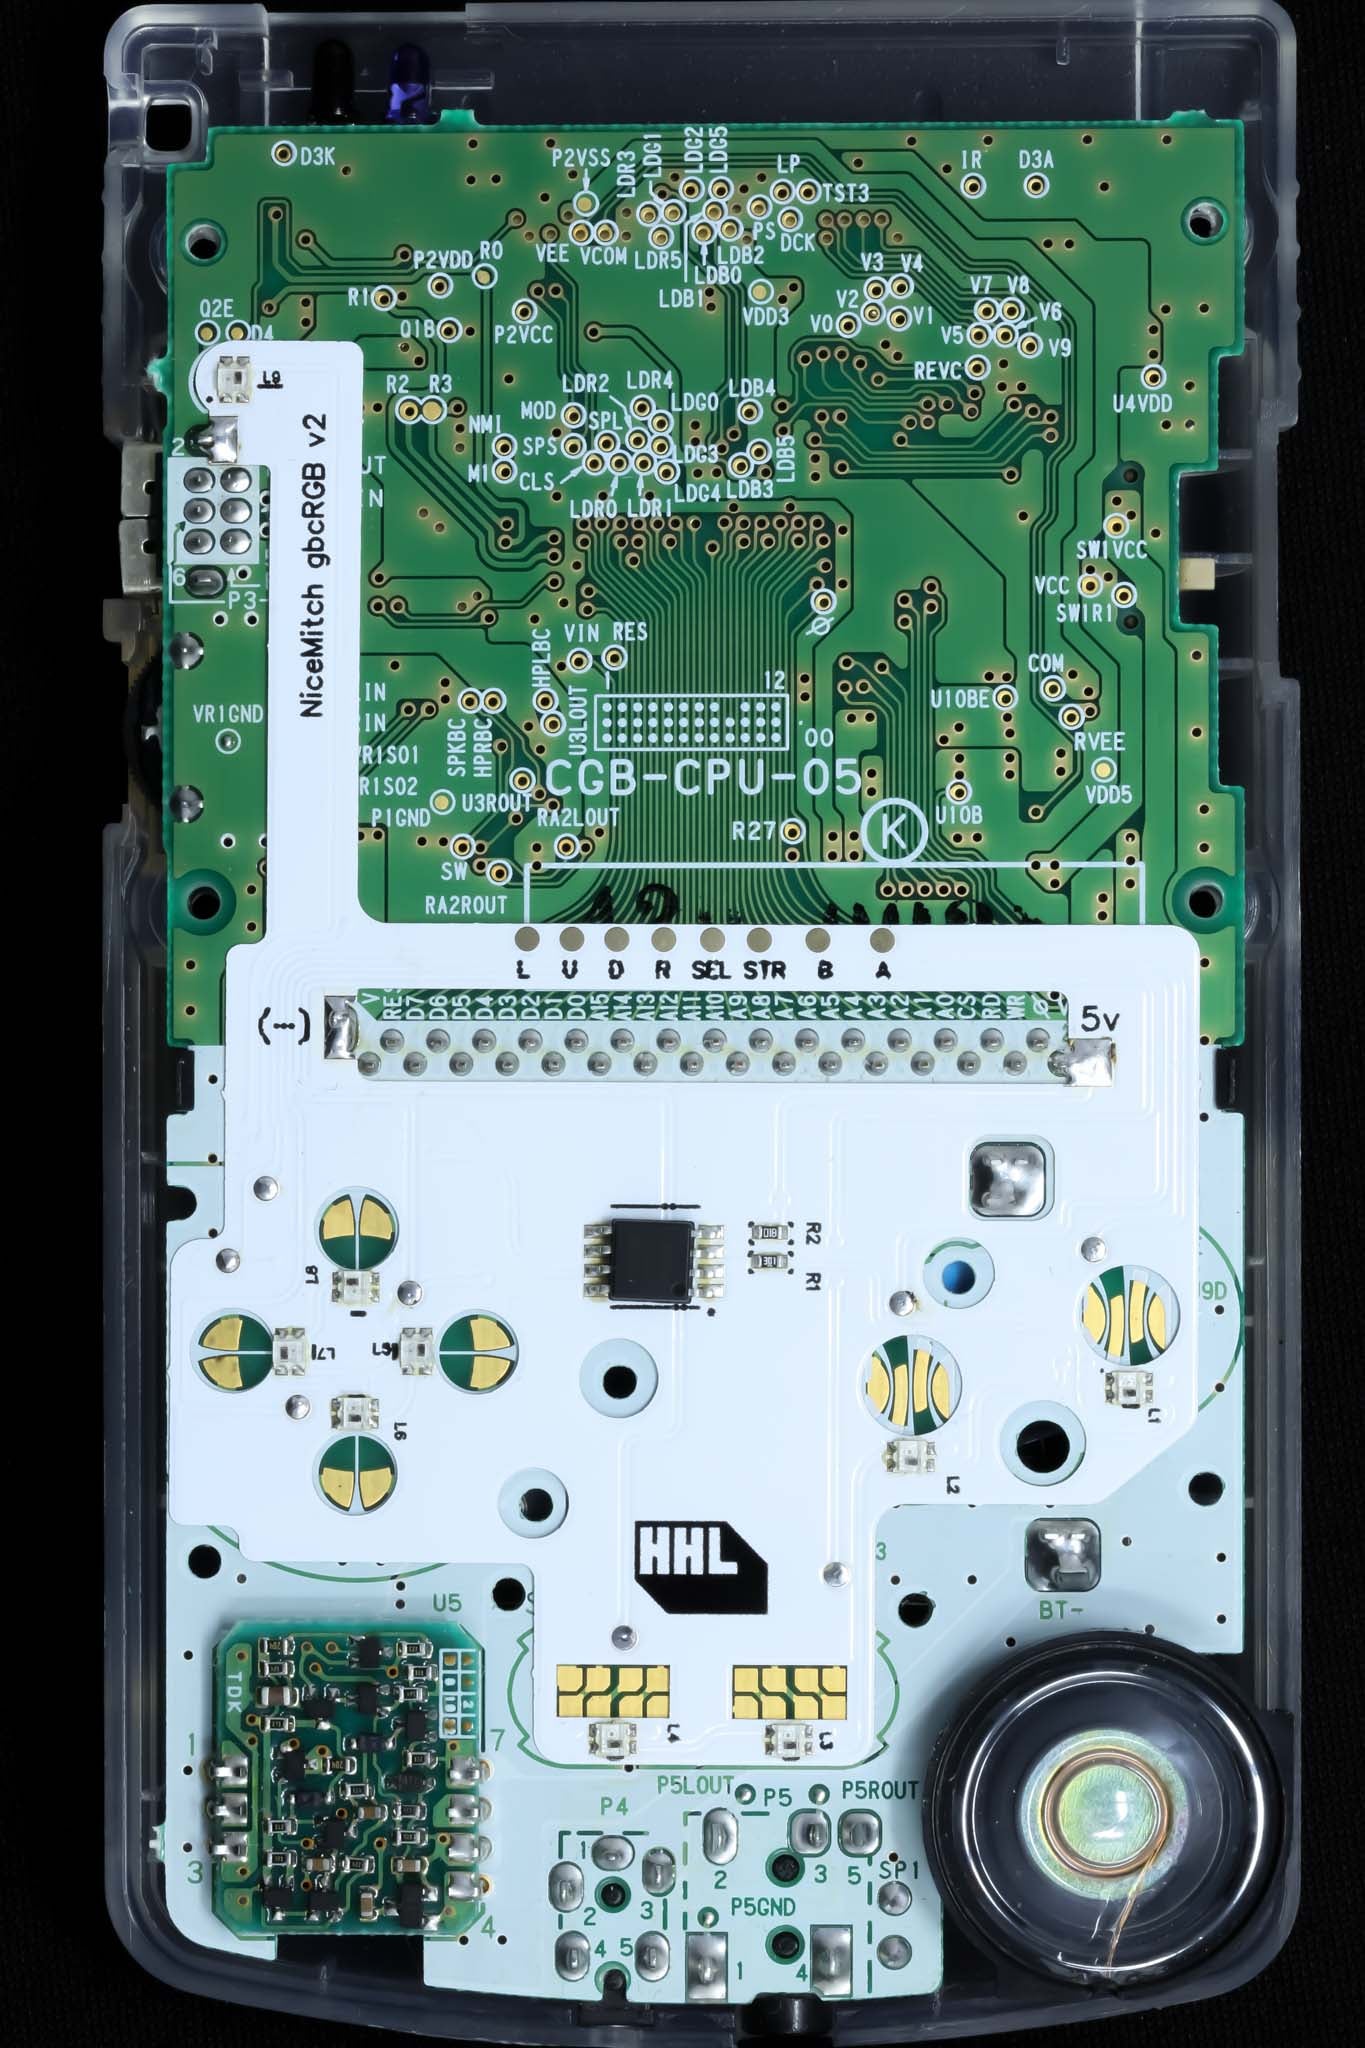
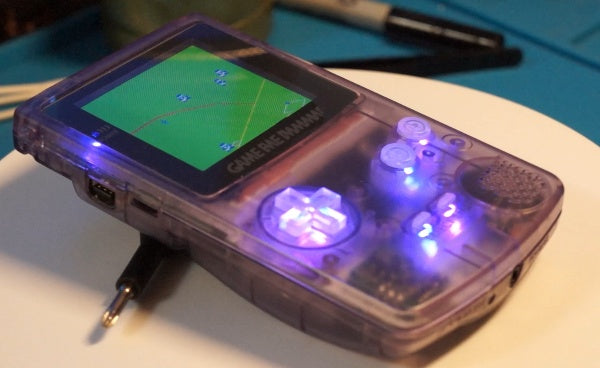
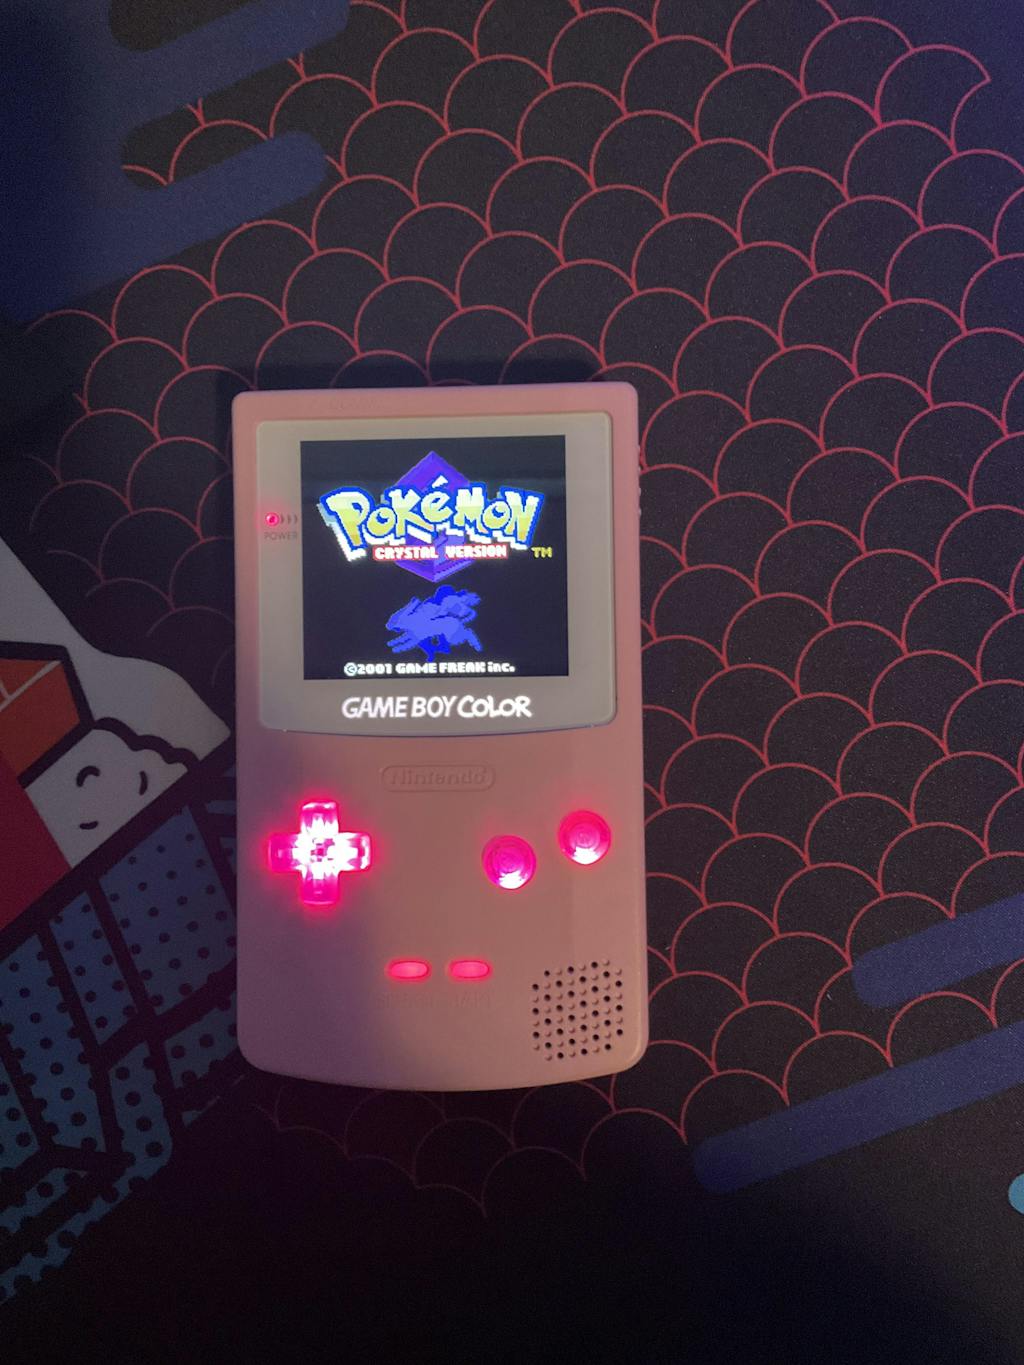
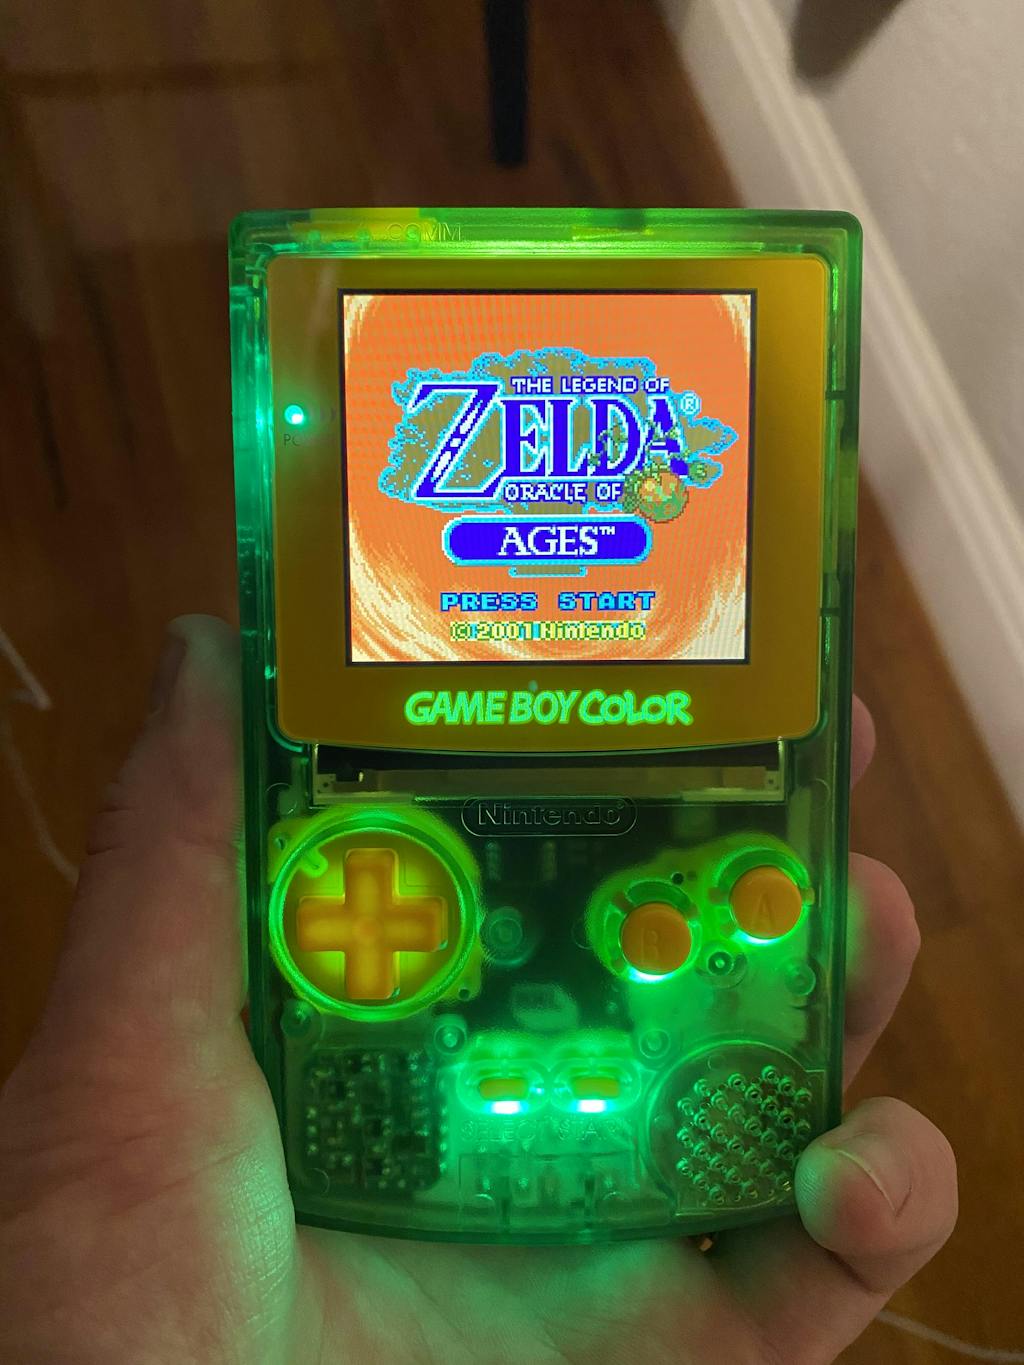
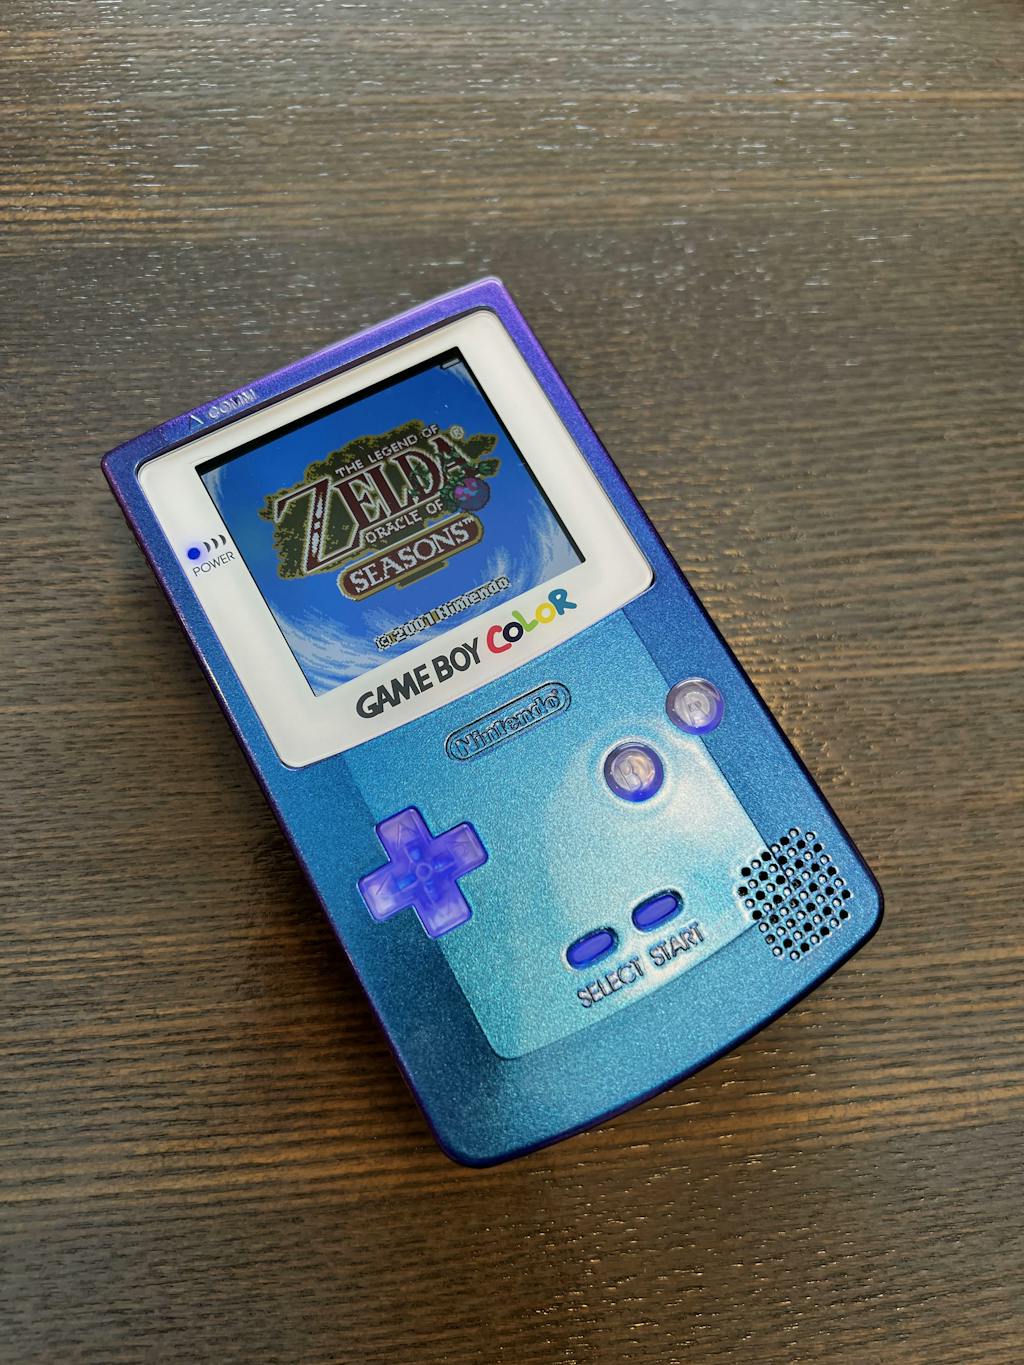
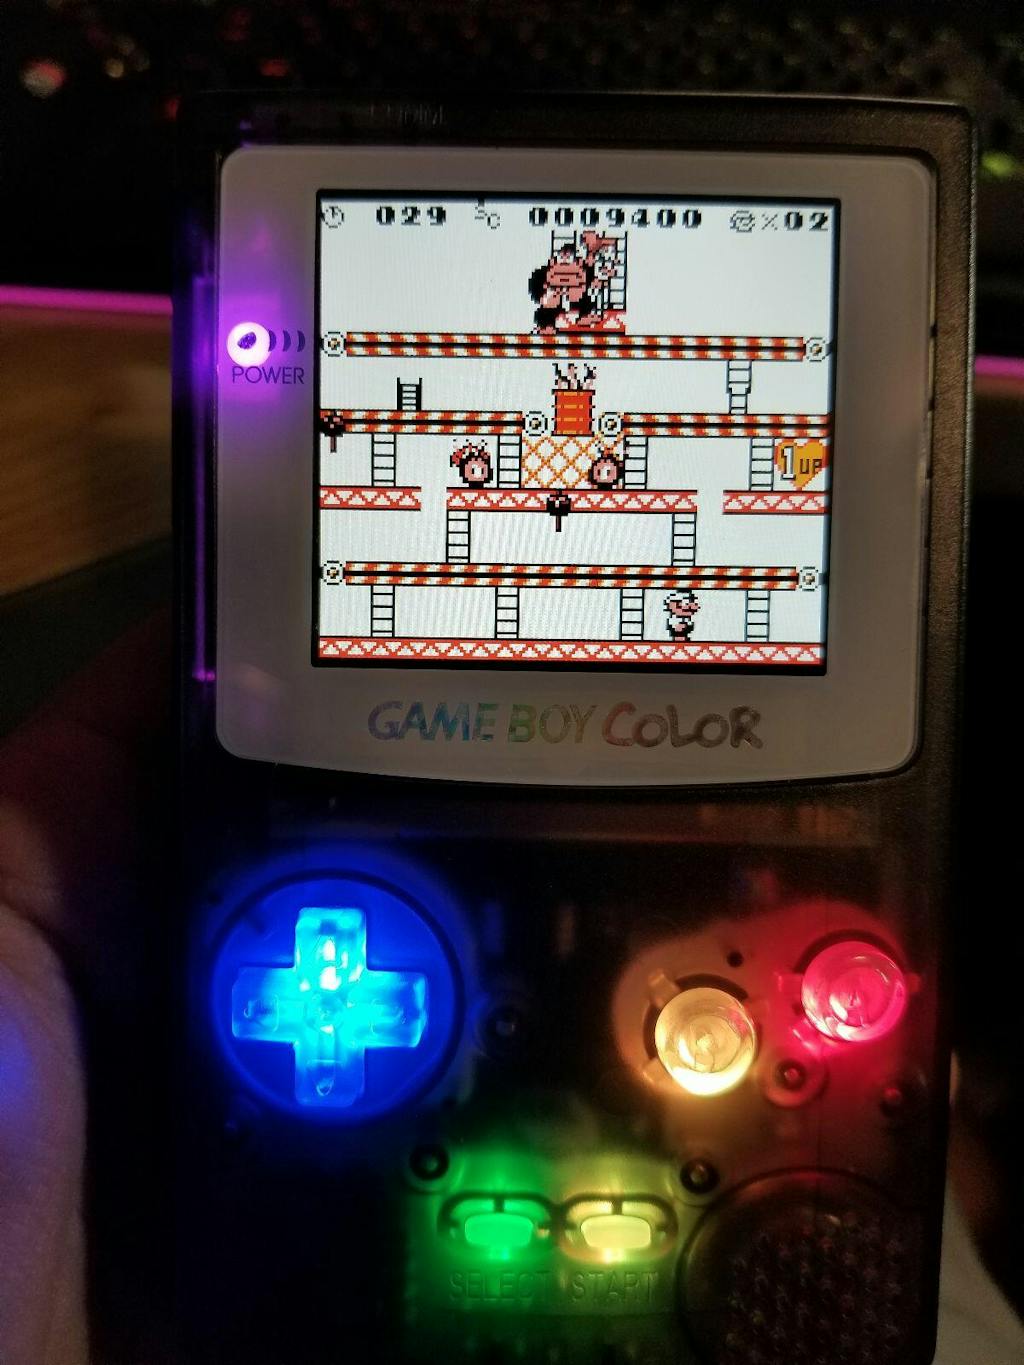
Light up your Game Boy Color with a Flexible RGB LED Cable. Pair with clear buttons to make your GBC shine!
Not recommended for BoxyPixel shells. It has recently come to our attention that the tolerances may be too different compared to OEM shells for these kits to have the clearance required.
FEATURES:
- Breakout pads for maximum compatibility with existing IPS kits.
- Individual button color customization
-
18-25mA power draw with default settings, maximum measured draw 50mA at full brightness with white color
- Hue, Brightness, and saturation adjustment
- Power LED color control
- Solder-in-place install. 15-30 minute install, beginner to moderate difficulty
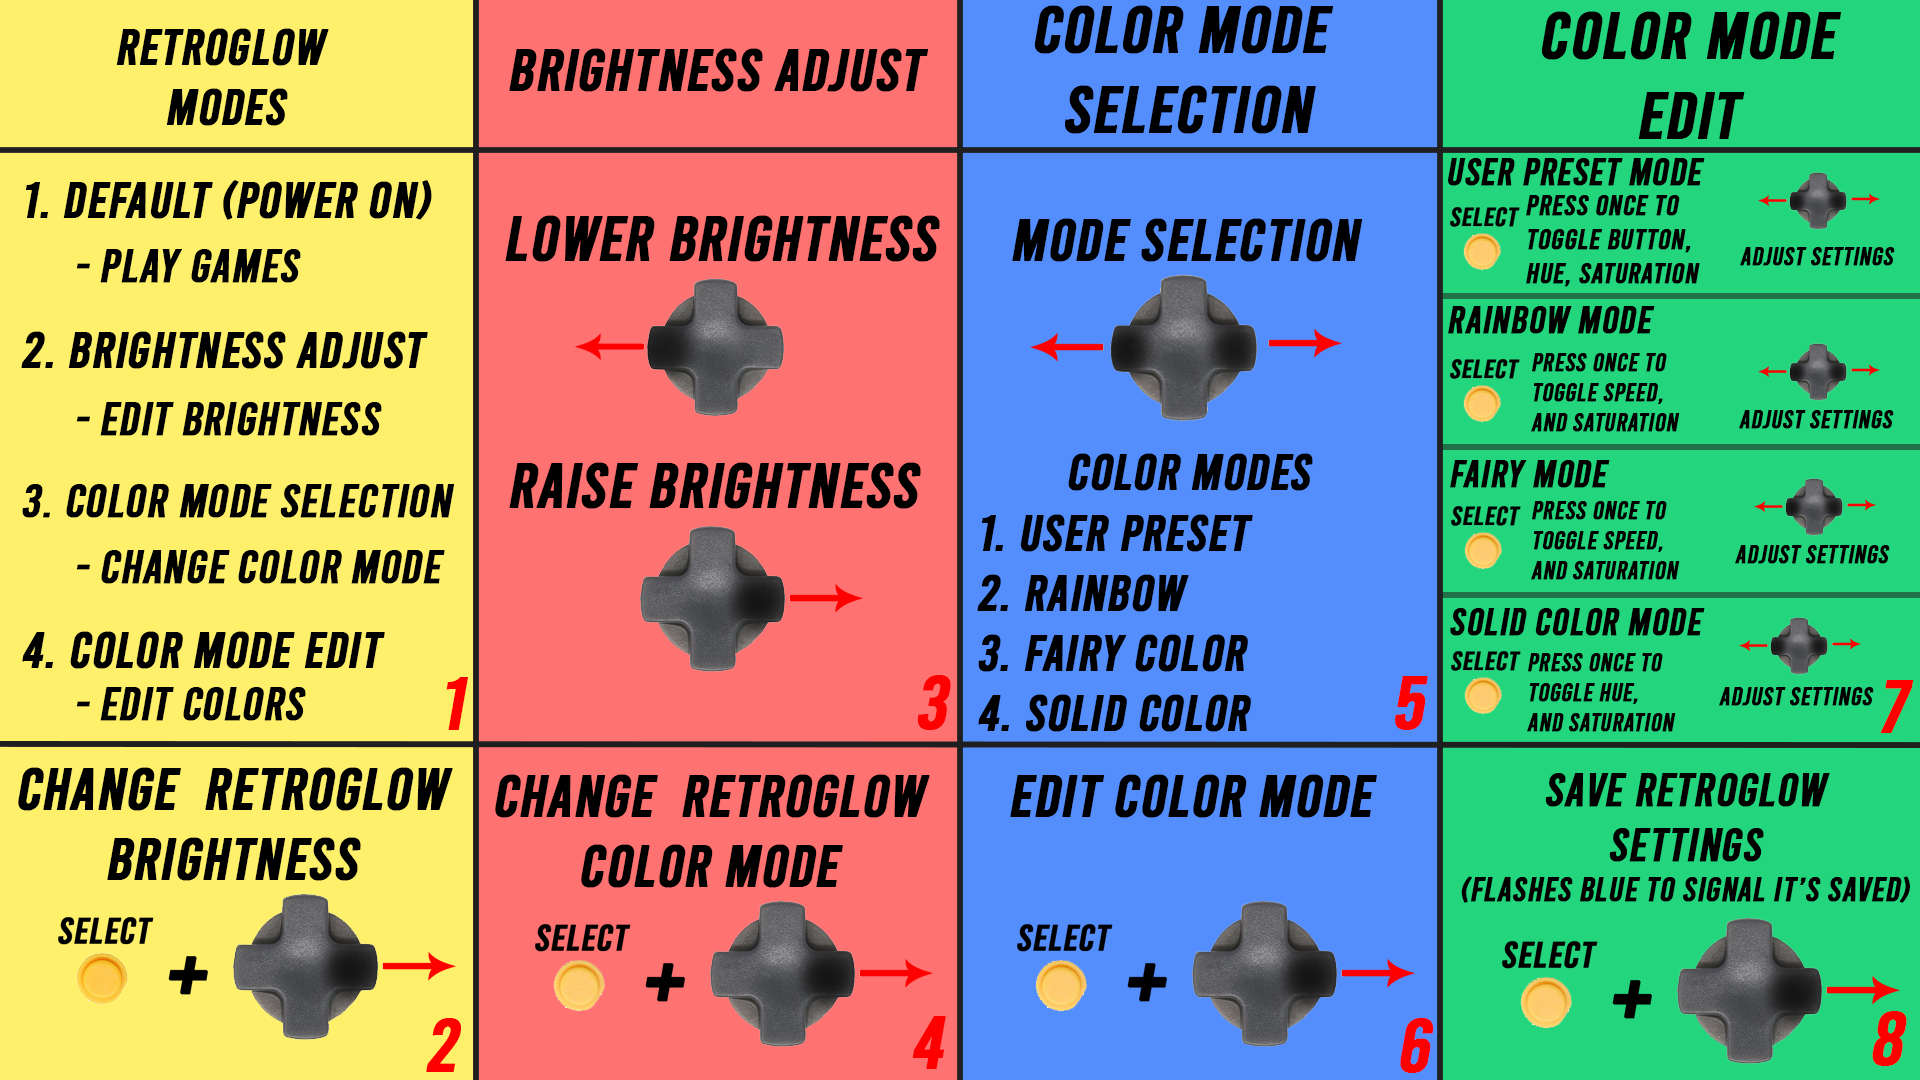
- Use the Select + D-Pad buttons to customize your LED colors
- Obligatory ‘Gamer’ RGB fade mode with adjustable speed/saturation
- Fairy light mode with adjustable speed/hue/saturation
- 32 different hues to pick from, 32 levels of saturation
- Choose between black or white solder mask to match your build
INCLUDED:
- 1x GBC LED flex board
PAIRS WELL WITH:
-
Game Boy Color Prestige IPS Ready Shell
-
Game Boy Color Clear Prestige Buttons | RetroSix
-
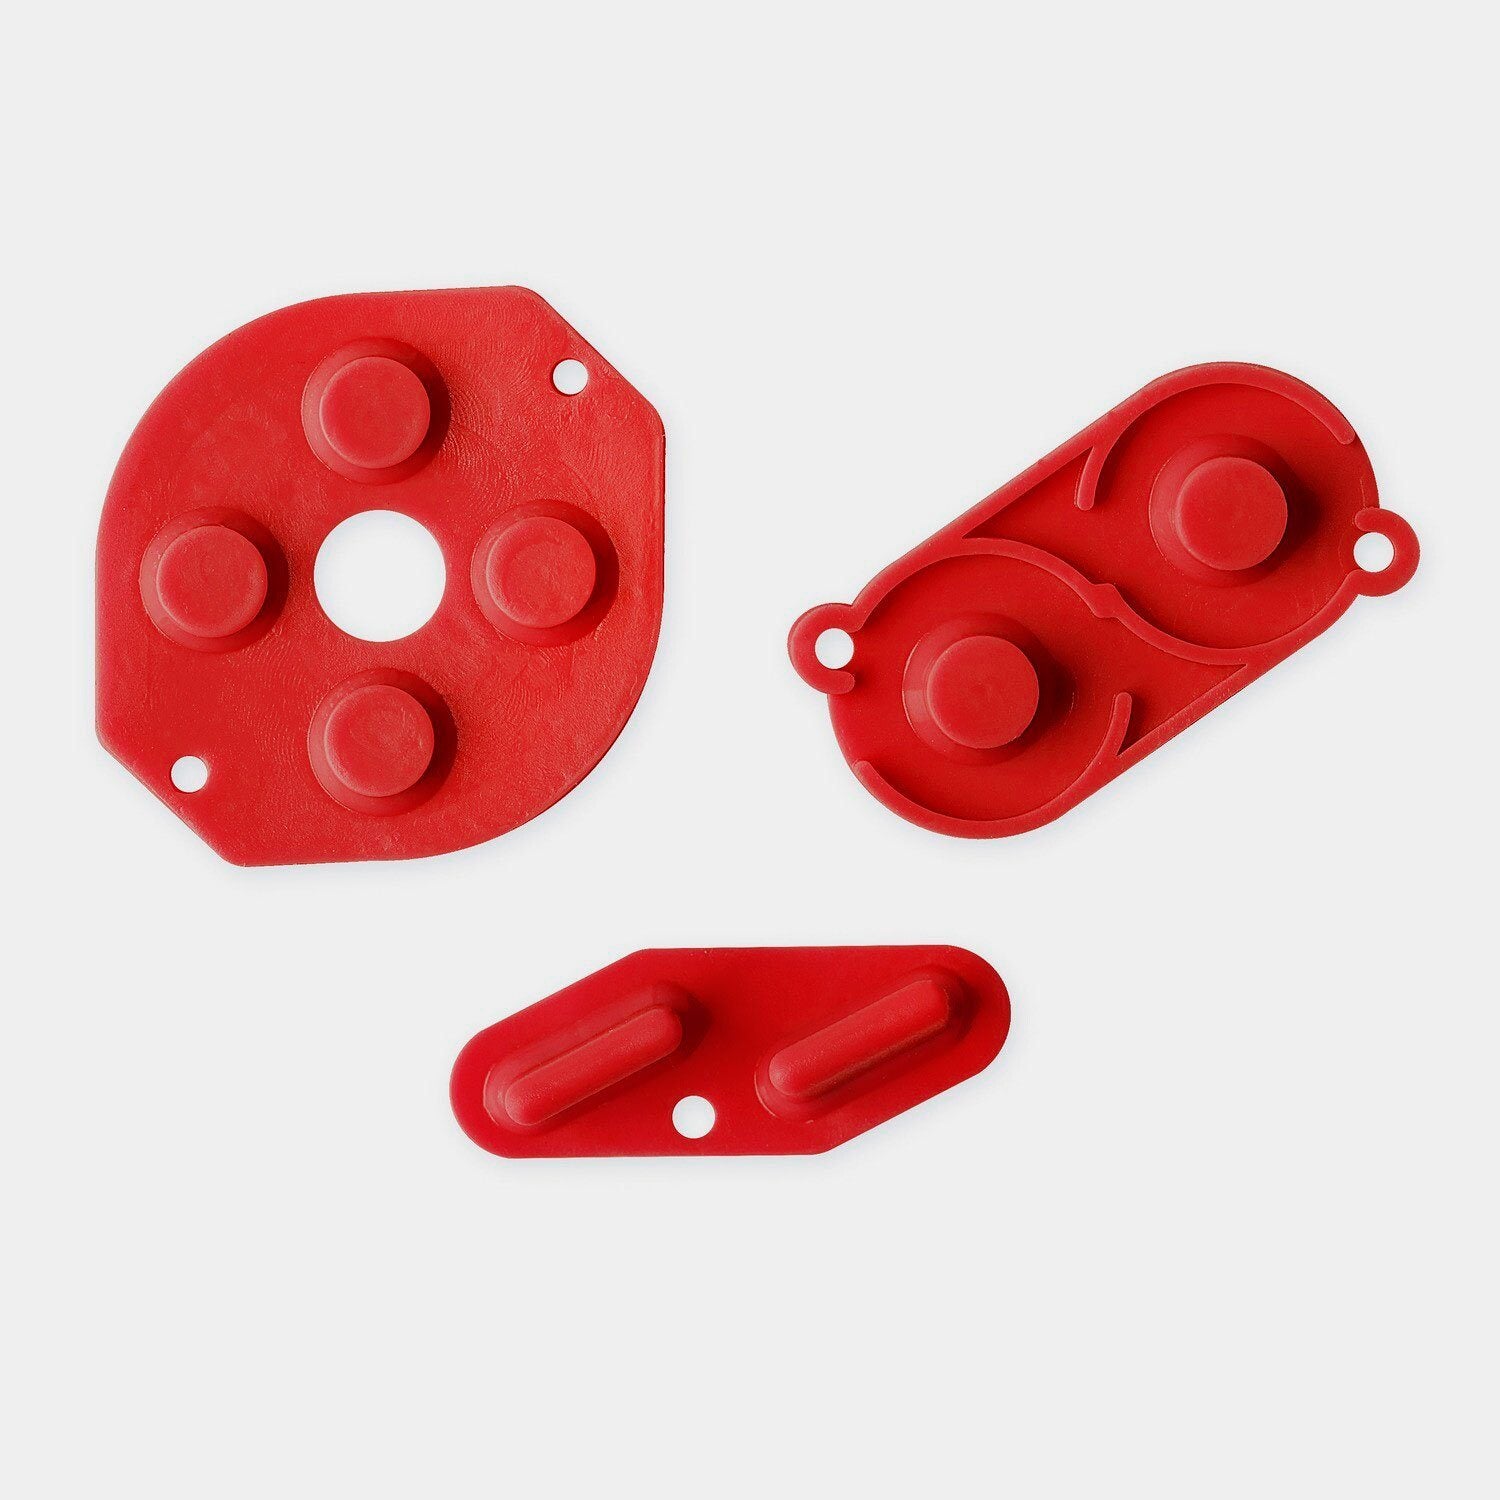
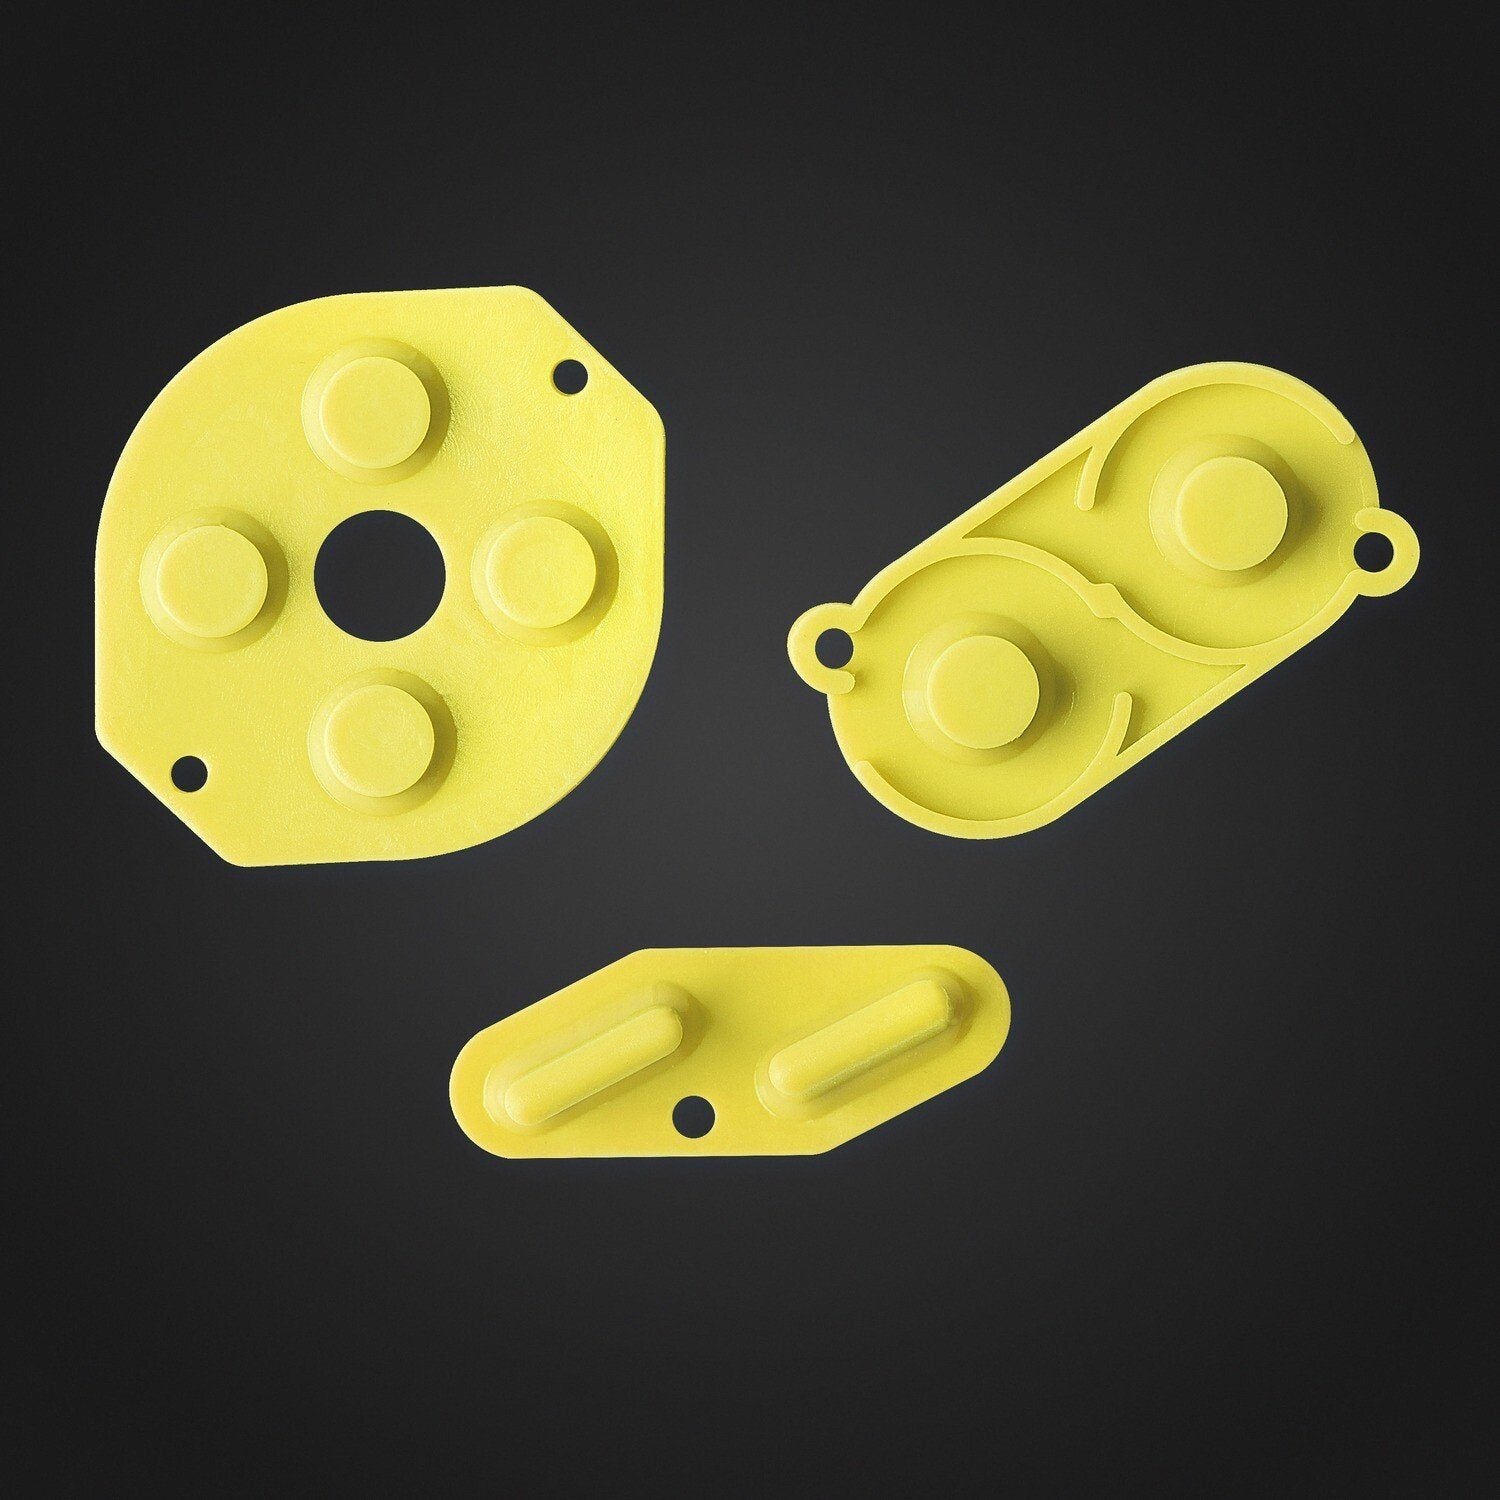
Game Boy Color Clear Silicone Membranes / Button Pads
- Game Boy Color IPS LCD V3 - Unbranded
DOCUMENTATION:
NOTES:
- Power LED cannot indicate low battery level. If you wish to use your original LED to have this function, you may carefully trim off the top of the Retroglow where the LED sits.
- Designed in house by our friend Mitch!
Nintendo®, NES®, Super Nintendo Entertainment System™, Nintendo 64®, Nintendo GameCube®, Game Boy®, Game Boy Color®, Game Boy Advance®, Nintendo DS™, Nintendo 3DS™, Wii™, Wii U™, Nintendo Switch™, and all related names, logos, and trademarks are the property of Nintendo Co., Ltd. or its subsidiaries.
This product is an independent, third-party restoration or accessory product and is not endorsed, licensed, sponsored by, or affiliated with Nintendo Co., Ltd. in any way.
Why Choose our Store?
Fast Shipping
We know you’re excited to get your gear, so we ship fast—usually within 1-2 business day. With reliable carriers and tracking included, your order arrives quickly and safely, every time.
Great Support
Have questions or need help? Our knowledgeable team is here to assist with fast, friendly support. Whether it’s product advice or order issues, we’ve got your back.
Get in TouchTransparency
What you see is what you get. We provide clear photos, detailed descriptions, and honest specs so you know exactly what you’re buying—no surprises.
Store ReviewsRewards
Get more with every purchase. Join our rewards program to earn points you can redeem for discounts, exclusive offers, and more—just for shopping with us.
Rewards ProgramDeep Discounts
CLEARANCE