
Texas Instruments released a series of amazing gadget calculators in the Ti-80 series, but as with so many other old school consoles, the backlight was a commodity and not a necessity. The TI-84 series possesses a wide-ranging number of features: gaming; music-making; real-time fractal and pattern programming; and a backlight. These help bring the Ti-80’s graphing calculators to life!
This article will explain how to backlight your TI-84. A warning: This is a time-consuming process and not for the faint of heart. It will require 2 days’ work, mostly on down time waiting for key parts to be primed for extraction.
Materials
- TI-84 Plus (Plus or Silver)
- HHL Sega Game Gear Backlight
- 10cm x 10cm Linear Polarizer
- On/On Switch
- Torx Screwdriver
- Phillips Screwdriver
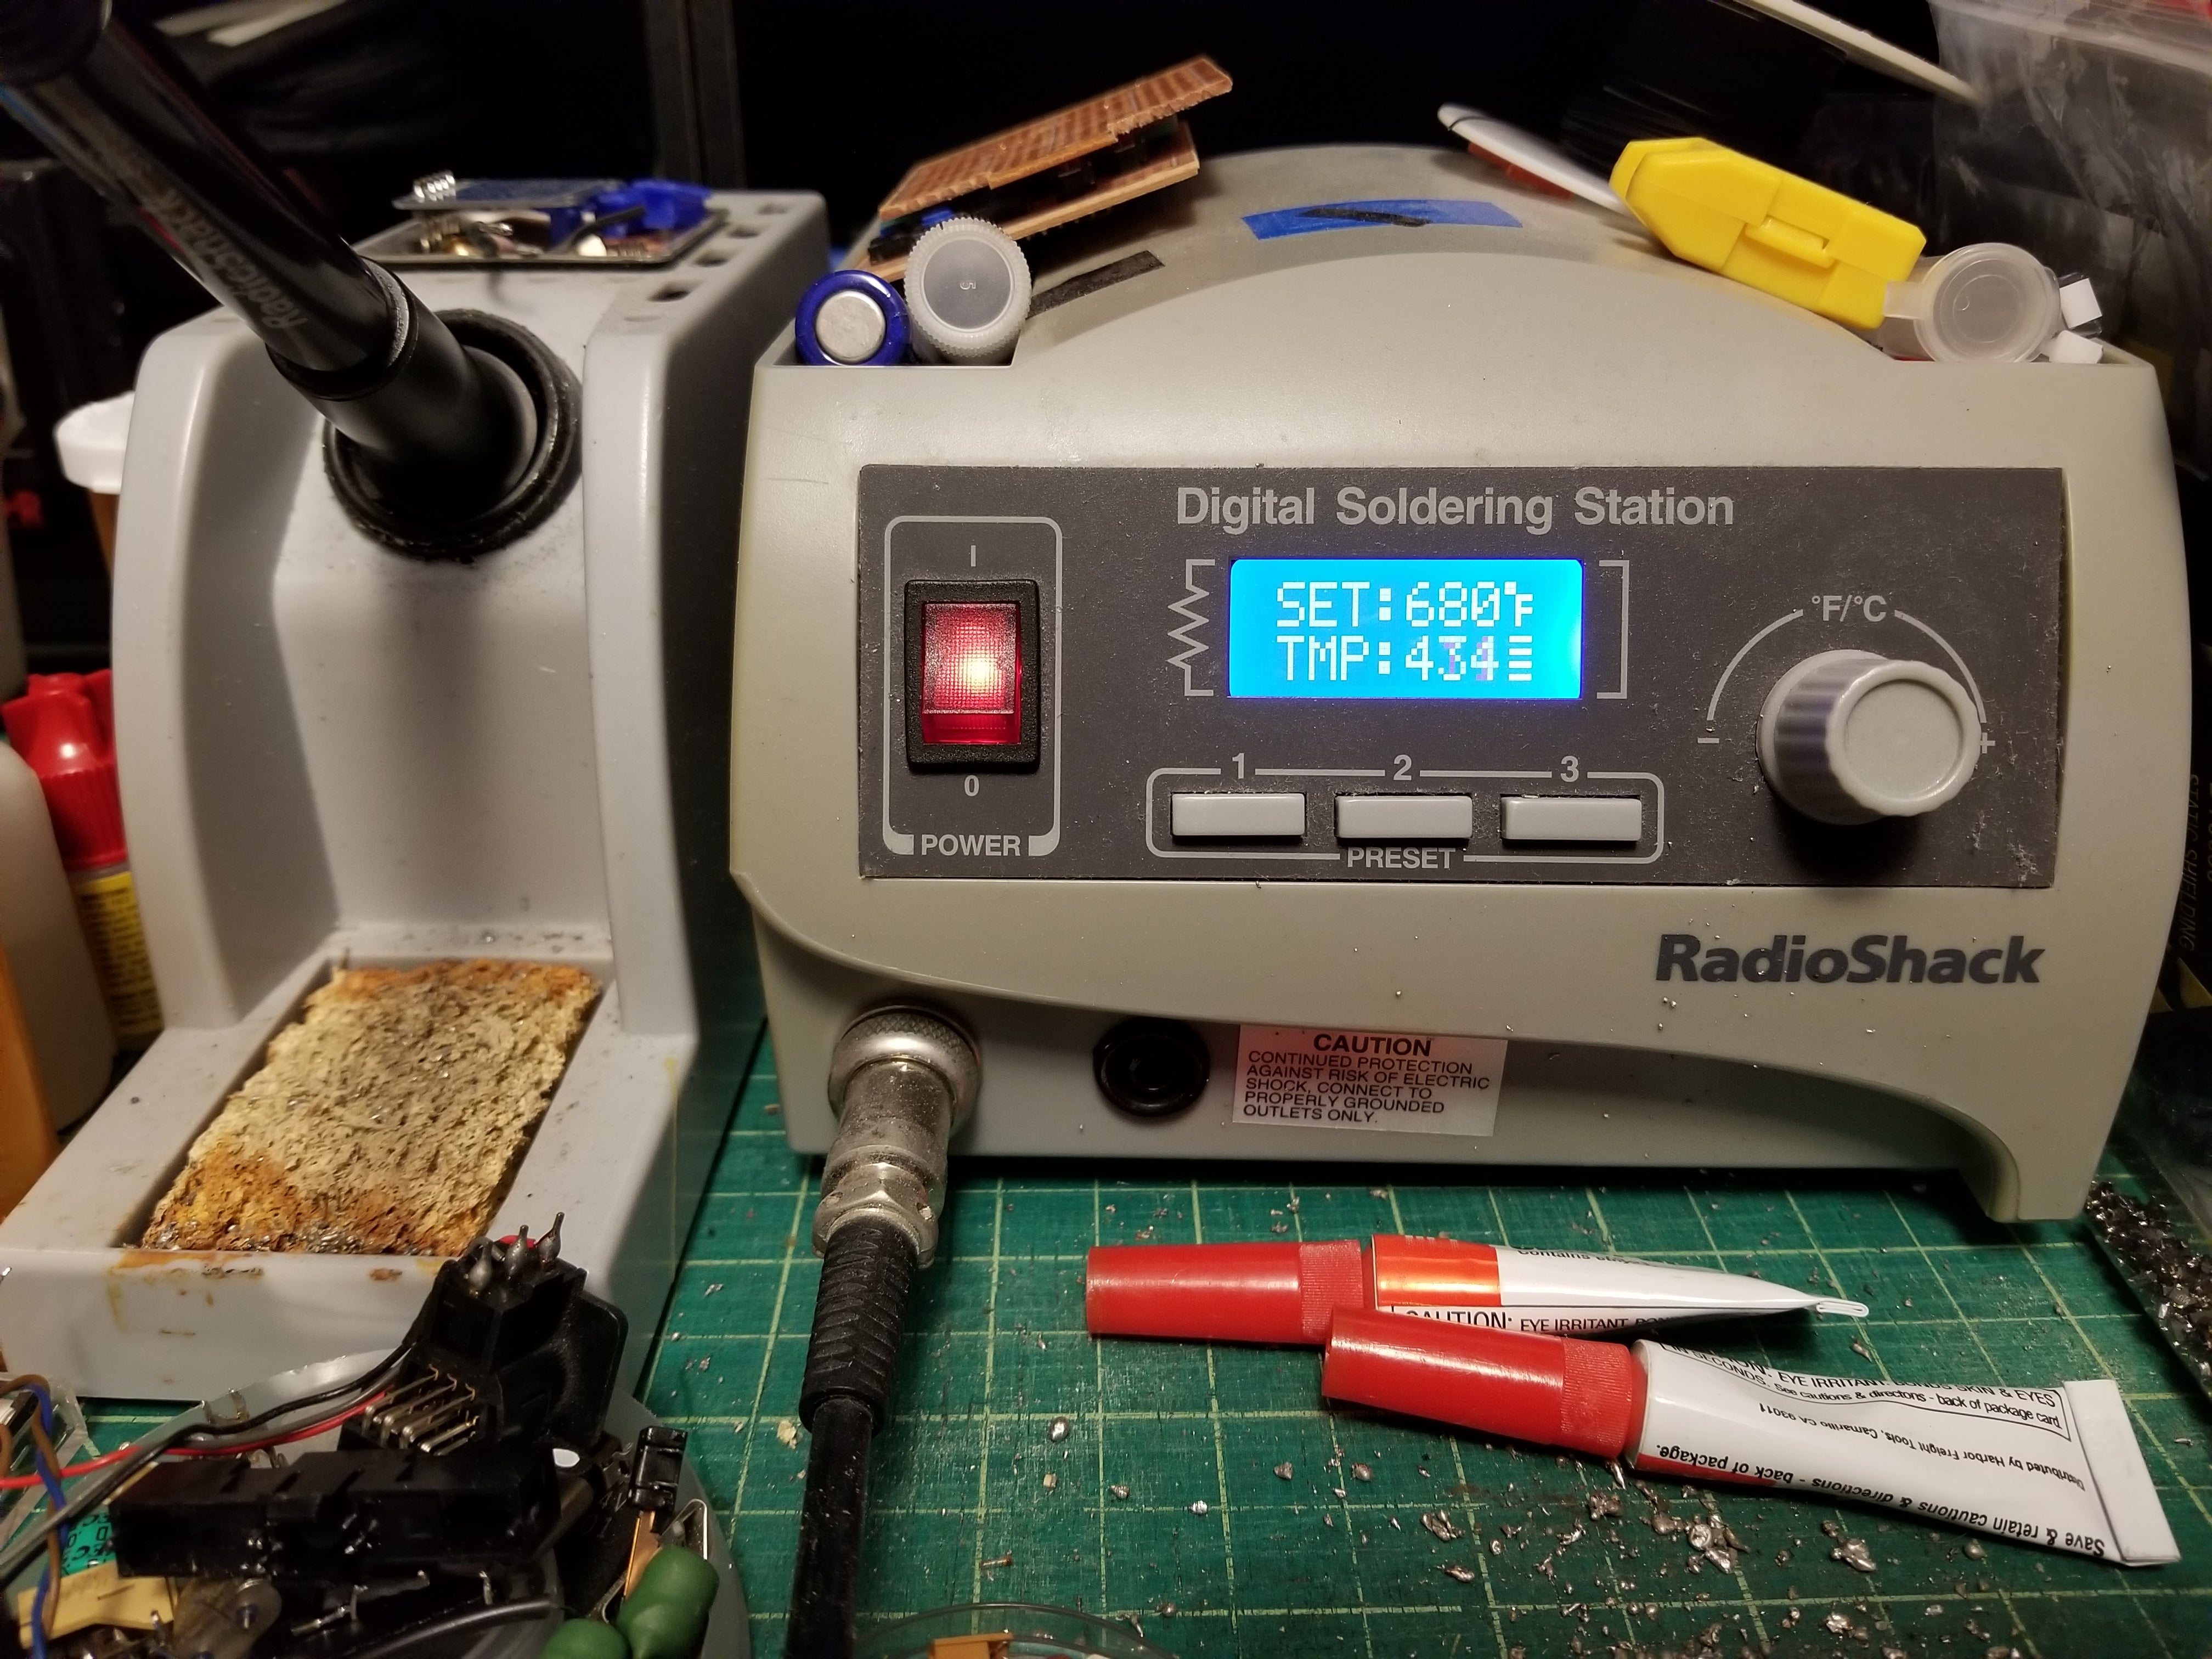
- Soldering Iron
- Ruler
- Hole Puncher
- Solder
- 2 Hook up wires, 10cm each, 2 colors, preferably red and black
- Rubbing Alcohol
- Utility Knife
- Plastic Card (an old credit card or useless card)
- Latex Gloves
- Cotton Swabs
Introduction
The TI-84 Plus is a graphing calculator made by Texas Instruments which was released in early 2004. There is no original TI-84, only the TI-84 Plus and TI-84 Plus Silver Edition models. The TI-84 Plus is an enhanced version of the TI-83 Plus. As far as I know, the TI-83 Plus can also be backlit. Only these models can be accessed for the modification. Earlier models (TI-82 and TI-83) have the ribbon cables connected in a way that make the screen inaccessible. Later models (CE Series) are already backlit and have a fully-fledged color display. Moreover, the TI-84 models can run assembly programs (homebrew) making it quite popular amongst programmers and hackers. An attempt to execute an assembly program to achieve the bivert mod for enhanced contrast proved unsuccessful, as it can only be executed on its own.
Getting Started

You will need a Torx Screwdriver for the 6 tiny screws holding the backside in place. Taking my calculator to the hardware store to get an exact fix showed that some of the holes are deep and require a thin screwdriver - be aware of that! After you take out the torx screws, you’ll find an additional Phillips screw holding the back-up battery in place. Unscrew the lid, and take out the the back-up battery. Put all the screws, lid, and battery within arm’s-reach, as they are quite tiny and prone to rolling away (I use a Game Boy cartridge case).
Once all the screws and batteries are removed, the TI-84 is still being held together by 4 plastic clips: two at the bottom and two at the upper middle. Take your plastic card and fit it right under one of the middle screw holes, and gently slide it down. One of the edges should pop out. Apply the same technique for the other side, careful not to let the calculator close back up. In this case, I placed my torx screwdriver in between the halves of the shell. Once the bottom is fully open, slide your card up one side and then up the other side: these top clips should pop out, as well.
Unmounting the PCB


With the backside removed, we can now disassemble the calculator. Usage of latex gloves is imperative here, as they will protect your hands and safeguard the equipment from sweat, grease, and other contaminants. With that said, the first step is to take out the protective shield using your Phillips screwdriver. The shield can get quite dirty without gloves and polishing it will give it a different look, so try to keep it clean. After removing the shield, take out the last two screws and the PCB will come out as one piece. Take caution when removing this piece: the TI-84 has a single membrane for all the buttons.Try to leave it in place as the buttons can come out easily. Put aside the membrane and front half. You will not need it until the end.
Removing the Metal Plate
Part 1 - The PCB
The screen is held firmly in place by a metal plate that is glued to both the PCB and Screen. Start on the two corners just above the first row of buttons on the PCB; slide your utility blade about 1 centimeter deep in each corner, slowly, to avoid any damage. Once you have a decent edge, add plenty of rubbing alcohol and start working your plastic card in a horizontal motion working up towards the ribbon cable. Be patient: the metal plate is bonded in place. Work slowly, take breaks, and add plenty of rubbing alcohol as you go along. The plate should come off gently once you are getting close to the ribbon cable.
WARNING: DO NOT ATTEMPT TO PRY IT OFF THE PCB.
Once the metal plate comes off the PCB, lay the screen face down right above the calculator, being very careful not to disturb the integrity of the ribbon cable.

Part 2 - The Screen
The metal plate is dotted with holes. Fill these up with rubbing alcohol and let it work its way into the glue. This ungluing process requires several hours to fully take effect. A good idea is to soak it overnight, and once the plate looks dry, keep adding alcohol to the holes as necessary.

At this point we can also start prepping the Sega Backlight. This backlight, by Hand Held Legend, is professionally crafted, has 5 LEDs, and is the exact width for the TI-84. However, it’s slightly taller. To get a good fit, place it just above the metal plate and cut it 0.3 centimeters shorter than the metal plate using your utility blade (a sharp blade works quickly, and again, patience is required so as to not damage the backlight. I used a metal ruler to protect the backlight and to keep things straight). The size of the metal plate varies in minor ways between models, so use the plate you are intending to replace the backlight with.
Once the screen has soaked in the rubbing alcohol for at least six hours, simply slide your plastic card into one of the edges from the ribbon cable side and it should come off with ease! The original reflector and polarizer are next: lift one corner with your utility blade and firmly, but gently, pull it off, avoiding pull at the ribbon cable. If done firmly, the screen should not require any cleaning whatsoever.
The Backlight

At this point we should just see the glass and should have our backlight all sized up. Simply slide it between the screen and the PCB where the metal plate used to be. Also, a generic linear polarizer that can be bought online separately is placed between the backlight and screen. Hopefully Hand Held Legend can provide these soon. Now, I used a 10cm x 10cm polarizer and, once you decide on the desired orientation, cut it to the exact size of your backlight. Once installed, there are two tiny holes in the PCB where the backlight leads fit through comfortably. Use the white section of the PCB to measure the installation: if the lead wires are too far down, they will interfere with the first row of buttons.
Now place it back into the front shell making sure to hold the screen in place. Once in place, make sure your buttons are in place, too. The backlight is about as thick as the original metal plate and once the two Phillips screws are put back, everything should be neatly held together.
Next, take your shield and mark where the cables are coming out of the backside. Use your hole puncher to perforate it cleanly on your markers and screw it in place with the cables fitting comfortably through it.
Connecting the Backlight, Circuitry and Closing it Up!

Solder two wires to your positive and negative contacts on the backside of your TI-84, just below where they make contact with the calculator, and solder them accordingly to the backlight wires with the provided resistor between the positive leads. The backlight will run on an independent circuit and you can simply use the batteries as an on/off -- although a switch would be more comfortable! In this demonstration, a mini toggle switch hidden inside the battery compartment is used. Another good place for the backlight on/off switch is the top sides on the back half of the shell.


Taking it Further, Adding Color

To add a little color into the mix, similar to the Gameboy Backlight mod, I used two pieces of polarizer and added a thin piece of colored paper to act as a diffuser in between them. The polarizers I used are adhesive on one side so the result came out looking nearly spotless! By the same token, the backlight stays very bright and a rich and colorful tone can be achieved. I am planning to do a TI-84 Silver Edition very soon with an orange diffusion strip!
Conclusion

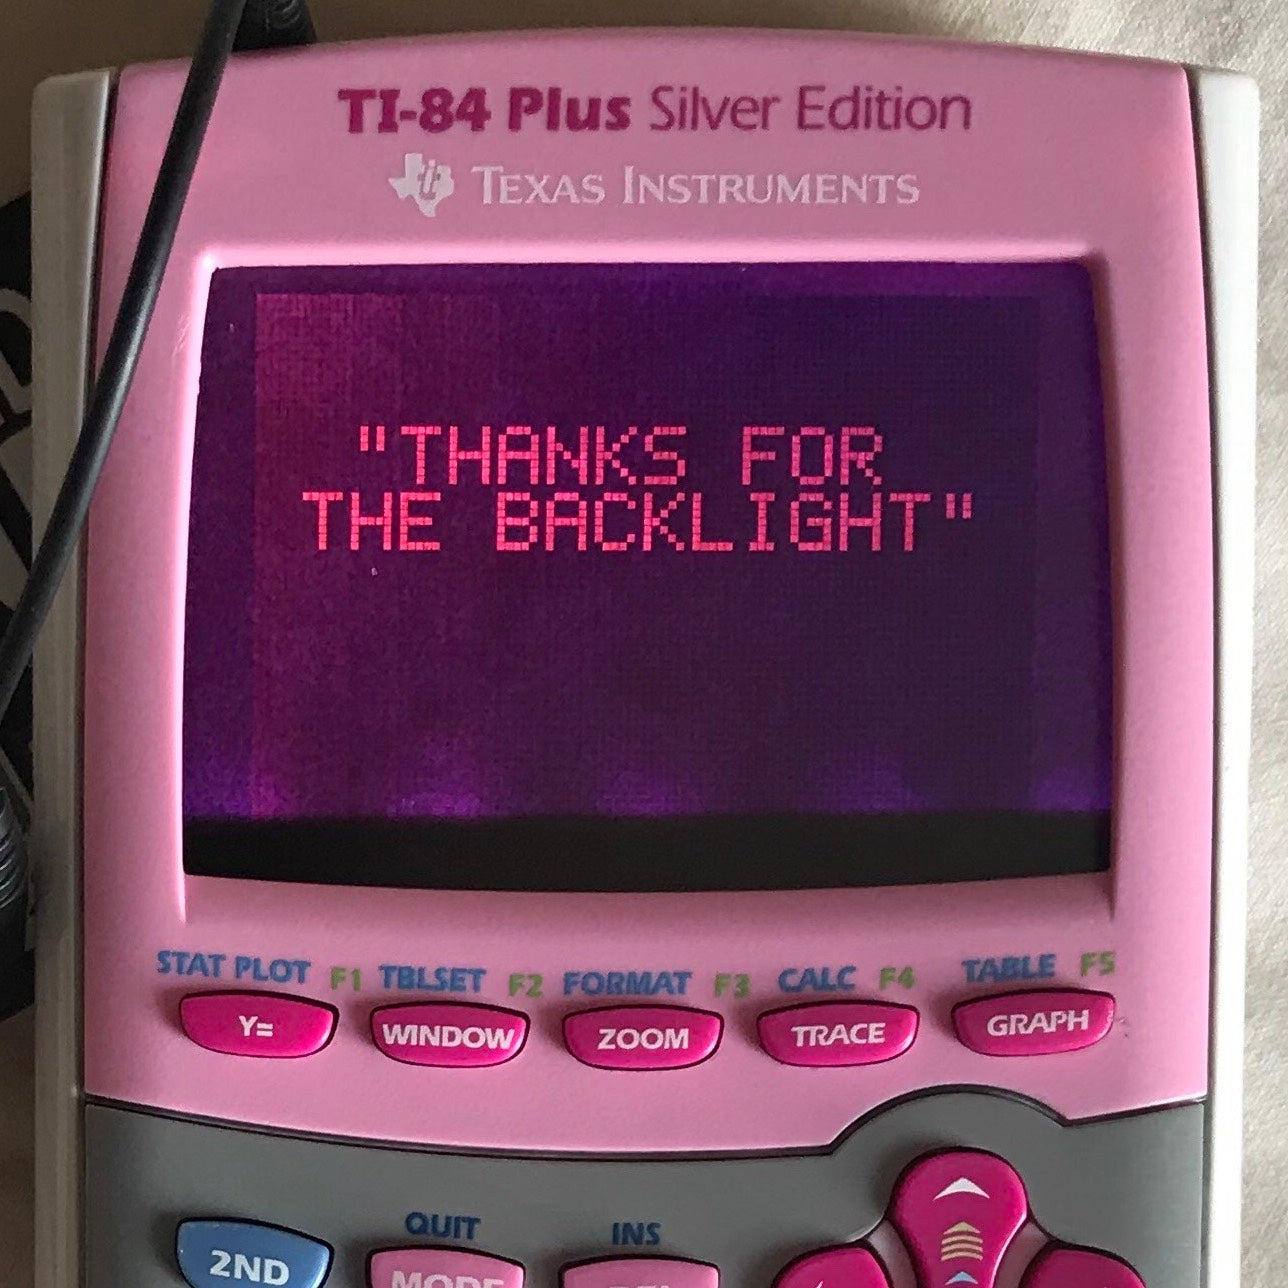
The result is quite stunning. With the Sega Backlight, it is an almost perfect fit! Now you can enjoy some TI-Gaming, or some Music Tracking on a calculator with a highly appealing and crisp backlit display.

I would like to thank Hand Held Legend for their advice on testing and working with the Sega Backlight, and for the opportunity to write this How-To. I hope it leads to further TI-84’s sporting a fresh and unique screen!
Kain De Rivera
Contact:
- Facebook: @4forfake
- Instagram: @4forfake
- Gmail: 4for.fake@gmail.com
About Kain De Rivera
Kain is the newest member of the Legendary League, joining as one of the most passionate creators in the Chiptunes arena. The TI-84 Plus tinkering is just one of his many other interests, too.
Stay tuned as we're planning a two-part mini-series about Chiptunes coming up in the next month or so!
Profile: Atomik Mods (Kain De Rivera)