Is your Nintendo Switch showing a black screen, random lines, or suffering from a cracked display? A Nintendo Switch screen repair might be exactly what you need to get back to gaming. While it may seem daunting, repairing your device's screen is absolutely doable with the right tools and guidance. Most screen repairs can be completed in about 1-2 hours, even by beginners who take their time.
Before You Start: Essential Preparation
Assessing the Damage
Before diving into your Switch screen repair journey, it's crucial to understand exactly what you're dealing with. Is your screen completely black? Do you see bizarre color patterns? Or are you facing the dreaded spiderweb cracks of a damaged display? Each issue requires a slightly different approach.
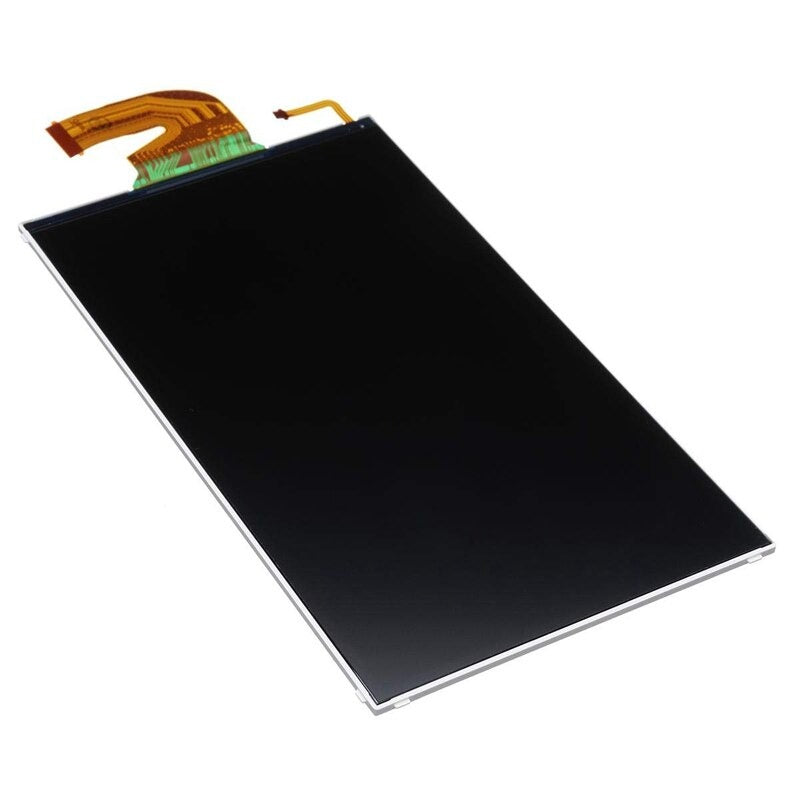
A cracked screen on the Nintendo Switch and Switch OLED models generally requires replacing both the LCD and digitizer together, as they are fused into a single unit. If your touchscreen is unresponsive but the display looks fine, you might have a digitizer issue, but in most cases, replacing the full screen assembly is necessary. If you're experiencing display issues like dead pixels or a black screen, replacing the LCD panel is the only fix. Water damage can complicate matters further, potentially requiring additional repairs beyond just the screen.
Gathering the Right Tools
Success in any repair job comes down to having the right equipment. For a Nintendo Switch screen repair, you'll need:
-
Tri-point Y00 screwdriver (special for Nintendo devices)
-
Phillips head screwdriver
-
Plastic prying tools
-
Tweezers
-
Heat gun or hair dryer
-
Replacement screen (LCD and digitizer assembly)
-
Thermal paste
-
Screen adhesive strips
-
Screen protector for the new display
Your workspace should be well-lit, clean, and organized. Consider using a magnetic mat to keep track of the tiny screws as they're notorious for disappearing at the worst moments!
Step-by-Step Nintendo Switch Screen Repair Guide

Initial Preparation
Start by removing both Joy-Cons from your device. While this might seem obvious, it's crucial for protecting these expensive controllers during the repair process. Back up any save data if your Switch still functions, and ensure the device is completely powered down.
Disassembly Process
Back Panel Removal
-
Use your tri-point screwdriver to remove the four corner screws on the back.
-
Remove the three smaller screws along the top and bottom edges.
-
Don't forget the two side screws and the one hidden under the kickstand.
-
Open the game card flap before lifting the back panel. It's connected to the front half.
-
Carefully lift the panel from the bottom up.
Internal Component Access
-
Start by removing the microSD card reader (one screw, then lift straight up).
-
Remove six screws holding the shield plate.
-
Carefully peel back the foam near the fan exhaust.
-
Use a plastic pry tool to gently lift the shield plate.
-
Hold the power button for 30 seconds to drain residual power before handling internal components.
-
Locate the battery connector on the motherboard (it looks like a small, rectangular black plug with red and black wires).
-
Use a plastic pry tool to gently lift the connector straight up. Do not pull on the wires.
-
Leave the battery connector unplugged during the entire repair.
Heat Sink and Game Card Reader Removal
-
Remove three screws securing the heat sink (copper component near the center of the device).
-
Gently peel back the foam pieces over the heat sink and fan.
-
Lift the heat sink carefully as it's attached with thermal paste.
-
Clean the old thermal paste with isopropyl alcohol.
-
Disconnect the game card reader's ribbon cables.
-
Remove three screws holding the reader board.
-
Remove the headphone jack bracket and reader board.
Screen Replacement Procedure
Screen Disconnection
-
Locate both LCD ribbon cable connectors.
-
Carefully flip up the small locking flaps on each connector.
-
Gently pull the ribbon cables straight out.
-
Keep track of which cable goes where.
Screen Removal
-
Apply heat around the screen edges for about 2 minutes (using a hair dryer or heat gun).
-
Use a suction cup on the bottom-left corner to create initial separation.
-
Insert a plastic opening pick about 5mm into the gap.
-
Slowly work around all edges, leaving picks in place to prevent re-adhesion.
-
Heat each side as you work around.
-
Open the screen like a book from the left side.
-
Carefully thread ribbon cables through the frame while removing.
New Screen Installation
-
Clean the frame thoroughly using isopropyl alcohol.
-
Apply new adhesive strips around the frame perimeter.
-
Thread the new screen’s ribbon cables through proper channels.
-
Carefully align the screen within the frame.
-
Press firmly around all edges to secure adhesive.
-
Double-check ribbon cable connections.
-
Test the screen before continuing reassembly.
Reassembly Steps

Component Replacement
-
Apply fresh thermal paste to the CPU (use a small, even amount).
-
Reattach the heat sink, ensuring proper alignment.
-
Replace the shield plate with new thermal compound.
-
Reconnect all ribbon cables.
-
Reattach the game card reader and microSD card reader.
Final Assembly
-
Reconnect the battery connector.
-
Secure all screws in their original locations (be careful not to overtighten them to avoid damage).
-
Reattach the back panel.
-
Test all buttons and features before fully sealing the device.
-
Install a screen protector immediately.
Tips for Success
-
Take photos of each step during disassembly.
-
Keep screws organized by size and location.
-
Work slowly and methodically.
-
Test connections before closing everything up.
-
Install a screen protector immediately after repair.
Aftercare and Maintenance
Once your repair is complete, protecting your investment is essential. Install a high-quality screen protector immediately – this simple step can prevent future damage and maintain the bright colors you just restored. Regular cleaning with microfiber cloths and careful handling will extend the life of your repair.
Alternative Options
While DIY repair can save money, it’s not for everyone. Professional repair shops typically charge between $80-$150 for a Nintendo Switch screen repair, while Nintendo’s official repair service costs $99.99. If you're not confident in your technical skills or don’t have the right tools, professional repair might be the best option.
Closing Thoughts
Repairing a Nintendo Switch screen might seem intimidating, but with the right tools and guidance, it’s a manageable project for most tech-savvy gamers. Whether you choose to tackle the repair yourself or seek professional help, protecting your screen with a quality screen protector afterward is essential for preventing future damage.
Ready to give your Switch the care it deserves? Explore the best replacement parts and tools available to keep your gaming setup in top condition for years to come.
Making the Right Choice
 Whether you're fixing a broken Nintendo Switch screen or upgrading your gaming experience, using quality parts makes all the difference. At Hand Held Legend, we understand the importance of reliable gaming hardware. Our selection of premium replacement parts and modification kits for the Switch ensures your beloved consoles stay in top condition for years to come.
Beyond just repairs, we offer various upgrades to enhance your gaming experience. From improved displays to custom controllers, we're here to help you get the most out of your favorite systems.