How To Clean Your Power Switch

Sometimes your Game Boy Advance may not be working properly, and sometimes it's as simple as cleaning your power switch! For this quick start guide, we will go over each step, the equipment, and a more advanced method for cleaning your switch. As always, we will follow it up at the end of the guide with a video for additional help!
Here is some of the equipment that you'll need to get you started:
- Precision Tweezers Set
- Organic Bamboo Cotton Swabs
- Game Boy Screwdriver (Phillips Head 3.0)
- Game Boy Screwdriver (Tri-Wing 2.0)
- MG Chemicals - 824-1L 99.9% Isopropyl Alcohol Electronics Cleaner
- Exacto Knife Blade Set
- Sand Paper, 48 PCS Sandpaper, 120 to 5000 Assorted Grit
- Flush Cutting Pliers
- RAM-PRO 12 Flexible Bristle
- Rosin Flux (up to your personal preference)
- TABIGER Soldering Iron Kit (more affordable)
- Hakko FX888D-23BY Digital Soldering Station (better quality, but a little more expensive)
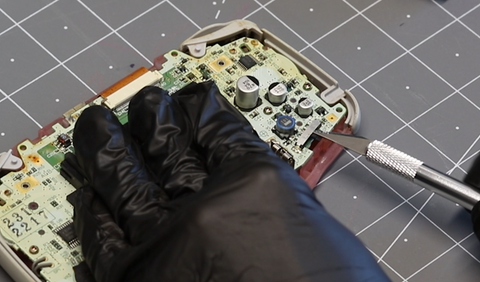
Step 1: Dissemble Your Game Boy Advance
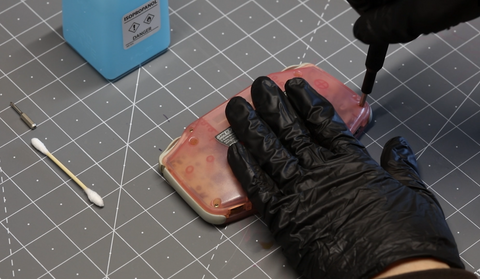

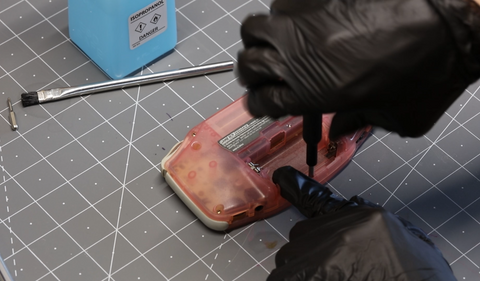
Step 2: Removing Power Switch & Adding Rosin Flux


Step 3: Placing Razor Knife, Soldering Sides & Removing Switch Cover
*Make sure you place your razor knife on the right side, under the switch cover.

*Use a downward twisting motion while heating the soldering pad; This will help keep the plastic down while pulling the switch cover off.

*With the right side raised, grab with your tweezers and remove the switch cover while heating the other soldering pad.

Step 4: Cut Your Cotton Swab & Using Isopropyl Alcohol

*Make sure you cut your swab at a forty-five degree angle.


*For some, this is enough to get the console working. If you think this is enough for your console, then great! If not, we have a few more steps we can take to fully ensure our power switch is squeaky clean.
Step 5: Cleaning Switch Slider & Using Sand Paper


Step 6: Placing Power Switch Slider, Re-soldering Re-assembling & Testing


Power Switch Cleaning Tutorial
If you need further help or just need more of a visual guide for your installation process, you can follow along with our Power Switch Cleaning Tutorial video below! If you still need additional support, please contact us at support@handheldlegend.com.