


Game Boy Advance 3.0 V5 IPS Backlight Kit - Hispeedido
Game Boy Advance 3.0 V5 IPS Backlight Kit - Hispeedido
SKU : GBA4105
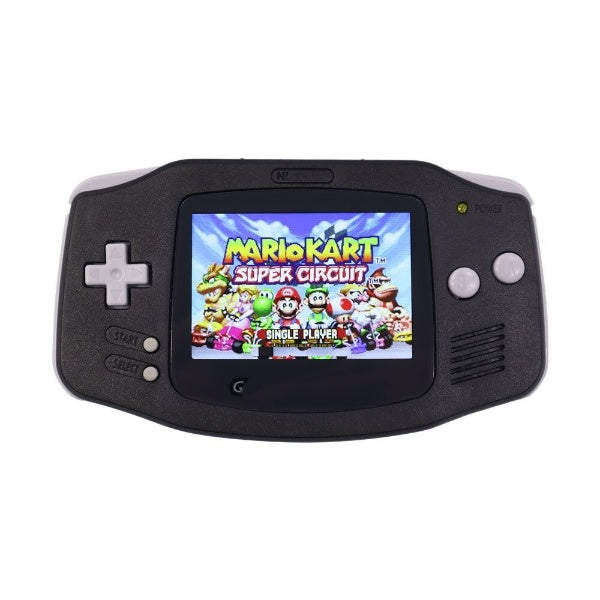
This IPS LCD kit for your Game Boy Advance (GBA) is a solderless display that fits in the display window of an OEM console without the need for a special sized lens. It includes all the features of the standard V2 kit including color palettes and brightness adjustment VIA pre-soldered touch sensors.
FEATURES:
- 8 color palettes VIA pre-soldered touch pad.
- 10 brightness levels VIA pre-soldered touch pad and/or VIA the traditional Select/L/R buttons by soldering the included wires.
- On-screen-display (OSD) menu VIA the Select/L/R buttons by soldering the included wires.
- OSD menu includes 8 color options, 10 brightness levels, 4 pixels modes, Desaturation adjustment, frame (FRM) blending, and option to turn off touch sensor functions.
- This display size is windowed like the original size. IPS lenses are not compatible with this kit.
- This kit's LCD display size is not enlarged like other IPS kits which makes it perfect for your OEM lens.
- Minimal shell trimming may be required. See install guide.
- Compatible with both 40 and 32 pin models.
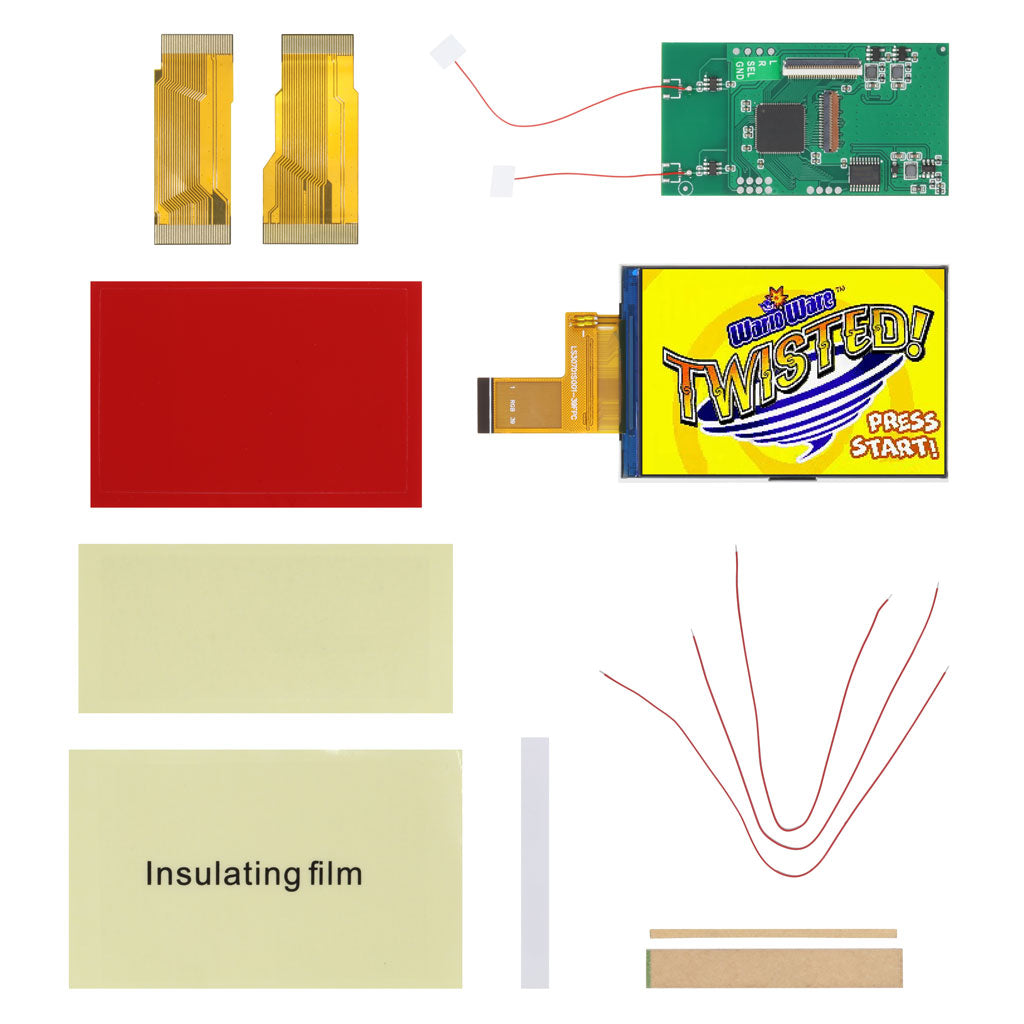
INCLUDED:
- 1x IPS LCD
- 1x PCB with two pre-soldered touch sensor wires
- 3x Wires
- 1x 40 pin ribbon
- 1x 32 pin ribbon
- 1x Set of acrylic spacers (Not needed if using custom bracket or adhesive)
- 1x Large spacer adhesive
- 1x LCD adhesive (optional if using spacers or brackets)
- 2x Insulation films
PAIRS WELL WITH:
- Game Boy Advance Shell
- Game Boy Advance Tempered Screen Lens - Original Size
- Game Boy CleanAmp v1.1 Audio Amplifier
DOCUMENTATION:
NOTES:
- After installation, if it is noted that your touch sensor is overly sensitive or is cycling, please see this article for assistance.
- LCD mounting adhesive seen in photo will either be red, blue, or white, the function does not change.
USING THE OSD:
- To enter the OSD menu, simultaneously press and release the Select/L/R buttons.
- To cycle through the menu options, press select.
- Left and Right triggers change the settings for the menu option currently selected.
- To close the OSD menu, simultaneously press and release the Select/L/R buttons.
WARNINGS:
-
Test before installation! When you receive a backlight/LCD kit, you should perform a dry run before installing to assure that nothing has been damaged in transit. A dry run or test fit means the kit is not installed in the shell. This includes the use of adhesives, brackets, and any performed soldering. All ribbon cables should have no bends or creases in them. If you are unsure how to perform a dry run, please contact our support team and we will be happy to help. Backlight kits that have been installed are not eligible for replacement or return.
- LCD may break if put under too much pressure or dropped. Please exercise extreme caution when installing.

Friendly Returns

Secure Checkout

1-2 Days Shipping

Prompt Customer Support


I absolutely love this screen. The amount of options is nice. The screen quality is good. Installation is straightforward and not too difficult. Works with any shell pretty much including original. Will be buying again
The screen itself is great but after installing it your left with lot of pressure on the screen. It look like screen is messed up but its really just a fitment issue. I would recommend passing up on this item if you don’t mind a replacement shell and go with a funny playing laminated IPs screen 👌
The important part: The product page here notes a screen testing process in the middle of the installation that cannot be missed otherwise your warranty will not be honored. You are supposed to receive a card reminding you of this process but it appears it is missed in some orders and is not mentioned at the start of the official installation video.
The story: The screen I ordered was defective with an intermittent disconnect on the backlight lines where the ribbon meets the display. Applying pressure to this area results in an image appearing correctly. Despite following all other install steps according to the video because I missed the above mentioned noticed on this product page my warranty was denied by Handheld Legends support.
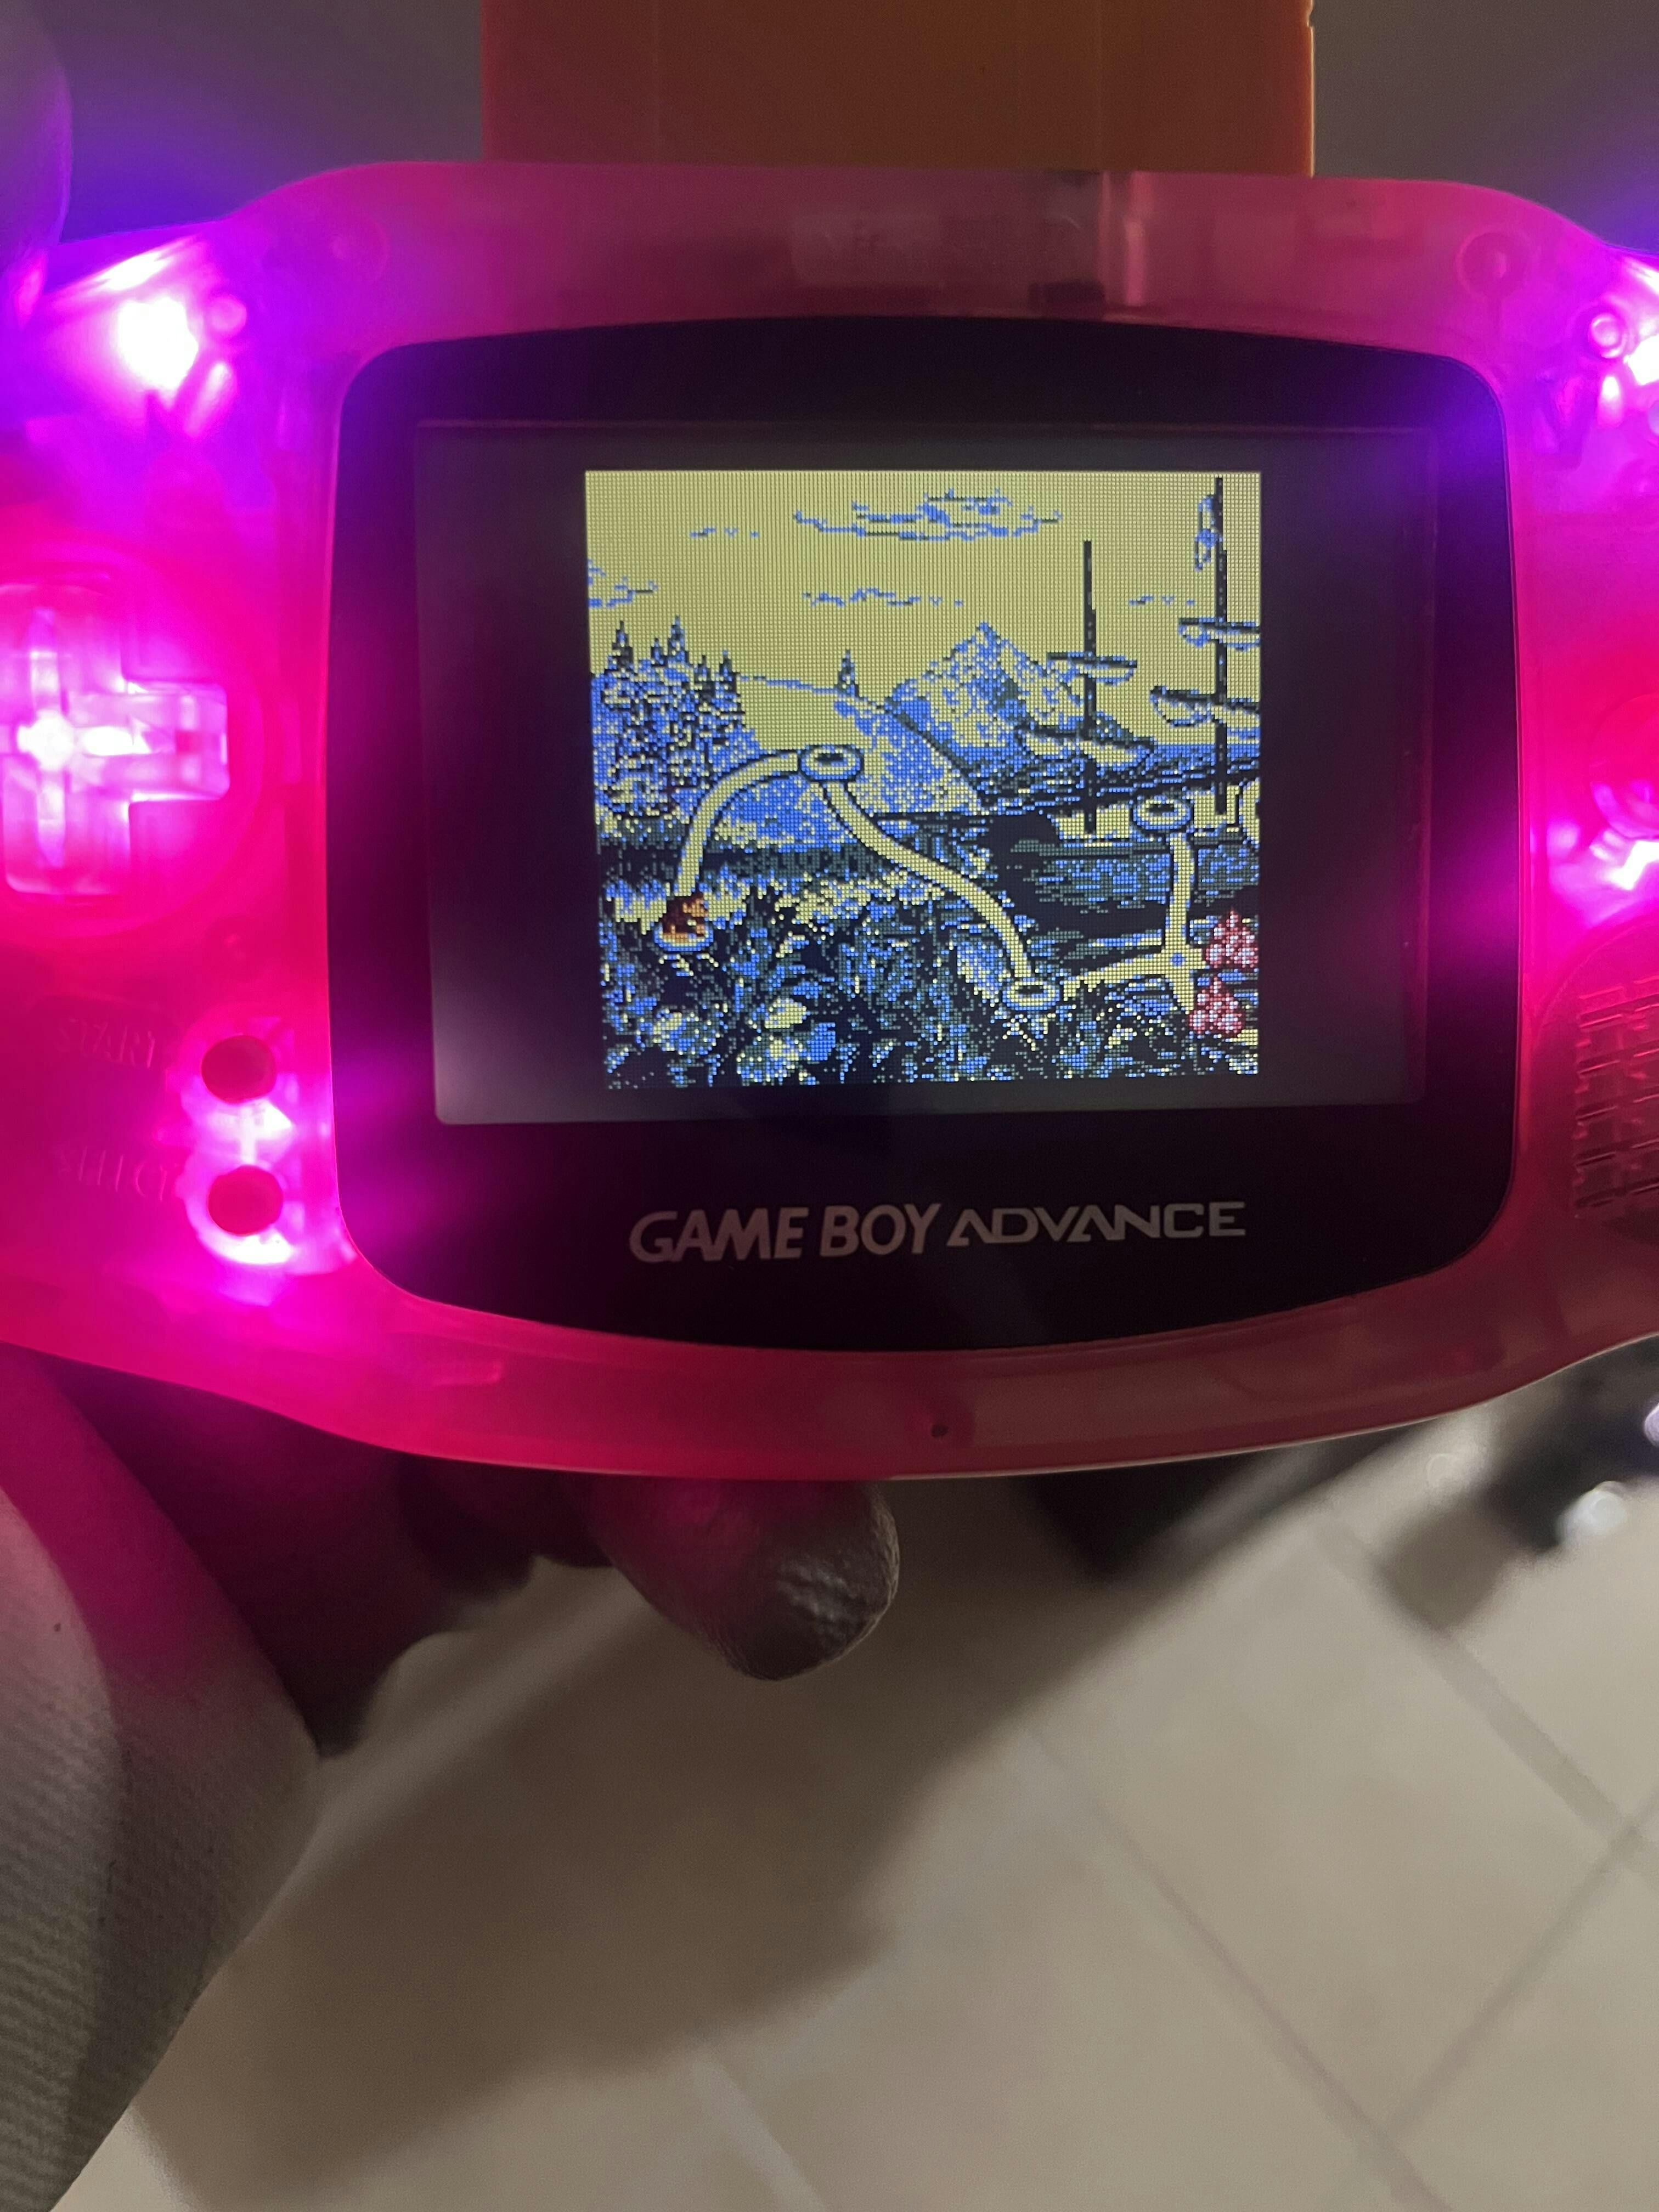
As for product quality there was of course the issue mentioned above but the backlight bleed on dark backgrounds is rather significant in some areas as mentioned by some other users so if that bothers you this kit is not for you. Other than that the image is crisp and looks amazing.
Thanks for your feedback! Regarding the testing process, the card sent with IPS kits is one of several ways we do our best to inform customers of this policy. While the card should be included, it is possible we were out of them or it was simply missed by our shipping team. We list that testing is required in many other places to assist in making this process known, such as on the product pages, the install written guides, and our refund policy. We highly recommend reading all product pages and any provided documentation thoroughly before proceeding with installs in general to ensure you know what to expect and that you qualify for replacements if needed.
They sent me a replacement screen with the same issue. This one looks ever worse in the bottom right corner. Do you not have anyone who tests them before you send them out? No quality control at all?? This is ridiculous. You made sure to respond to my review before answer my support email the first time too. Apparently you like to try to look good on the internet without actually delivering a good product. I’d give 0 stars if I could, buy a screen from literally anywhere else

Thank you for sharing your feedback! We understand your concerns and appreciate the opportunity to clarify our processes. As a small business, we handle a large number of products from various suppliers, and while we strive to ensure high-quality items, we rely on our trusted suppliers to perform thorough quality control checks on their end. This allows us to focus on delivering the best service possible to our customers.
We are in contact with you and have agreed to a resolution that seems favorable to you, which we are happy to see. Regarding response times, our team works hard to address support tickets within 1 to 3 business days. We also review and respond to product reviews when we can, but these two processes operate independently and don’t affect each other. Rest assured, we are committed to responding to all inquiries as quickly as possible.
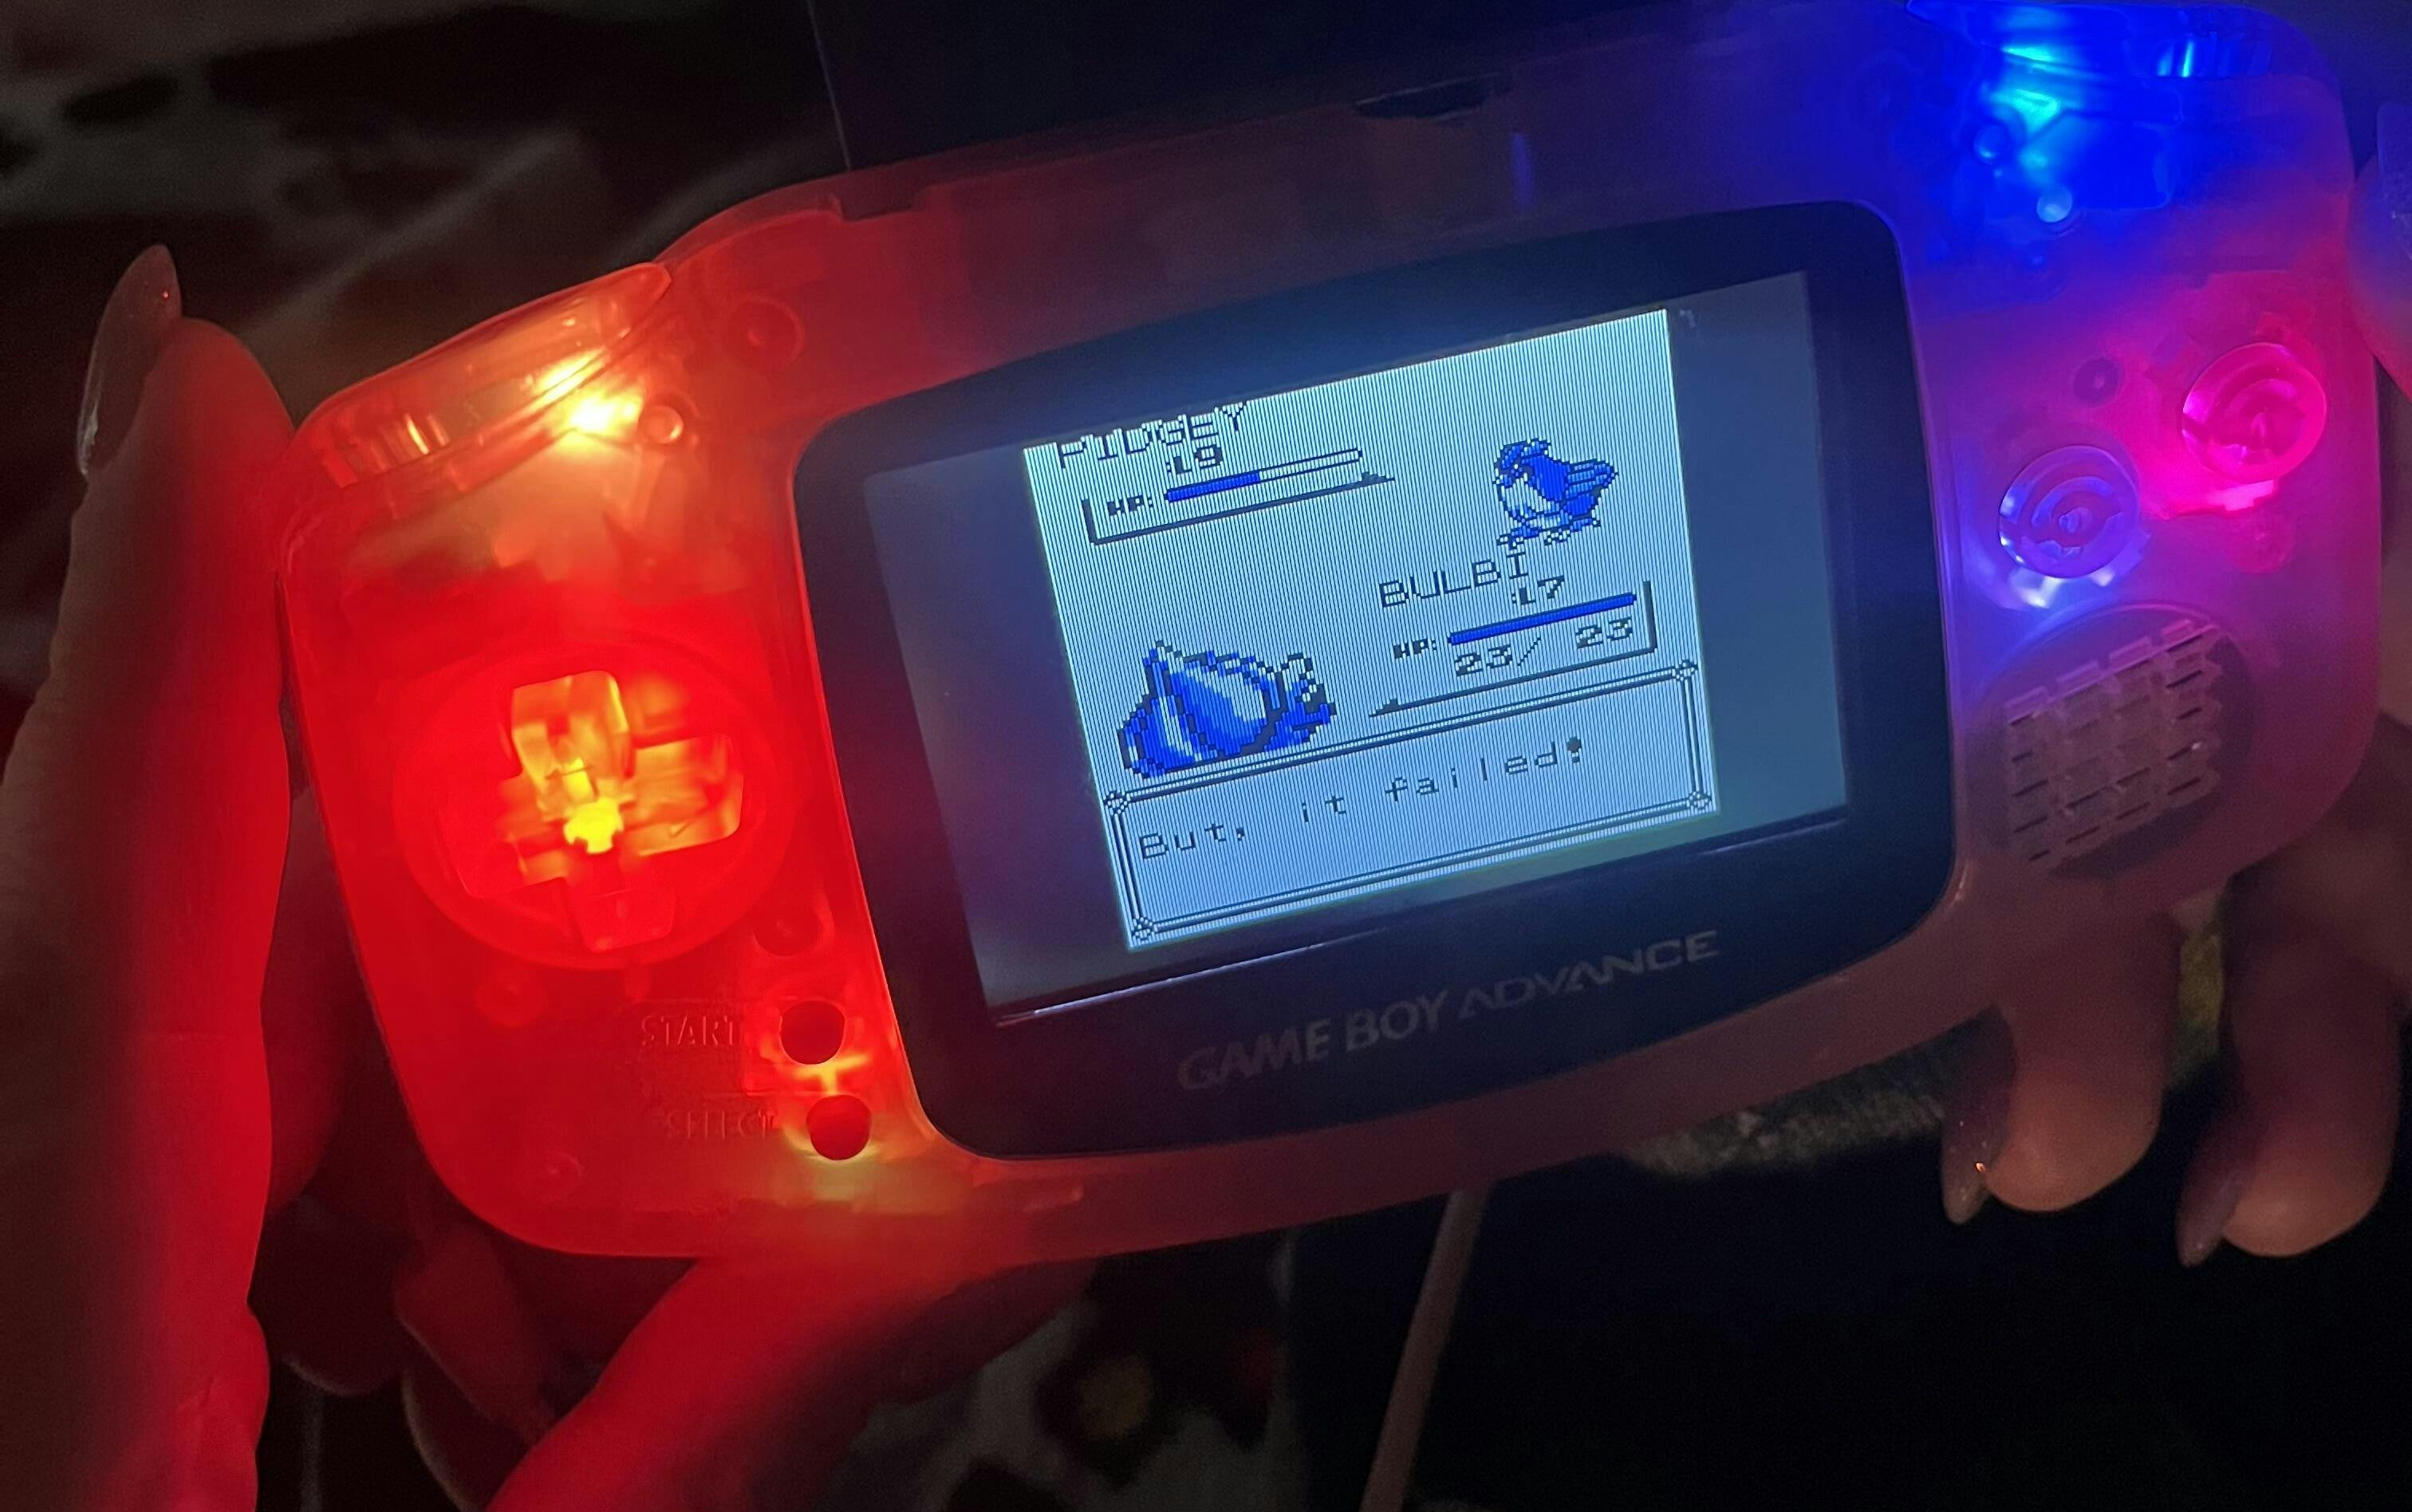
The backlight leaks through really bad, even at the lowest brightness. At higher ones, a good chunk of the picture is just washed out. For the price, this was absolutely not worth it.
Thanks for your feedback! Please reach out to us at support@handheldlegend.com so we may look into this further with you.
Very good
Orders placed with us will be fulfilled within 1 to 2 business days. Delays may occur depending on the volume we experience. This is especially true during sales and around the winter holidays. Once a package is fulfilled, we are unable to make any changes to the order or cancel it. Please review your entire order and the shipping information before completing the order for accuracy. Refunds will not be given under these circumstances. Once packages leave our warehouse, it is not in our control how fast it will get to you from there regardless of shipping option chosen. The shipping times shown are estimates, not guarantees. Refunds will not be given under these circumstances.
Free Shipping for order of $75 or more*. Exludes Ultimate conoles and custom controllers.
Hand Held Legend is committed to keeping retro gaming alive and better than ever. Upgrade your childhood consoles with modern tech. We strive for excellence in all that we do and aim to serve our customers well.
*If you would like to return or receive a refund on any item, please contact support@handheldlegend.com first to ensure that your item will qualify.
Purchases are eligible for return within 30 days of purchase. If 30 days have gone by since your purchase, unfortunately we can’t offer you a refund or exchange.
When you receive a backlight/LCD kit, you should perform a dry run before installing to assure that nothing has been damaged in transit. A dry run or test fit means the kit is not installed in the shell. This includes, but is not limited to, the use of adhesives, brackets, and any performed soldering. All ribbon cables should have no bends or creases in them. If you are unsure how to perform a dry run, please contact our support team and we will be happy to help. Backlight kits that have been installed are not eligible for replacement or return. If a backlight/LCD is returned and shows any signs of having been installed, it will not be eligible for a refund.
Requested returns/refunds/exchanges for items you believe to be defective, will be subject to a troubleshooting process with our support team before proceeding with a return/replacement/refund.
Modifying a product in any way, including but not limited to removing or adding components, will result in the voiding of our return/refund policy.
To be eligible for a return, your item must be unused and in the same condition that you received it. It must also be in the original packaging.
Defective or damaged parts are free to return within 30 days of purchase. Shipping costs are not covered for items returned at a customer's request or the refusal of the troubleshooting process with our support. Refunds for shipping costs and Route Shipping Insurance will not be given.
Please note that international orders are not eligible for a prepaid shipping label for returns on defective products. Returns must be paid for by the customer.
To complete your return, we require a receipt or proof of purchase.
Returns can be sent to:
Hand Held Legend
Attn: Returns
519 Davisville Road; Unit 102
Willow Grove, PA 19090
There are certain situations where only partial refunds are granted (if applicable).
We reserve the right to deduct an amount proportional to the chosen shipping return method from your refund if you order does not quality for a free return:
Refund Deduction Amounts by Shipping Method (USA):
- $5.00 for USPS First Class Mail Returns
- $10.00 for USPS Priority Mail Returns
- $13 for all over carrier returns
REFUNDS (IF APPLICABLE)
Once your return is received and inspected, we will send you an email to notify you that we have received your returned item. We will also notify you of the approval or rejection of your refund.
If you are approved, then your refund will be processed, and a credit will automatically be applied to your original method of payment, within 1-7 business days.
Refunds for shipping costs and Route Shipping Insurance will not be given.
LATE OR MISSING REFUNDS (IF APPLICABLE)
If you haven’t received a refund yet, first check your bank account. Then contact your bank or credit card company. It may take some time before your refund is officially posted.
If you’ve done all of this and you still have not received your refund, please contact us at support@handheldlegend.com.
EXCHANGES (IF APPLICABLE)
We only replace items if they are defective or damaged. If you need to exchange it for the same item, send us an email at support@handheldlegend.com.
CANCEL/EDIT ORDERS
You may cancel or edit orders yourself (before fulfillment) by following the steps in this guide. If you edit/cancel your order, you can expect a refund within 1 to 7 business days. Orders that have been fulfilled by our shipping team cannot have edits made or be canceled. We will do our best to assist customers in this process if needed, but it is the responsibility of the customer to ensure that their order and shipping information is correct before processing the order. We are not responsible for any issues that may occur due to incorrect items, shipping information, etc on orders.