

In 2018 Joe Bleeps created the “Neon Advance” and I immediately fell in love with it! The “Neon Advance” is basically a Game Boy Macro – a modified Nintendo DS Lite that is meant to play Game Boy Advance Games. The distinct feature of the “Neon Advance” is the light tube that adorns it between the hinge posts.
A few months later, inspired by Joe Bleep’s masterpiece and motivated by YouTube channels like “This Does Not Compute” and “The Retro Future”, I began my modding journey and eventually got the confidence to build my first Game Boy Macro.
When I started building these macros and posting the pictures, I realized how much people liked to personalize their handhelds, so I began creating many distinct color combinations and utilizing many different acrylic rods (the light tubes) to produce a stunning final result. The other interesting I realized is that macros mostly had one speaker and the use of headphones was encouraged. Not satisfied with this, I started making two speaker versions of my macros and this has become one of the most appreciated features of my builds.
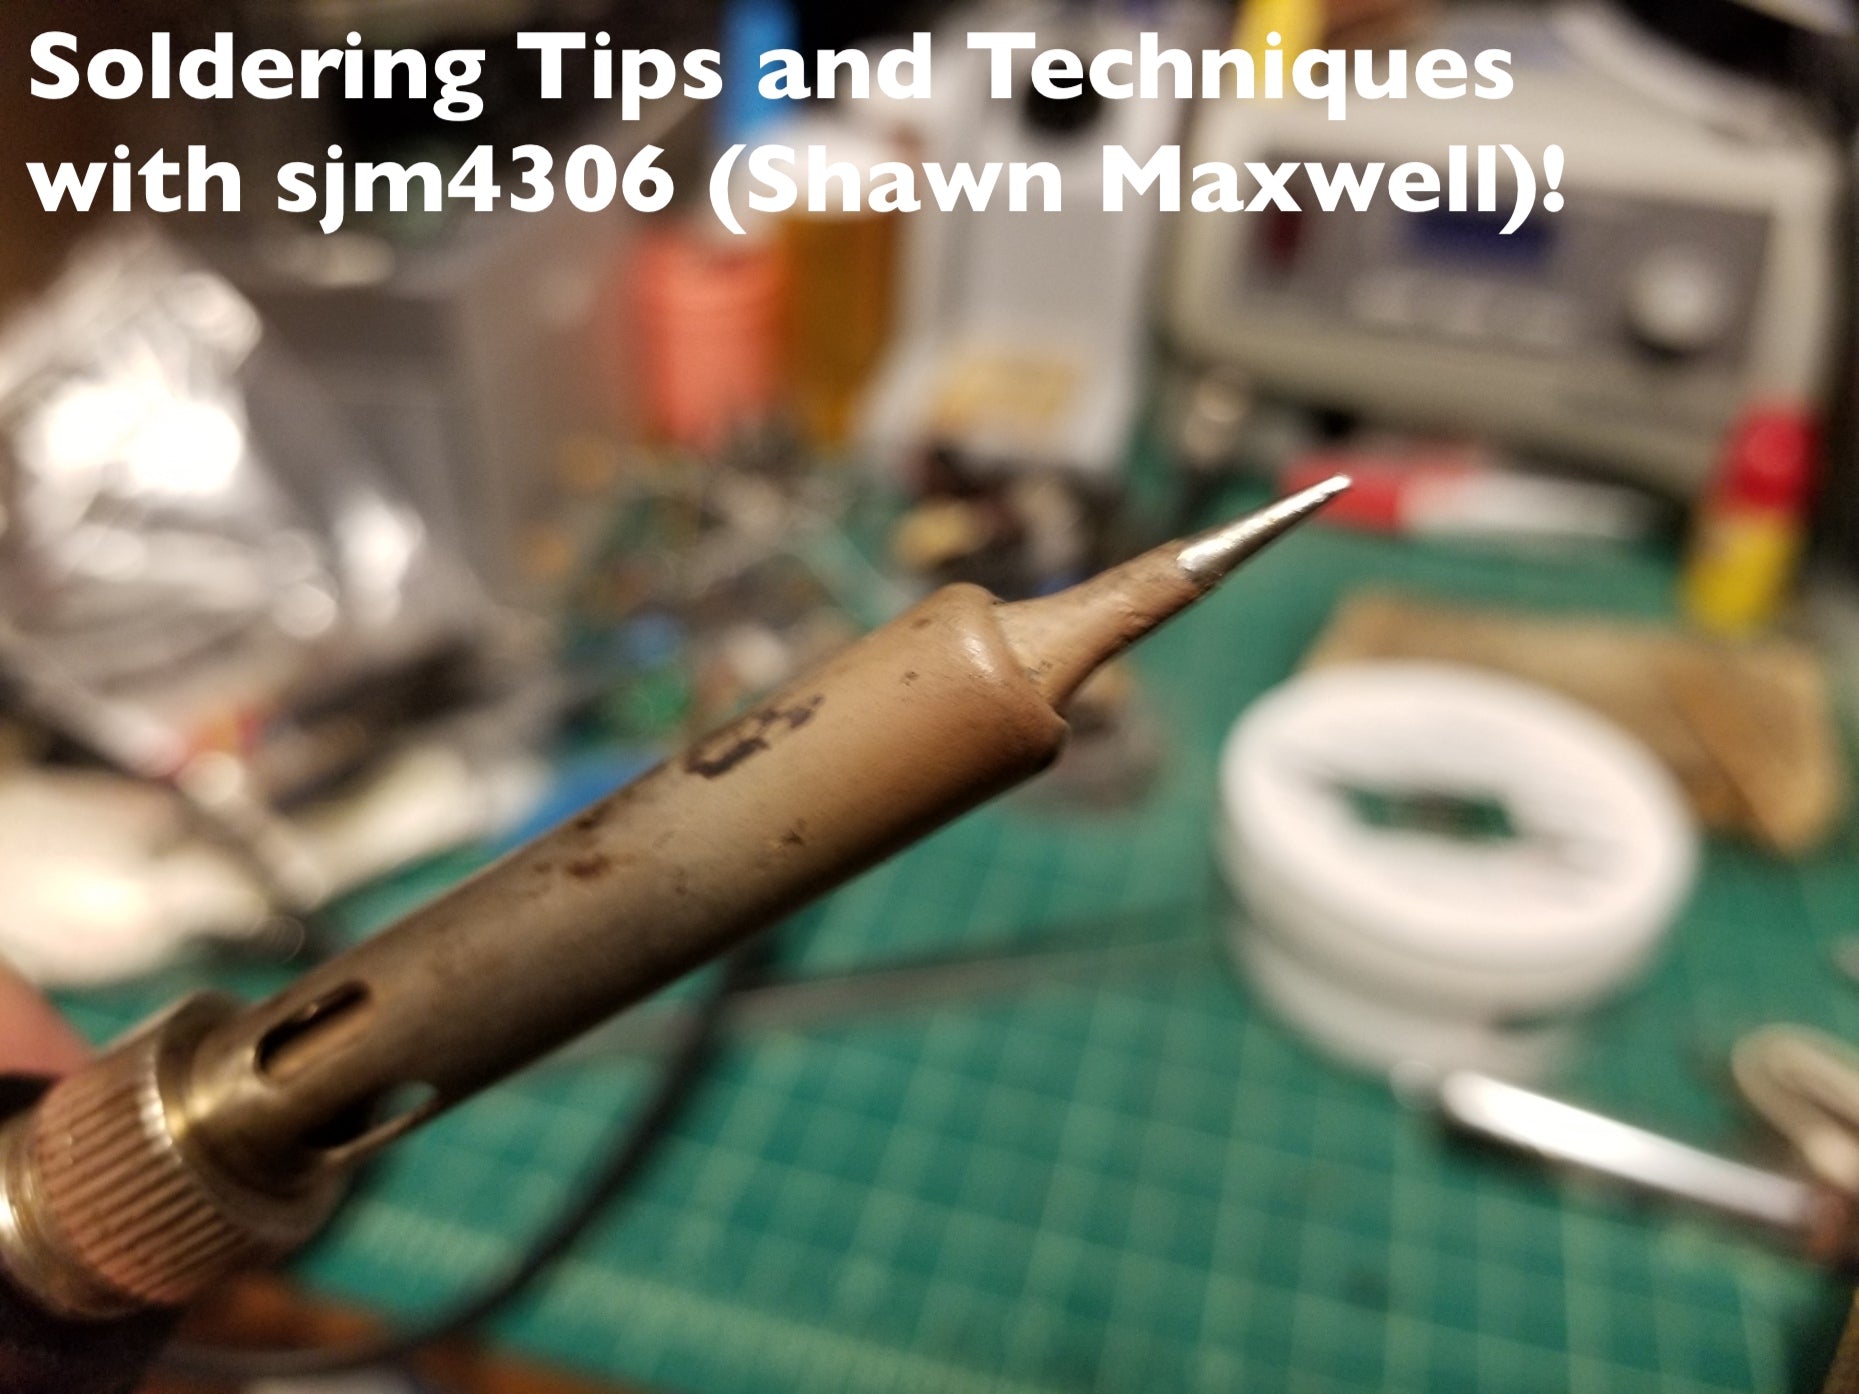
I was recently approached by Hand Held Legend to put together a brief, basic guide on how I build these and I gladly accepted. So here it is!
Step 1 – Rescue a DS Lite
Nintendo DS Lites are notorious for broken hinges, cracked screens, and damaged shells. These are often sold for parts and are the perfect candidates for a macro.

Step 2 – Remove shell
Use a tri wing screw driver and a small phillips screw driver to remove the back of the bottom part of the DS Lite. Begin with the battery cover, remove the battery and remove the screws under the battery.
Remove the two rubber covers on the top to get to the two screws there. Don’t forget the single screw at the edge of the DS slot.
Once the shell removed the back of DS Lite motherboard will be completely accessible.
Step 3 – Isolate the motherboard
Find the black cable on the WiFi module and the white cable next to it on the motherboard and use a spudge or something similar to remove them. All you need is slight upward pressure and they should easily snap off. Route the black cable underneath the DS slot and isolate it from the motherboard. The white cable should immediately be isolated from motherboard upon disconnecting it.

Remove the top screen ribbon connector by popping up the black bracket that secures it and pulling it away from the connector.

Remove the touch screen small ribbon connector by easily pulling it from the motherboard. Once again, a spudge is very helpful for this.

Remove the two screes that attach the motherboard to the front of the DS Lite (where the D-pad and buttons are) and push on the screen from the outside to completely separate motherboard from shell.
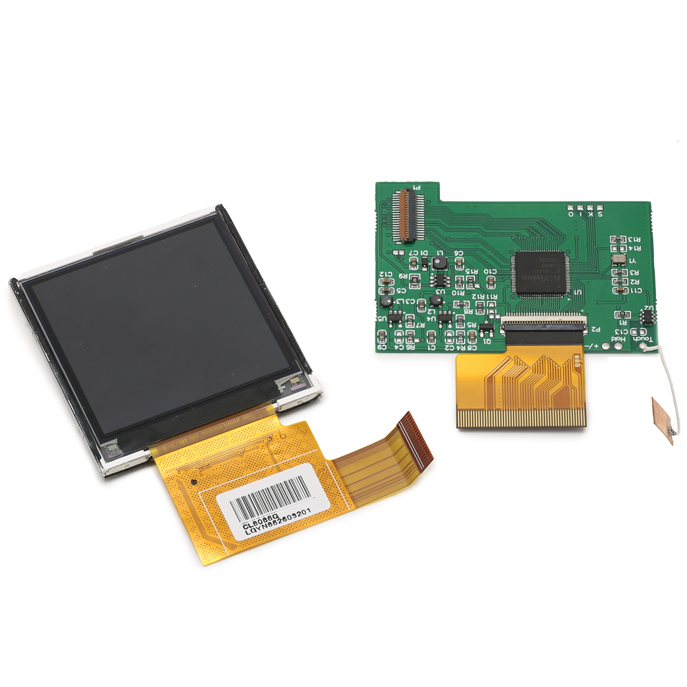
Detach the bottom screen from the motherboard and you should now have the motherboard of the DS Lite completely isolated.

You may at this point completely remove the touch screen layer from the rest of the screen. Doing this greatly improves the screen quality and removes any yellowing or scratches there may exit.

Step 4 – Prepare LED light and speakers
Pick an LED diode with the color of your choice (I use 3mm, 6-12v lights), a 300 ohm resistor and 30AWG gauge wire. Solder the resistor to the cathode of the diode (positive side) and the wires as shown in the picture.

At this point you may open the top part of the DS Lite and isolate the speakers from the top screen.

Step 5 – Solder the LED light and speakers
This is the most complex part of the process. Solder the LED light and speakers to the motherboard. Refer to the picture to see what contacts to solder the LED light and speakers to.

- LEDA2 – cathode of LED light (positive)
- LEDC2 – anode of the LED light (negative)
- SPLO – left speaker red wire
- SPRO – right speaker red wire
Solder the black wires of the speakers to a ground point on the motherboard. I solder them to the contact by the headphone jack shown in picture.

Position the speakers on the motherboard. I put one by the stylus slot hole and one inside the DS game slot.
Step 6 – Add the light tube
Add a 6mm (.24 inches) acrylic rod to the section between the hinge posts of the bottom half of the DS Lite. You will have to widen the hole of the right hinge post for the acrylic rod to fit.
Step 7 – Wrap it up
Use kapton tape to cover all contact points that may possible short. I always put it on where I soldered the LED light and speakers and on the contacts points on the actual speakers.
The trickiest part of the process is routing all the wires properly and making sure that the shell closes properly. This is particularly difficult when using third party shells. Be patient and creative to accomplish this last step.
You should at this point have a stunning Game Boy Macro that is personalized and unique.


Pro tips!
1) GBA games on the bottom
Boot up the macro without any games and make sure you set the bottom screen for GBA games, otherwise you’ll have sound and a black screen and not know what went wrong.
2) Speaker position
If you have setup the bottom screen as the default GBA screen and when you boot up the light tube turns on but there is no sound or video, you’ve run into the most confusing problem when making these macros.
When this happened to me I had no idea what went wrong until I realized that the DS Lites have a function that put the system to sleep when the clamshell is closed. This mechanism functions with the magnet of the speakers when it comes in contact with sensor U11, located between the four buttons (A, B, X, and Y).
If you run into this problem, it means you positioned the speaker by the stylus lot hole too close to sensor U11. To resolve this, simply lower the speaker a little and everything should work normally.
1 comment
Henry
Thanks for the guide! I was wondering how to change brightness when removing the touch screen?
Thanks for the guide! I was wondering how to change brightness when removing the touch screen?