Laminated ITA TFT Backlight Kit for Game Boy Advance - Funnyplaying FUNNYPLAYING

FUNNYPLAYING

Game Boy Advance ITA TFT Backlight Kit with Laminated Lens and OSD - FunnyPlaying

Sale price€53,95
9 reviews
9 reviews
SKU: GBA4204

FunnyPlaying

Color:

Color

Quantity:
Pickup available at 519 Davisville Rd. Usually ready in 2-4 days

Game Boy Advance ITA TFT Backlight Kit with Laminated Lens and OSD - FunnyPlaying

Super Famicom

519 Davisville Rd.

Pickup available, usually ready in 2-4 days

519 Davisville Road
Willow Grove PA 19090
United States

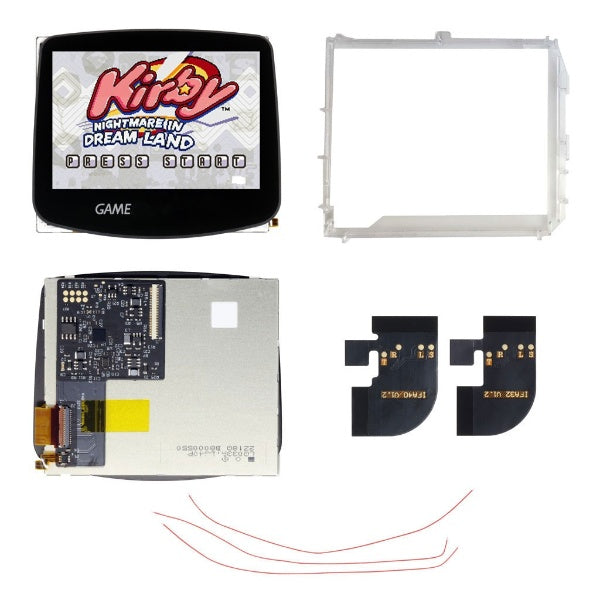
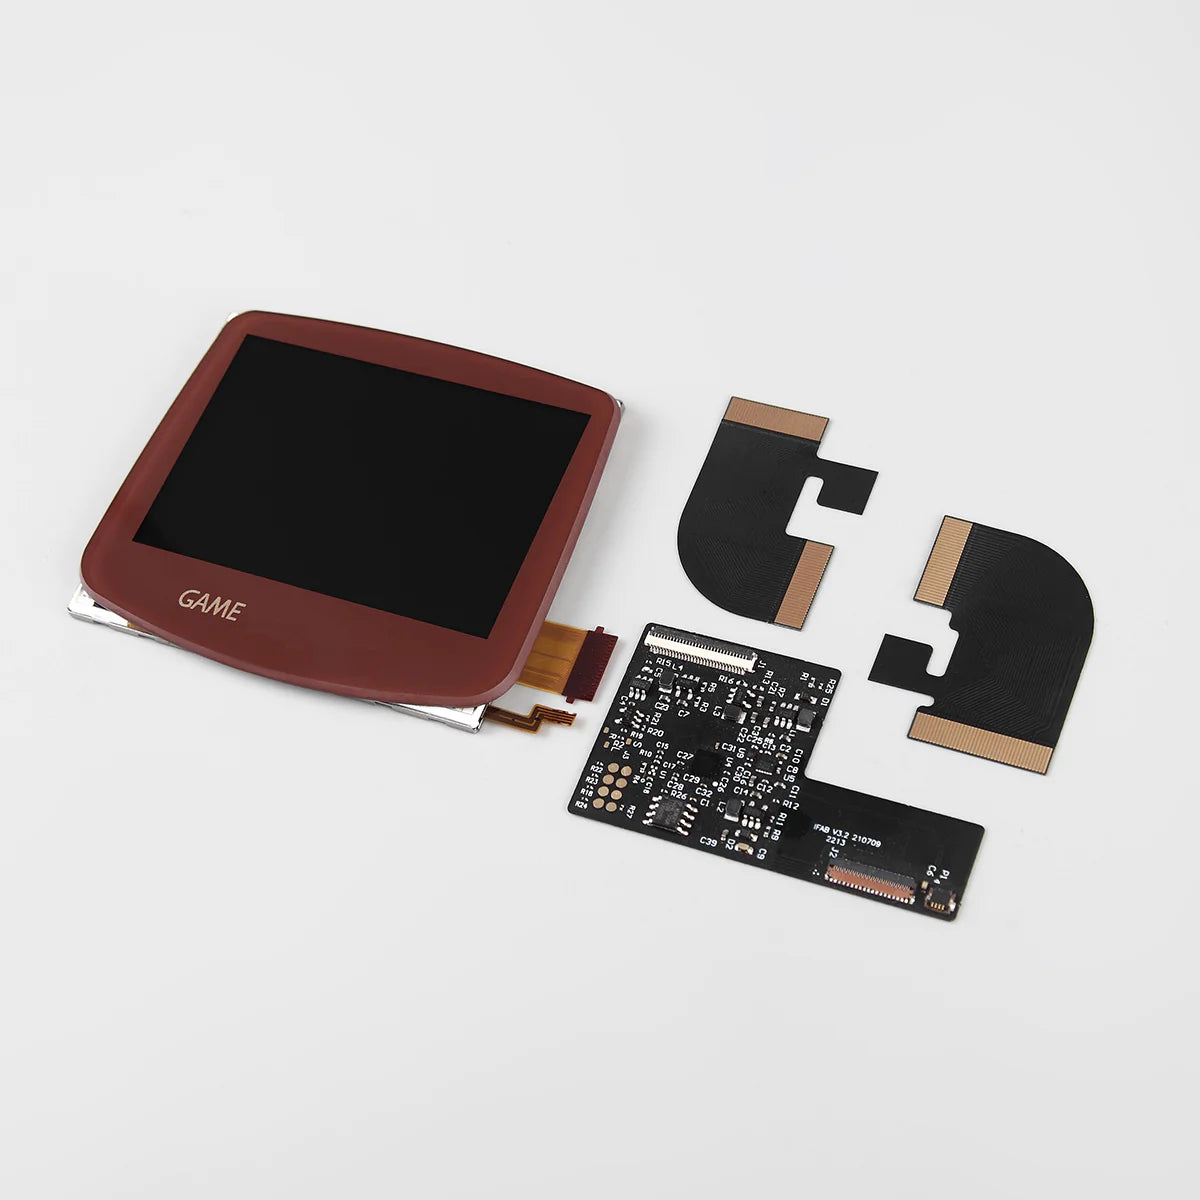
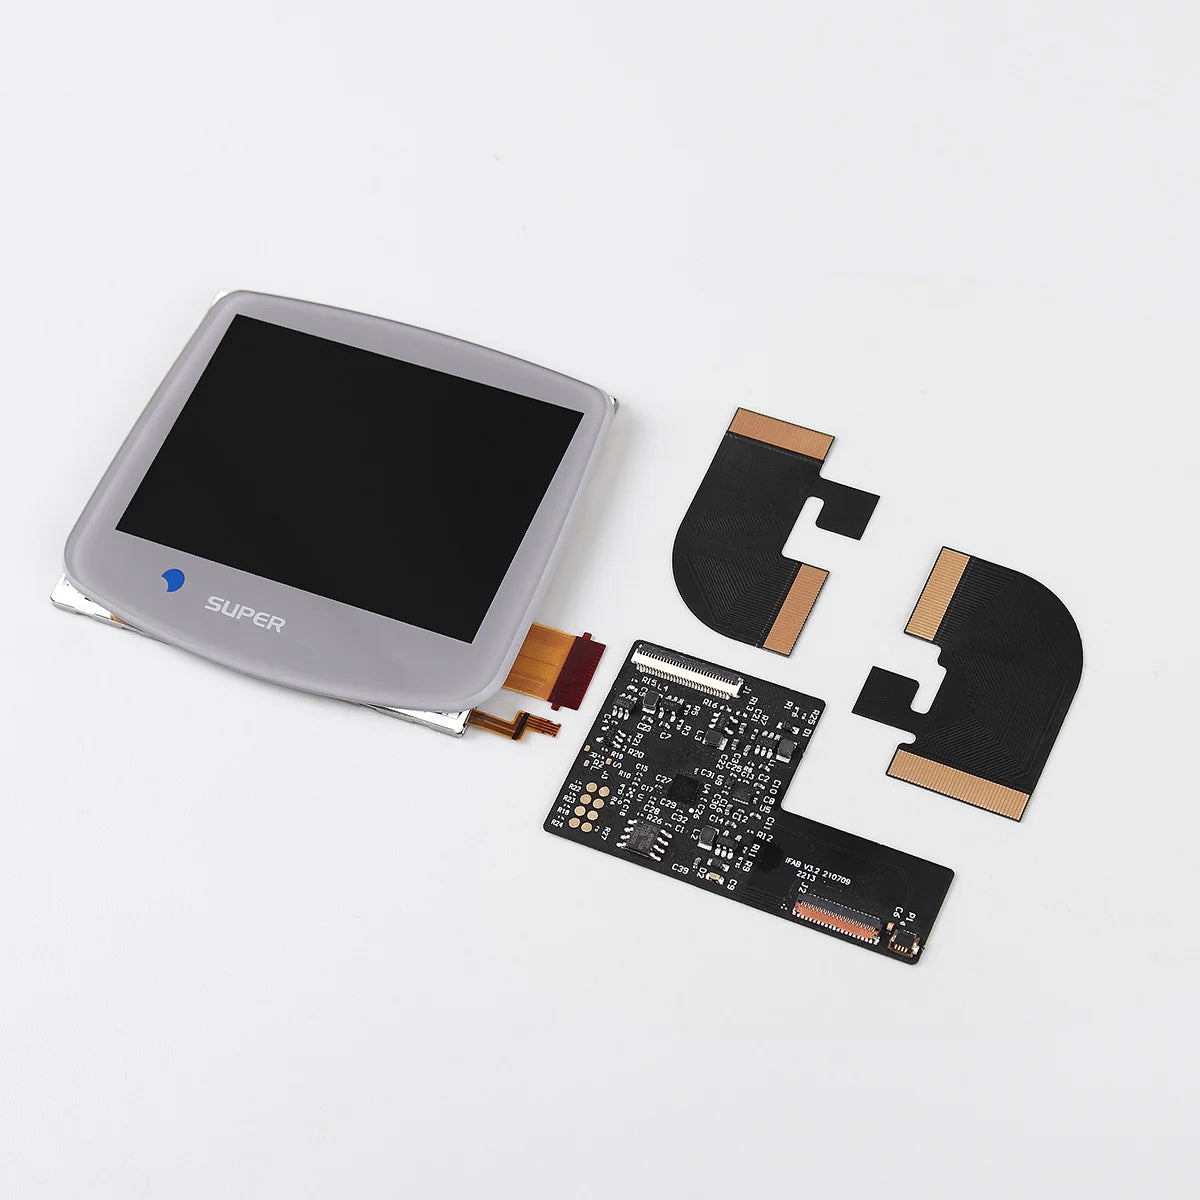
The Laminated ITA Kit for Game Boy Advance from FunnyPlaying.
**This kit ONLY pairs with these shells from FunnyPlaying.

FEATURES:

  • An ITA screen and glass lens all in one piece.
  • Adjust brightness with touch sensor or button inputs.
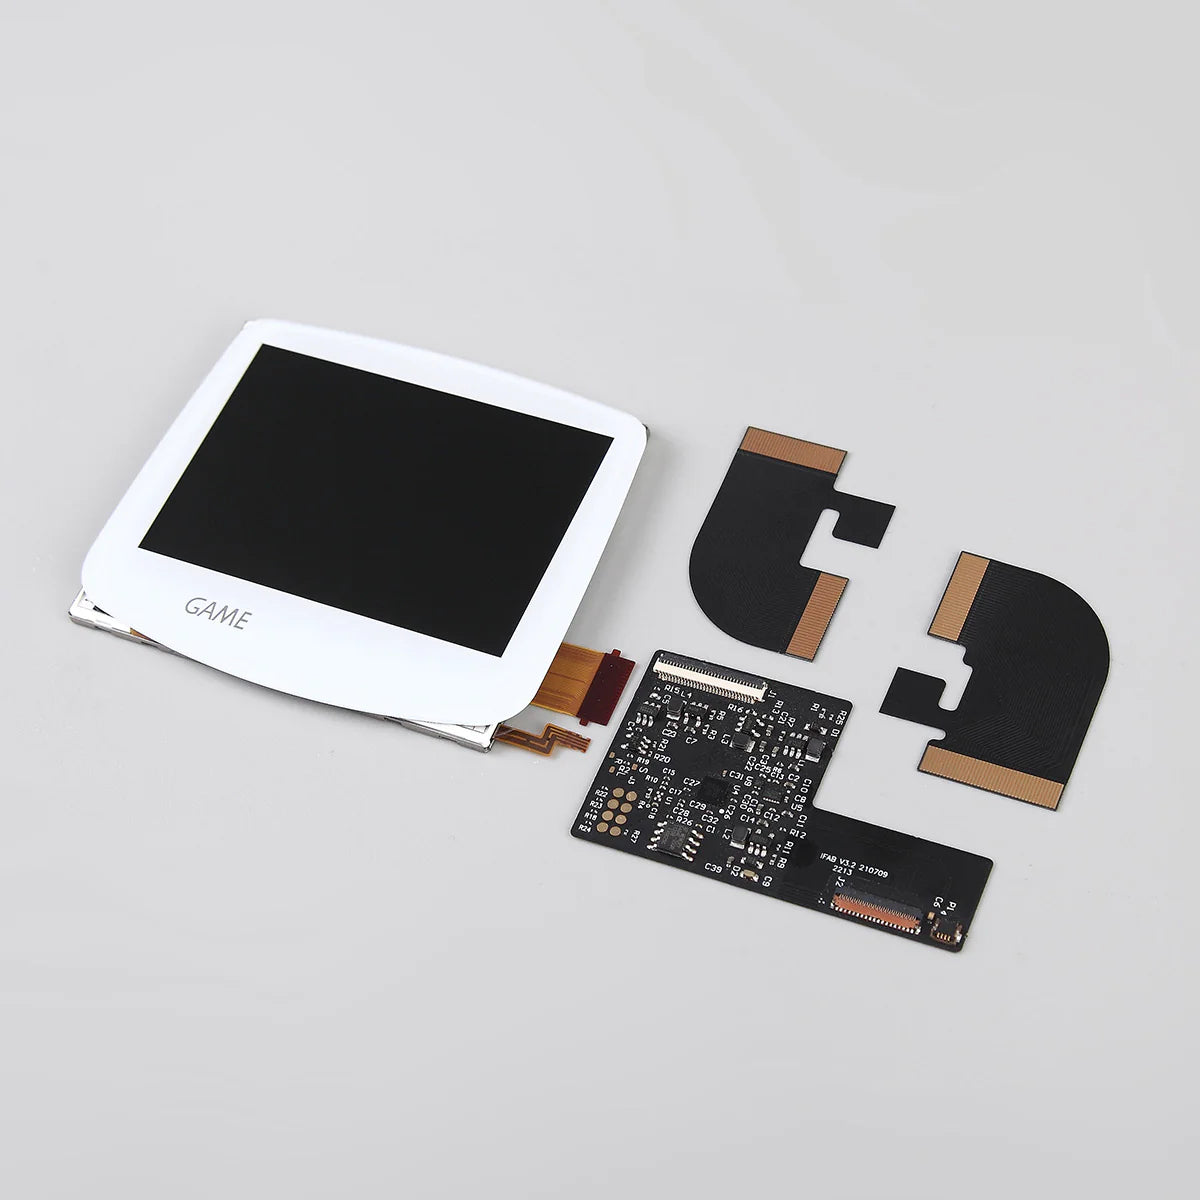
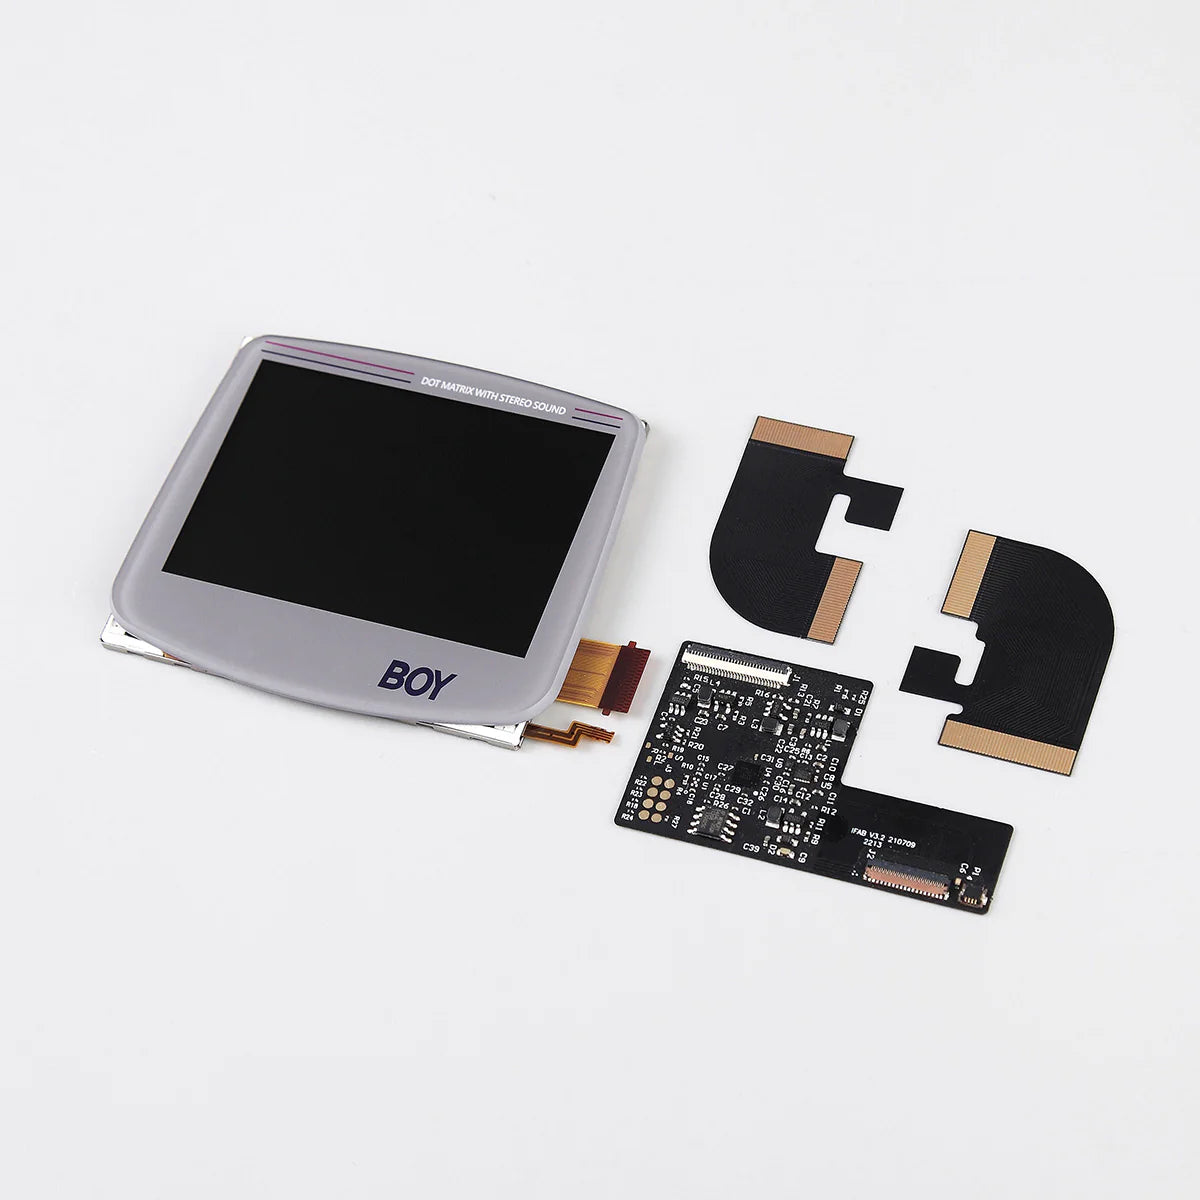
  • Applicable console text is present on lens. Silver text.
  • Long touch the touch sensor for OSD menu.
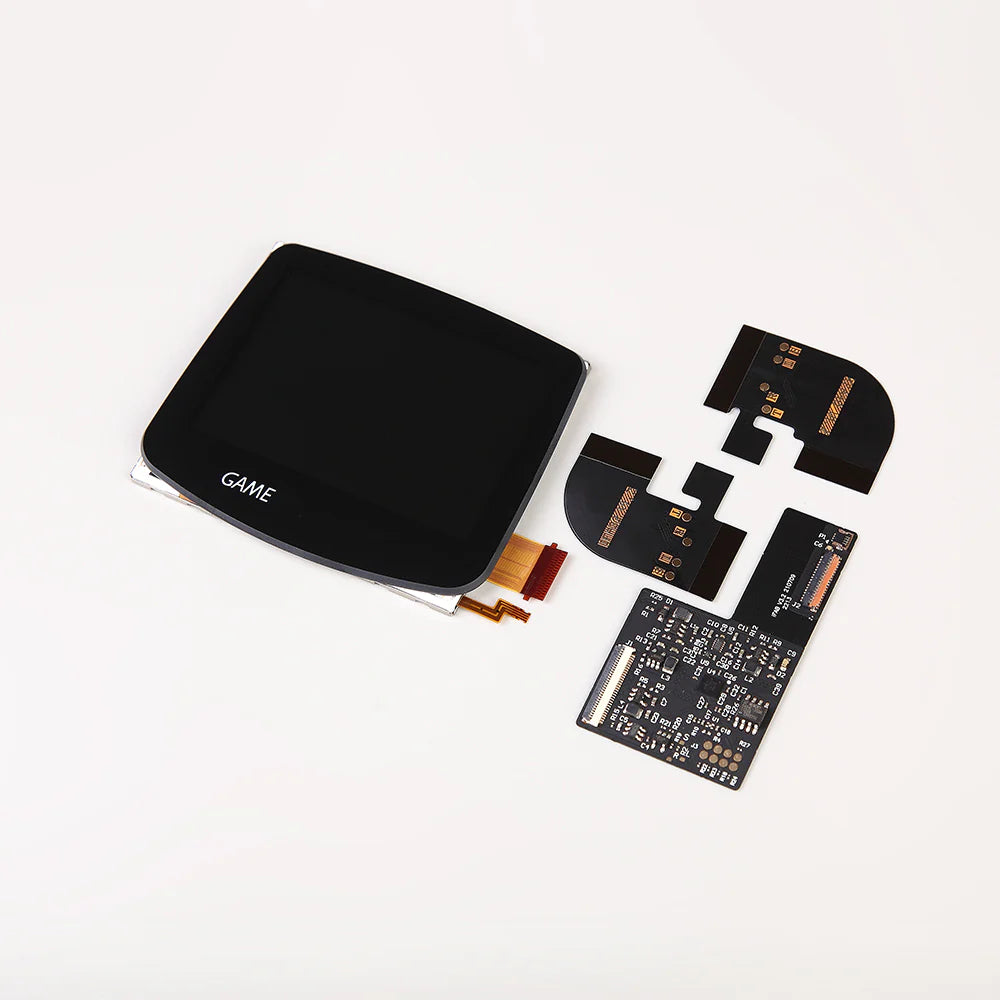
INCLUDED:

  • 1 x ITA LCD with lens adhered (see warnings) and PCB ribbon cable attached
  • 1 x 32 pin ribbon with touch sensor
  • 1 x 40 pin ribbon with touch sensor
  • 3 x Wires
  • 1 x Bracket

PAIRS WELL WITH:

DOCUMENTATION:

NOTES:

  • Only pairs with the Replacement Shell for Game Boy Advance - IPS Laminated - Funnyplaying. Other other shells require extensive trimming. Refunds/replacements are not accepted if the incorrect shell is used.
  • If you received a bracket that looks different from the one in the product photo, you may have received the wrong bracket. Please check to make sure you have received the correct bracket. If this is not completed and the LCD kit is damaged, refunds will not be accepted.
  • Port on ribbon cable may be in different direction depending on variant. Please see install guide (not video) for further instructions.
  • 40-pin Consoles need to remove the C54 capacitor.
  • Long press touch sensor (two seconds) to enter OSD menu or hold Select, L, and R if you have soldered those wires. Enter the menu and press and hold for one second to switch the selection.
  • To use the screen adjustment in the OSD menu, you will need to solder the Select, L, and R wires.
  • After installation, if it is noted that your touch sensor is overly sensitive or is cycling, please see this article for assistance.

WARNINGS:

  • You do not need to purchase a separate lens. Removing pre-adhered lens from LCD can result in damage to the LCD and will void product warranty. If you received an extra lens in your order, this was likely a included plastic lens with a shell and should NOT be placed on top of the pre-adhered lens.
  • Test before installation! When you receive a backlight/LCD kit, you should perform a dry run before installing to assure that nothing has been damaged in transit. A dry run or test fit means the kit is not installed in the shell. This includes the use of adhesives, brackets, and any performed soldering. All ribbon cables should have no bends or creases in them. If you are unsure how to perform a dry run, please contact our support team and we will be happy to help. Backlight kits that have been installed are not eligible for replacement or return.
  • LCD may break if put under too much pressure or dropped. Please exercise extreme caution when installing.

Customer Reviews

Based on 9 reviews
33%
(3)
22%
(2)
22%
(2)
22%
(2)
0%
(0)
F
Fraser K.
Black
Dead Touch Sensor + horrendous user experience.

In addition to this, I also bought the compatible replacement shell.

I had a lot of minor problems, and some major problems with this mod. The main being:

- Bad Touch Sensor / false inputs
- Poor flex cable design
- Lack of included instructions
- Dead pixels on side of screen

I want to preface this review by saying, while this is my first GBA mod, I've modded, restored and repaired dozens of consoles over the years with everything from modchips to surface mount soldering etc... I don't have a degree in electronics engineering, but I have plenty of experience. Of all the mods I've ever done, this was by far the worst experience I've had.

My biggest problem was the touch sensor and it's existence on the flex cable. Genuinely terrible design. The touch sensor is a part of the flex cable, and is meant to be bent around the rest of the cable so it mounts against the top of the shell. Flex cables are very fragile, so any positioning or mounting should be easy and secure, this is the opposite. The guide literally suggests using tape to hold it in place. That adds two additional problems. The first being being unable to easily access the mod once taped. Second being it's really hard to get the sensor flush with the shell. It's also mounted at the edge of the shell where the other half connects, and taping it down makes it really annoying to close the shell without damaging the sensor. Repeated opening and closing of the shell makes it likely to either knock the tape loose, or damage the flex cable. Both ended happening to me despite my best efforts. Because I already had to buy the compatible shell replacement, it feels inexcusable that the shell doesn't have a slot for a touch sensor to fit into, or something made to mount it. Taping it is laughable.

Even before the touch sensor cable was damaged, it was giving me false inputs, causing the brightness to constantly change. It was this issue that caused me to need to open up the shell as many times as I did which ended up damaging the ribbon cable. The touch sensor is 100% unnecessary, but there's no way to disable it. I looked up online and apparently it's a common issue from multi revisions, and it's never been fixed. The only way to deal with this is to remove a very small surface mount IC from the board. Thankfully I have the experience doing so, but I imagine 90% of GBA modders don't. Once removed, you can hold "Select" and that brings up the menu to change brightness. How it should've been from the start.

From first boot I noticed some dead pixels on the side of the screen. I needed this GBA finished for an event only a few days after, so I couldn't send it back and wait for a replacement, still usable, but definitely still damaged out of the box. Sadly with the sensor struggles, slight flex cable damage and my personal modifications to disable the sensor, there was no way I could convince support that the screen damage was out of the box, so I didn't even try.

A bit of a nit pick, I expected some kind of basic install guide in the box, or at least a QR code to a PDF or video. I know there's instructions on the product page, but that feels a bit lazy. And with my required troubleshooting, there was definitely needed information that wasn't on any of the guides, and I had to find on Reddit...

The only reason why I gave this 2 stars instead of 1 was simply, once it was working, it does look and play good, but it was not worth it. I will never buy anything from funnyplaying again.

S
Spekuro
Black
Good screen, bad color profile

The screen itself appears to be of good quality, and installation, while not easy, is not too problematic.
The big problem is the colour profile used, which is drastically different from that of the original gba/gba sp/gba micro screens. The result is games with over-saturated colours, some of which are almost unplayable.

S
Stephen P.
White
Missing bracket

The screen was missing the bracket for the funnyllaying shell. =(

j
joseph c.s.j.
White
Great but needs options

Very well built bright clear and offers the classic grid without blurring or ghosting. Only thing holding it back is clear instructions mentioning flicker adjustment. Sensor touch should be optional from the osd menu. I would move the ribbon cable soldering points to the mother board side.

B
Brian M.
Famicom
FP case was missing

If you order this screen kit directly from funnyplaying (I have), it comes in a cool case shaped like a Gameboy cartridge, made of glittery plastic. It has nothing to do with the parts you need, HHL sent all the parts. I haven't installed it yet but I'm just wondering, why keep the awesome Gameboy cart case, HHL? Or does funnyplaying just send you the parts and not the case? Either way, it was a nice bit of packaging. As for the laminated ITA screen, I prefer it very much over all the IPS kits. It looks more like a GBA display should, just vibrantly lit-up.

FP doesn't send us the cool carts, just the parts. :)

A
Aldo

Flickering like crazy despite adjusting the contrast