Game Boy Color Retro Pixel 1.0 Q5 IPS LCD Backlight Kit - FunnyPlaying
Game Boy Color Retro Pixel 1.0 Q5 IPS LCD Backlight Kit - FunnyPlaying
Hand Held Legend
519 Davisville Road
Unit 102
Willow Grove PA 19090
United States
Choose options
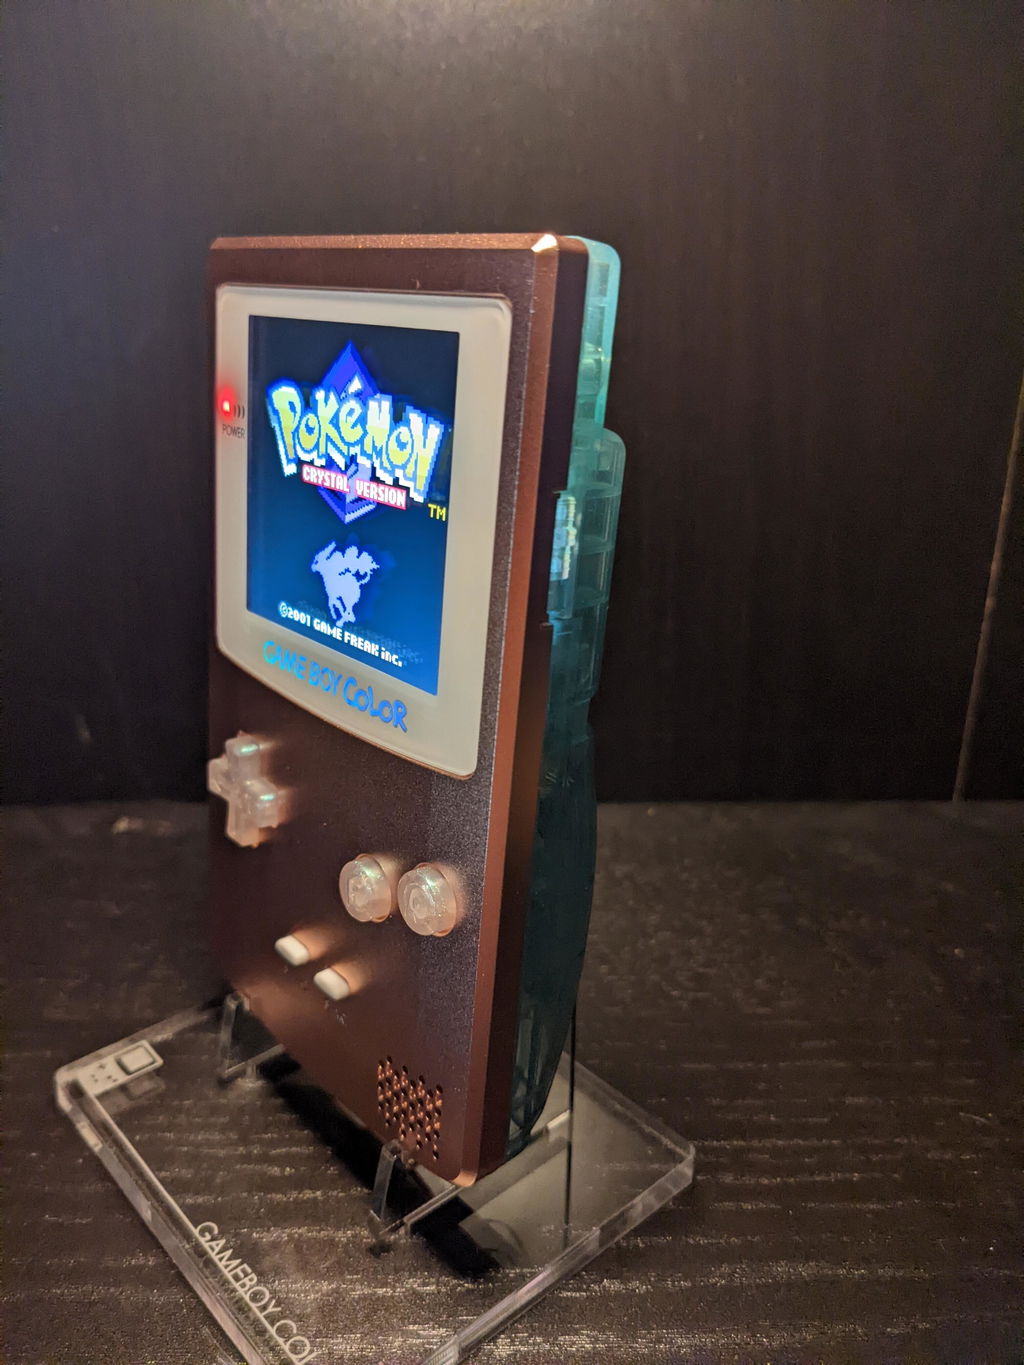
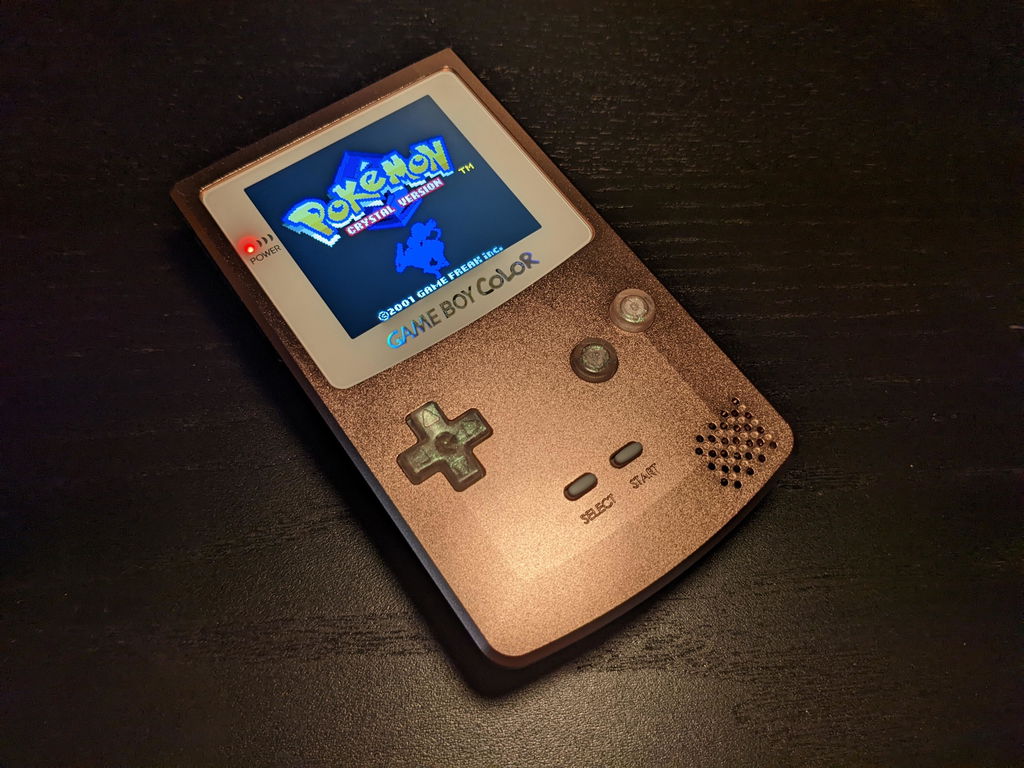
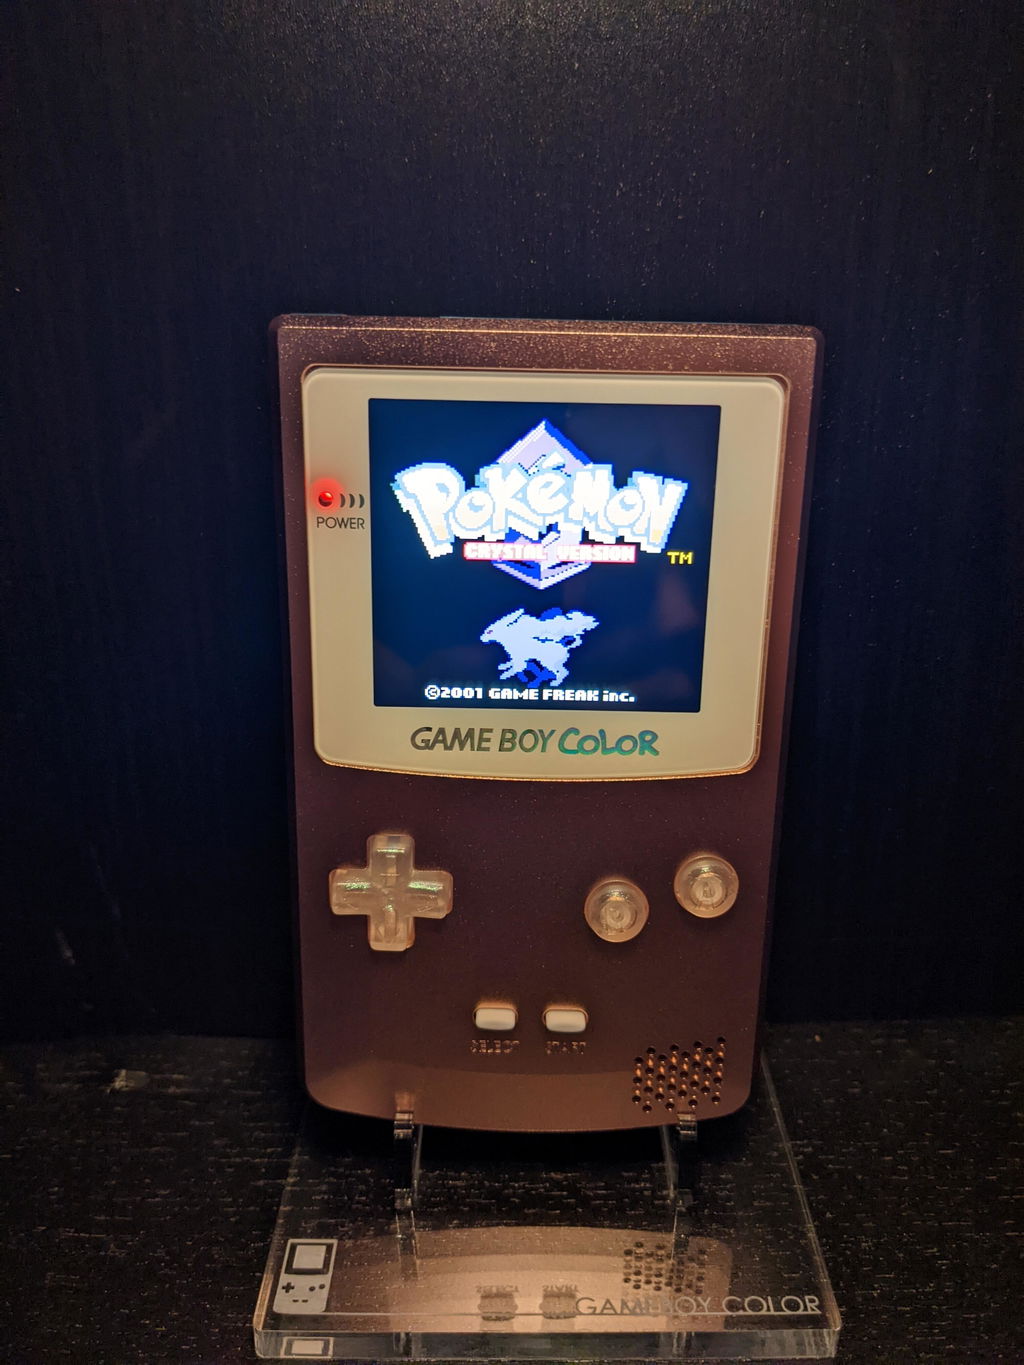
This Funnyplaying IPS LCD for the Game Boy Color comes with improved function and an enlarged viewing window. Backlight and illuminate your beloved childhood GBC with a modern IPS LCD with improved color, contrast and viewing angle.
FEATURES:
- Display area is larger than the original. Shell modification required
- Custom glass lens required for appropriate masking of viewing window. Please purchase separately.
- Brackets available for purchase separately.
- Touch enabled function control for brightness and pixel modes.
-
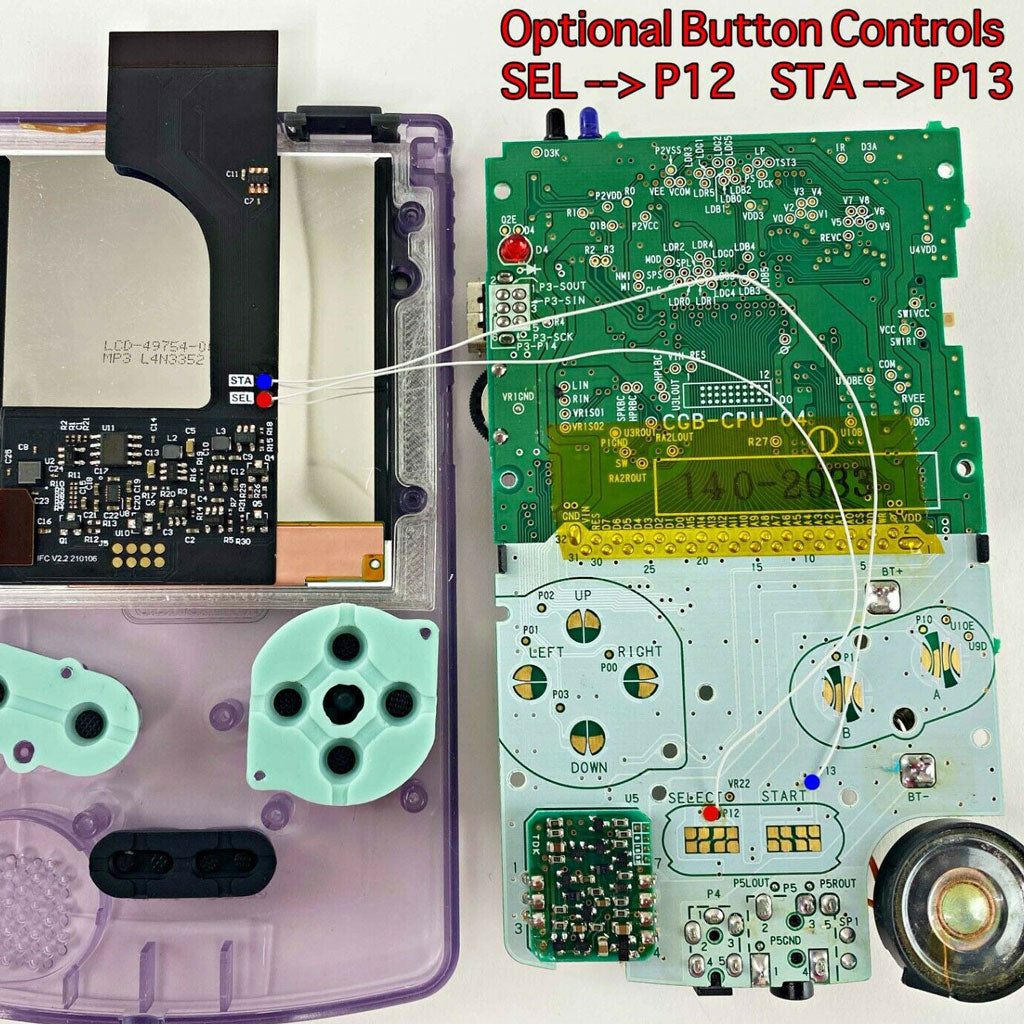
Soldering required for button brightness and retro pixel control.
- Built-in 5 display effects.
- 4x Integer scaling
- IPS panels are characterized as having the best color and viewing angles.
- LCD and ribbon power between 0.29W and 0.68W
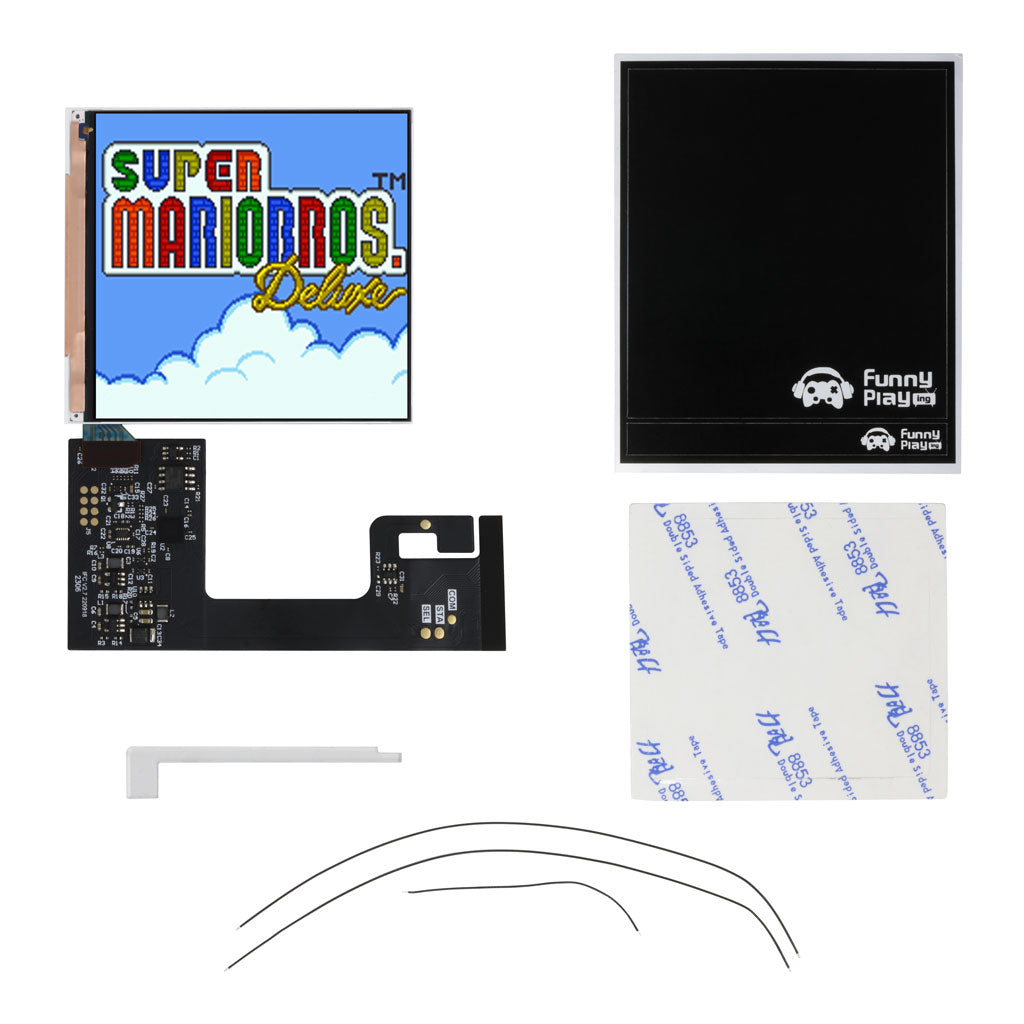
INCLUDED:
- 1x Q5 IPS LCD
- 1x PCB ribbon cable with attached touch sensor
- 3x Wires
- 1x Adhesive
- 1x Insulation film
- 1x Spacer
USING FEATURES:
- The leads of the START and SELECT buttons are retained on the ribbon.
- START + touch = increase brightness
- SELECT + touch = decrease brightness
- Press START and SELECT simultaneously for 1 second to switch the display effect. (Short press the sensor button to cycle 7-segment brightness adjustment, long press to switch the display effect.)
- To Move Left and Right: Hold Start and Select for 5 seconds, pressing start and select will then shift screen. Press touch sensor to swap direction you are moving. Press touch sensor two more times to go back to moving left and right. Save by holding start and select again for 5 seconds.
- Full pixel copy display (display the highest brightness, gorgeous and concise)
- Classic GBC display (perfectly restore the original display effect)
- Classic RGB display (perfectly restore the original display effect, and the pixel gap looks smaller, the brightness will be slightly darker)
- RGB display (closest to the original display, but the brightness is very low)
- Grid line display (close to the display effect of DMG)
PAIRS WELL WITH:
DOCUMENTATION:
-
Install Guide
- Install Video- NOTE: Please refer to install guide before using the video. Guides will have very important information and steps needed that the videos may lack.
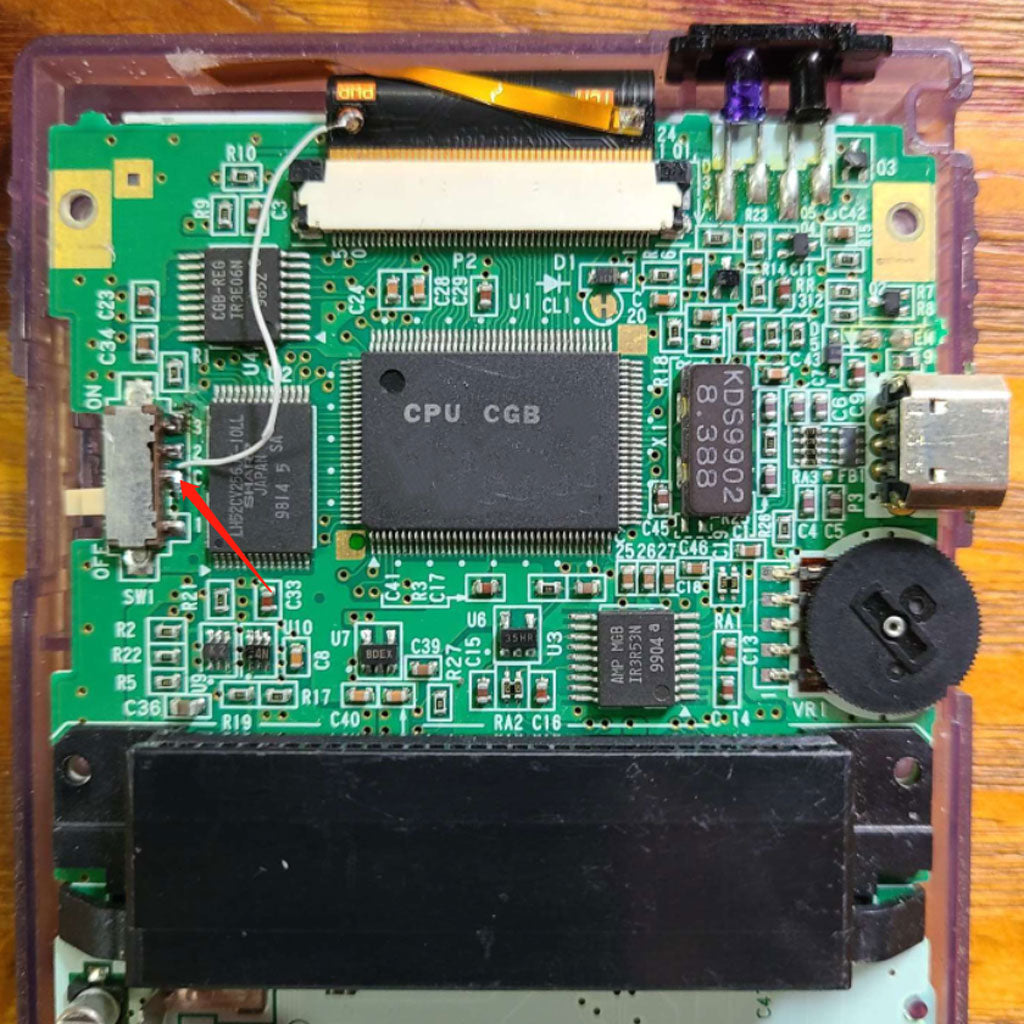
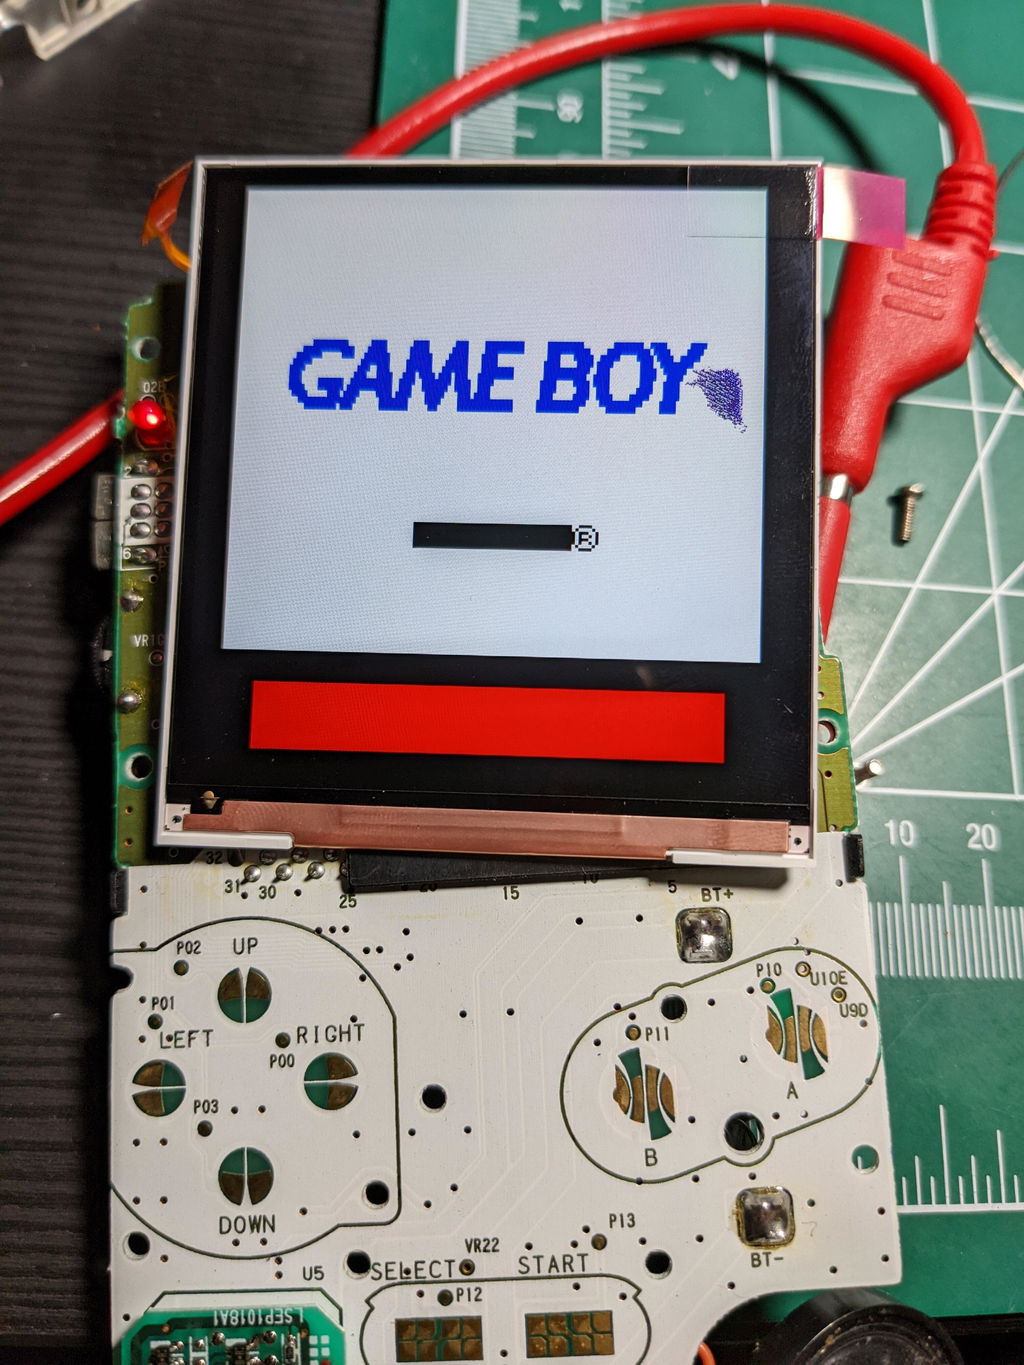
- How to test your LCD kit *Soldering may be required to dry test this kit. Soldering the power wire in this case will not void the return policy.
- Shell Trim for OEM and non-IPS modified shells
- Shell trim for Prestige IPS ready shell
NOTES:
- This kit now has a touch sensor already included on the black ribbon cable. You may use this one by simply folding into the front or back of the shell. A separate touch sensor ribbon may or may not be included, but is not necessary to use if received.
- After installation, if it is noted that your touch sensor is overly sensitive or is cycling, please see this article for assistance.
WARNINGS:
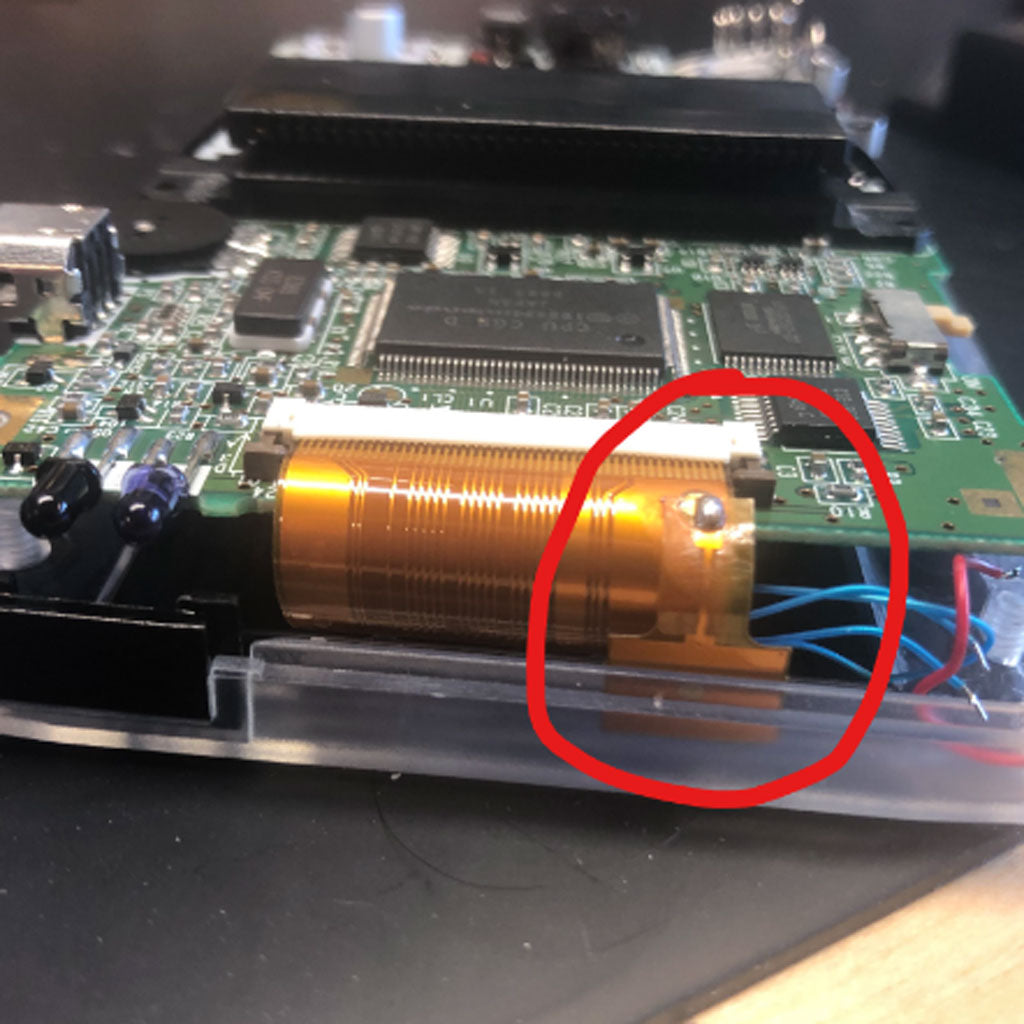
- Test before installation! When you receive a backlight/LCD kit, you should perform a dry run before installing to assure that nothing has been damaged in transit. A dry run or test fit means the kit is not installed in the shell. This includes the use of adhesives, brackets, and any performed soldering. All ribbon cables should have no bends or creases in them. If you are unsure how to perform a dry run, please contact our support team and we will be happy to help. Backlight kits that have been installed are not eligible for replacement or return.
- LCD may break if put under too much pressure or dropped. Please exercise extreme caution when installing.
- Damage to console or LCD may occur if you do not trim the cartridge port pins. Exercise caution when trimming pins, wear eye protection to protect from pin debris when cutting the metal. Damage caused by these pins are not covered under our return or exchange policy. Trim the pins of your Gameboy's cartridge slot flat so that they don't interfere with any parts of the kit. We also recommend placing some Kapton tape over the trimmed pins to prevent any shorts.
Nintendo®, NES®, Super Nintendo Entertainment System™, Nintendo 64®, Nintendo GameCube®, Game Boy®, Game Boy Color®, Game Boy Advance®, Nintendo DS™, Nintendo 3DS™, Wii™, Wii U™, Nintendo Switch™, and all related names, logos, and trademarks are the property of Nintendo Co., Ltd. or its subsidiaries.
This product is an independent, third-party restoration or accessory product and is not endorsed, licensed, sponsored by, or affiliated with Nintendo Co., Ltd. in any way.
Why Choose our Store?
Fast Shipping
We know you’re excited to get your gear, so we ship fast—usually within 1-2 business day. With reliable carriers and tracking included, your order arrives quickly and safely, every time.
Great Support
Have questions or need help? Our knowledgeable team is here to assist with fast, friendly support. Whether it’s product advice or order issues, we’ve got your back.
Get in TouchTransparency
What you see is what you get. We provide clear photos, detailed descriptions, and honest specs so you know exactly what you’re buying—no surprises.
Store ReviewsRewards
Get more with every purchase. Join our rewards program to earn points you can redeem for discounts, exclusive offers, and more—just for shopping with us.
Rewards ProgramDeep Discounts
CLEARANCE