Game Boy Advance SP V5 3.0 Inch IPS LCD Backlight Kit with Laminated Lens and OSD - Hispeedido
HISPEEDIDO
Color
Game Boy Advance SP V5 3.0 Inch IPS LCD Backlight Kit with Laminated Lens and OSD - Hispeedido
Black
Hand Held Legend
519 Davisville Road
Unit 102
Willow Grove PA 19090
United States
Choose options
HISPEEDIDO
Color
HISPEEDIDO
Color
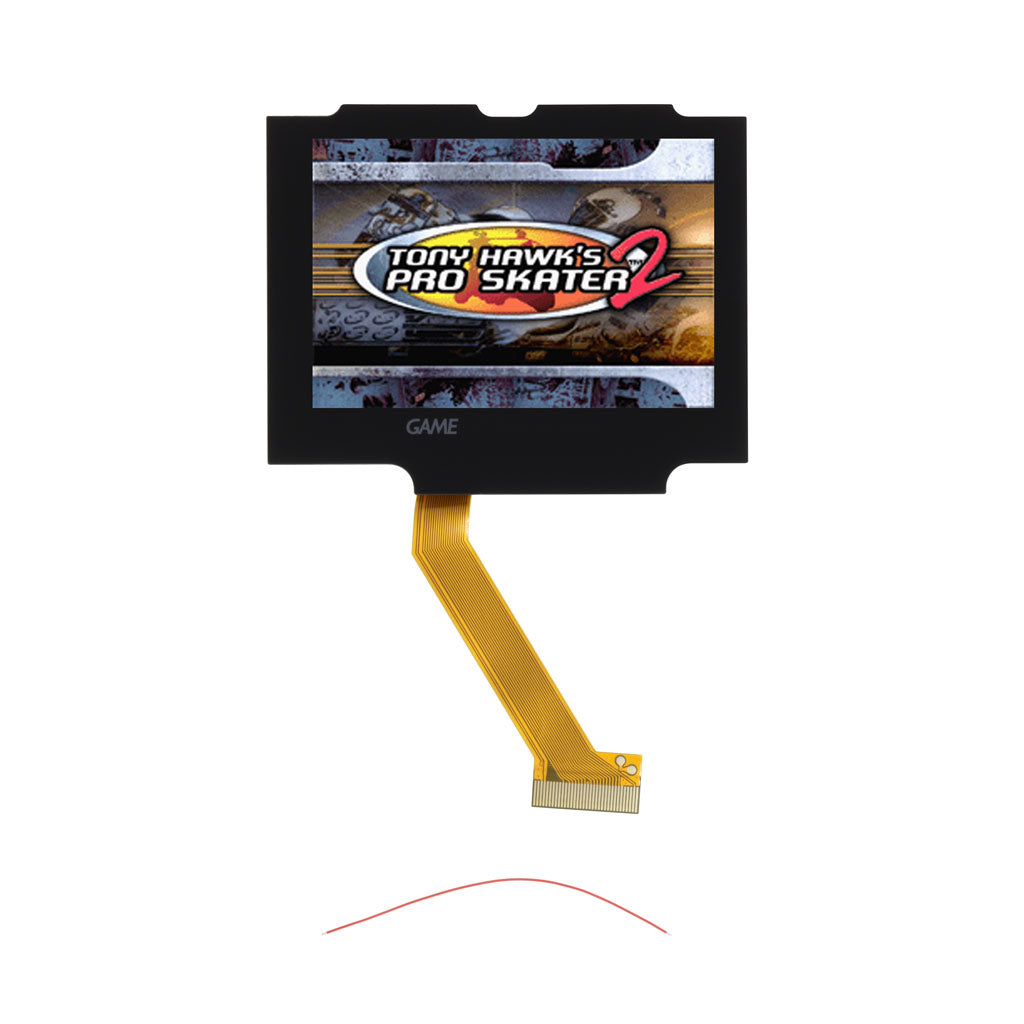
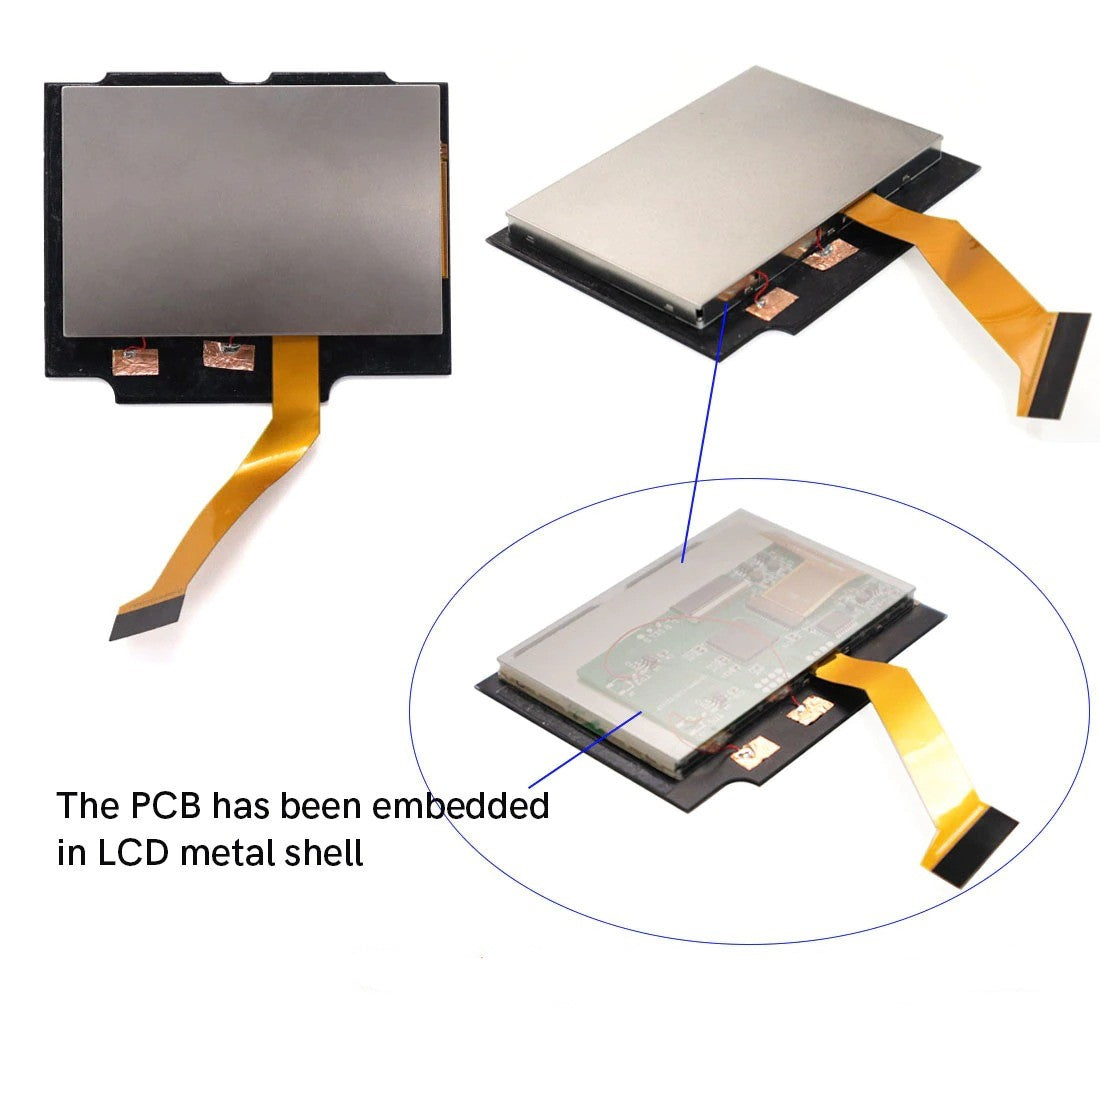
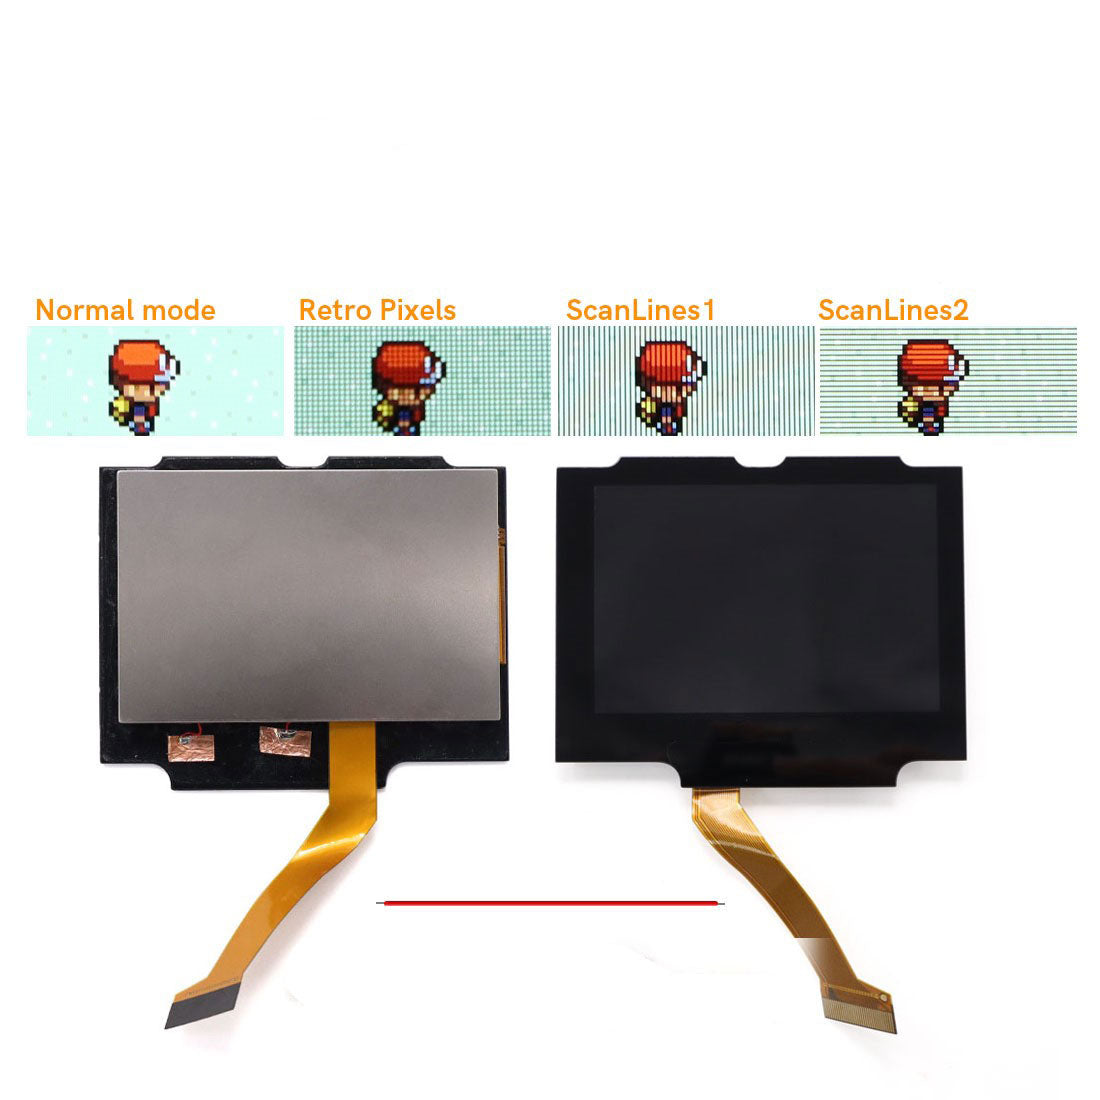
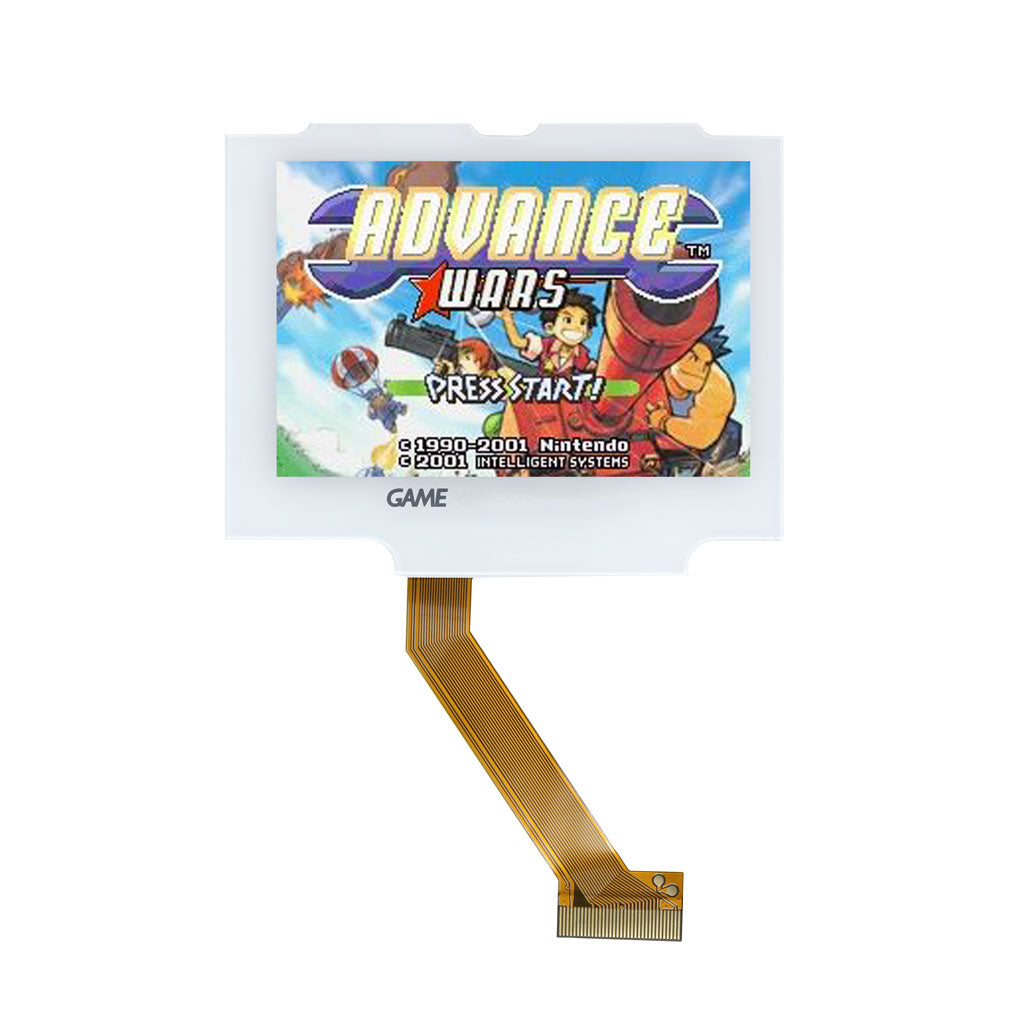
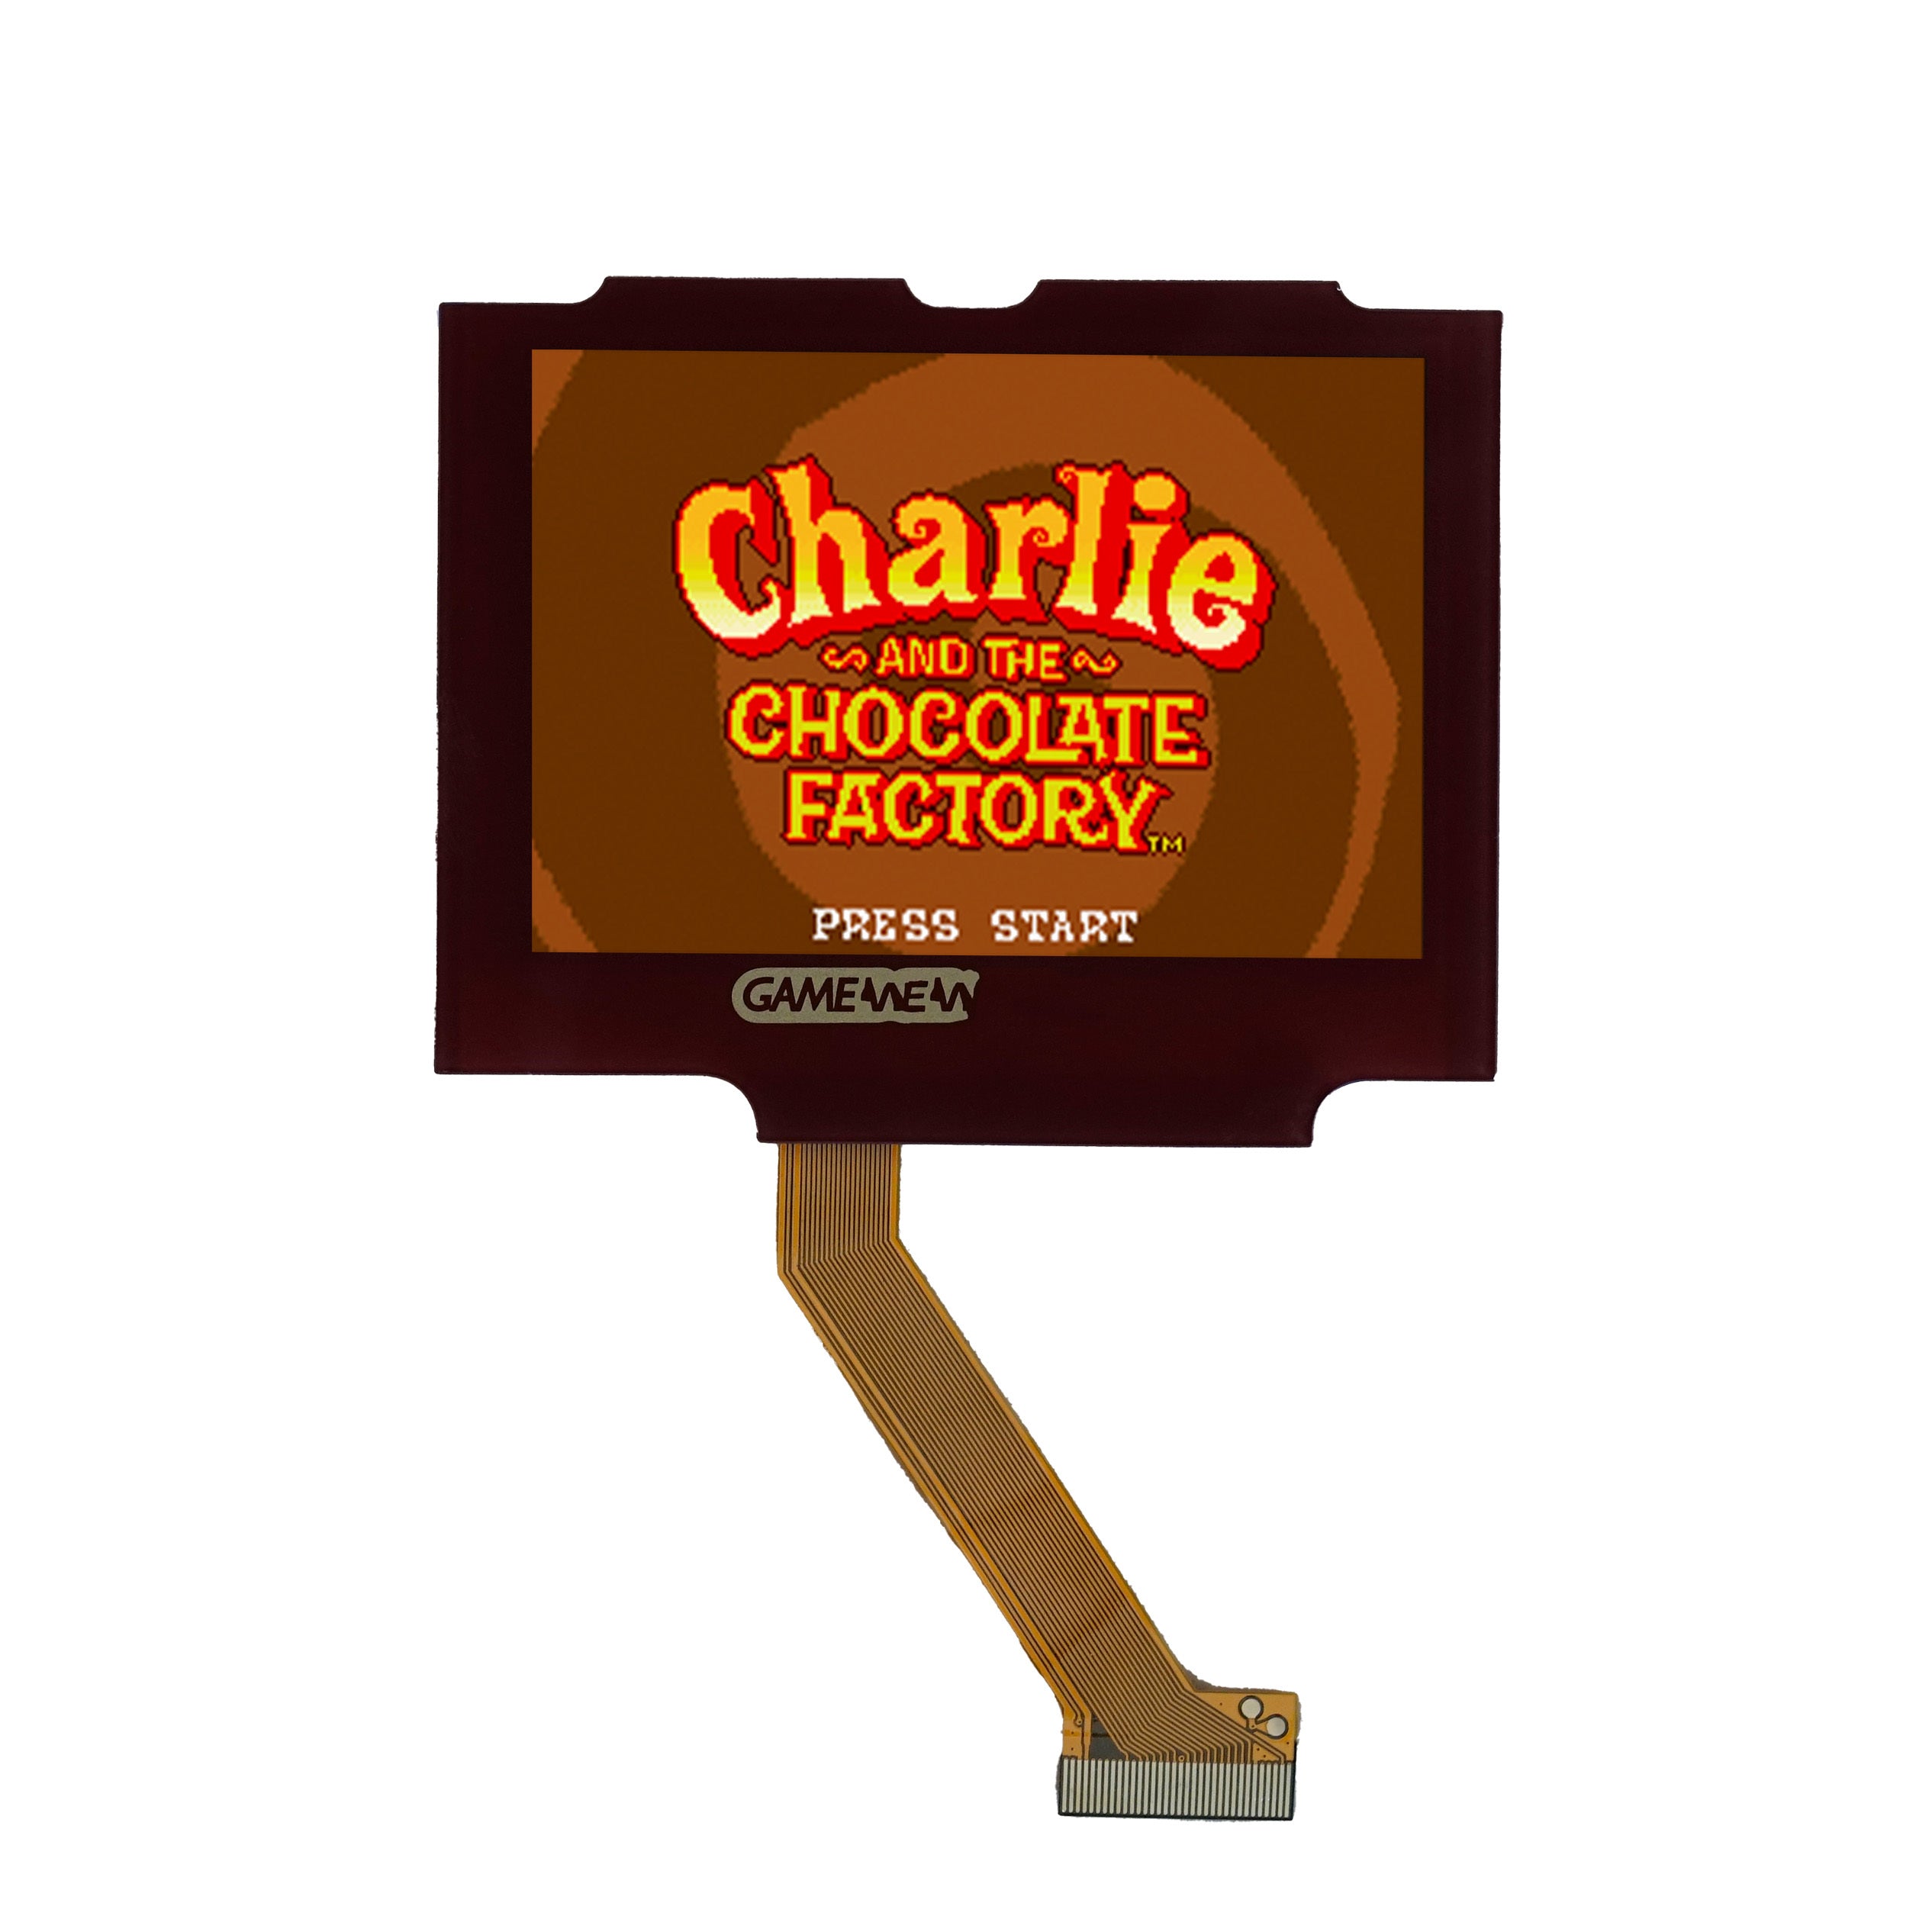
This LCD upgrade for GBA SP features a pre laminated and connected PCB into the lens shell, as well as brightness levels and pixel effects.
FEATURES:
- 720x480 display resolution.
- Wide view angle.
- V5 Pre-laminated glass screen lens and PCB board.
- Display size is same as original LCD.
- Only one wire to solder for OSD menu functionality.
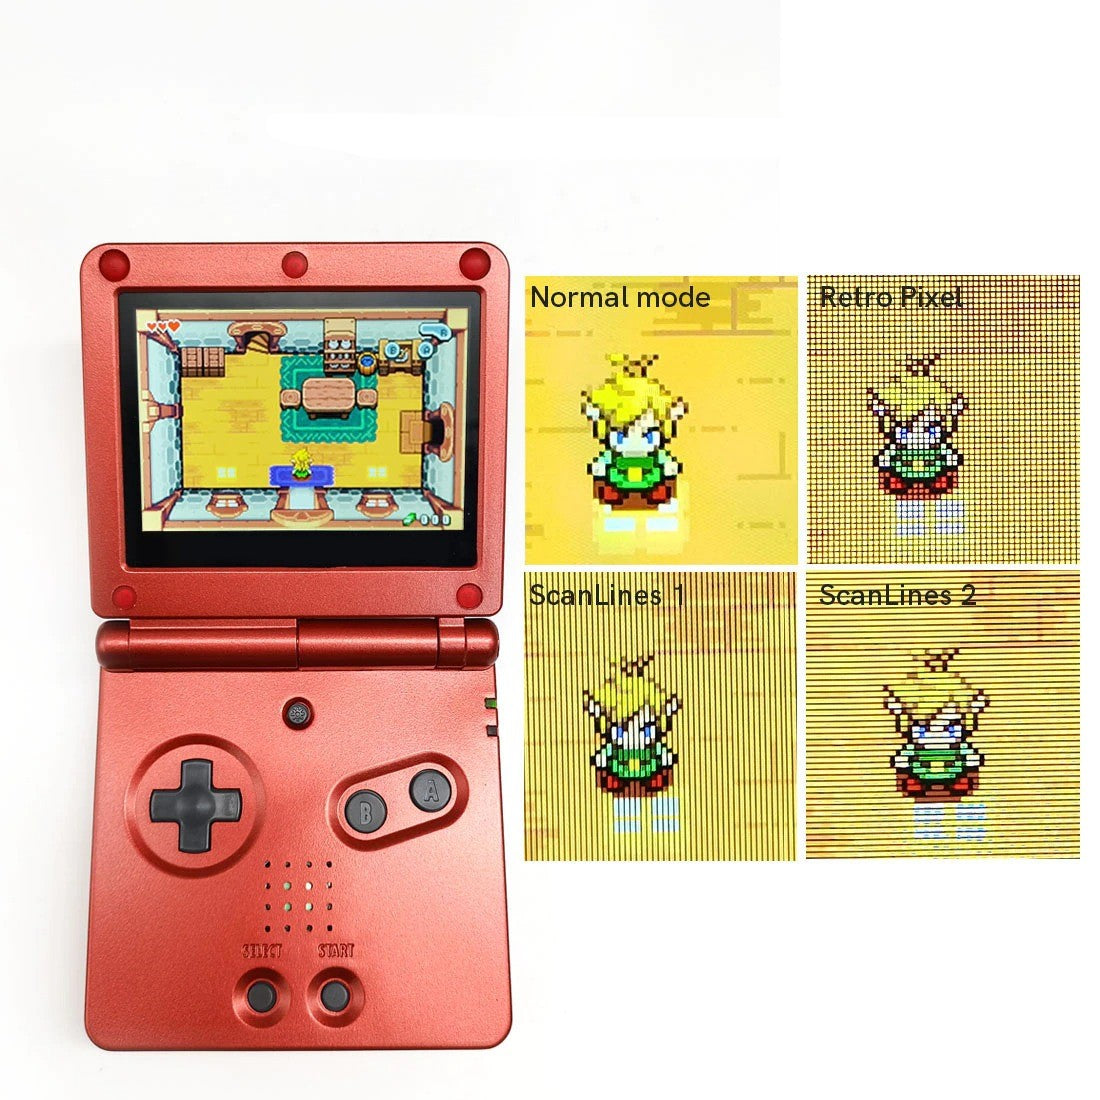
- 4 retro pixel effects - Normal, Retro pixel (like original AGS-101 LCD), Scanline 1, Scanline 2.
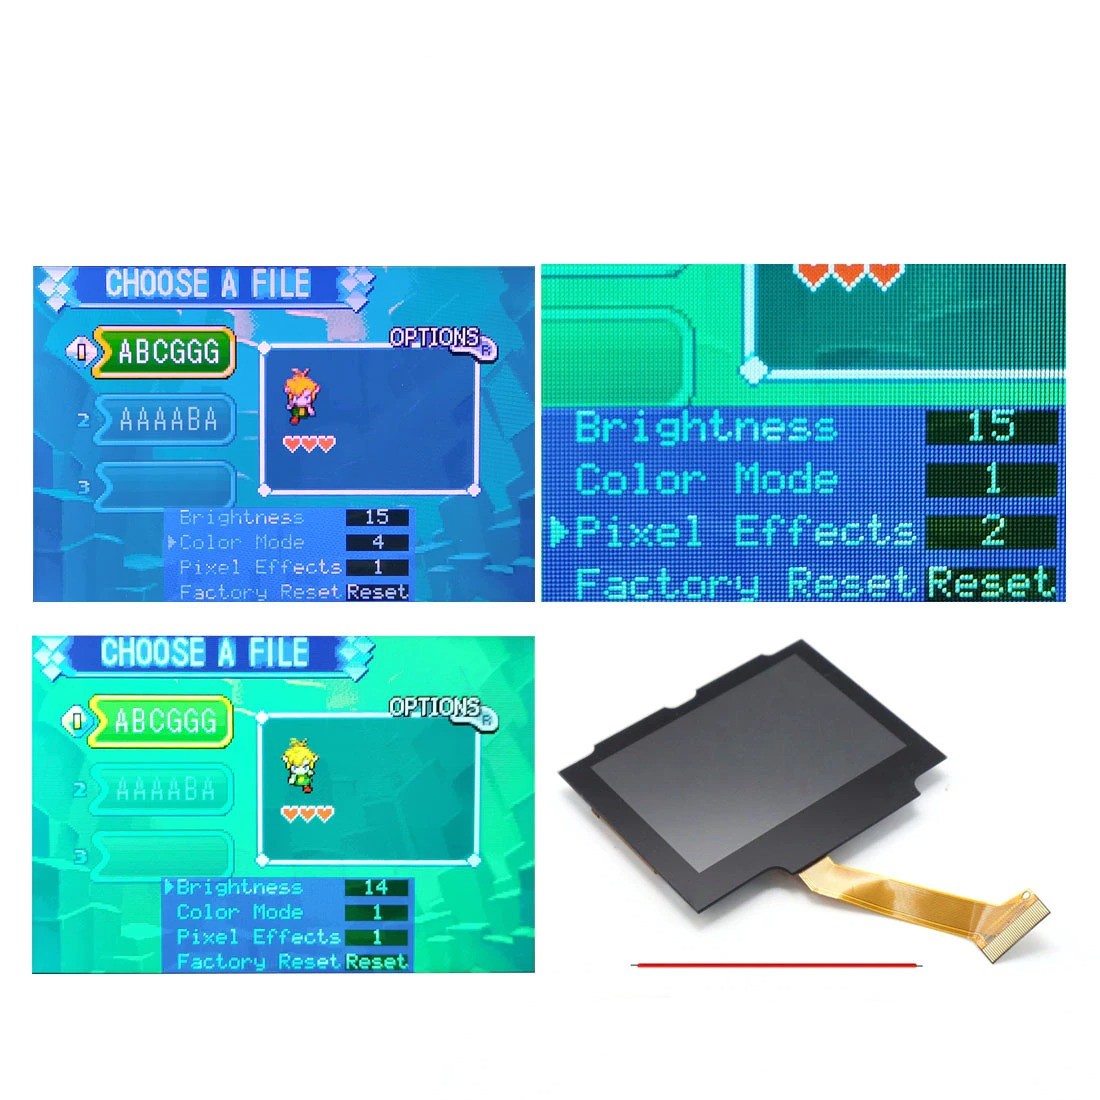
- 15 Brightness levels.
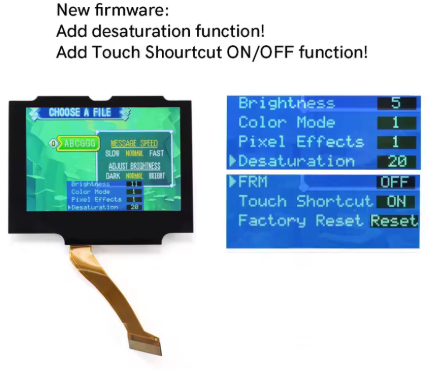
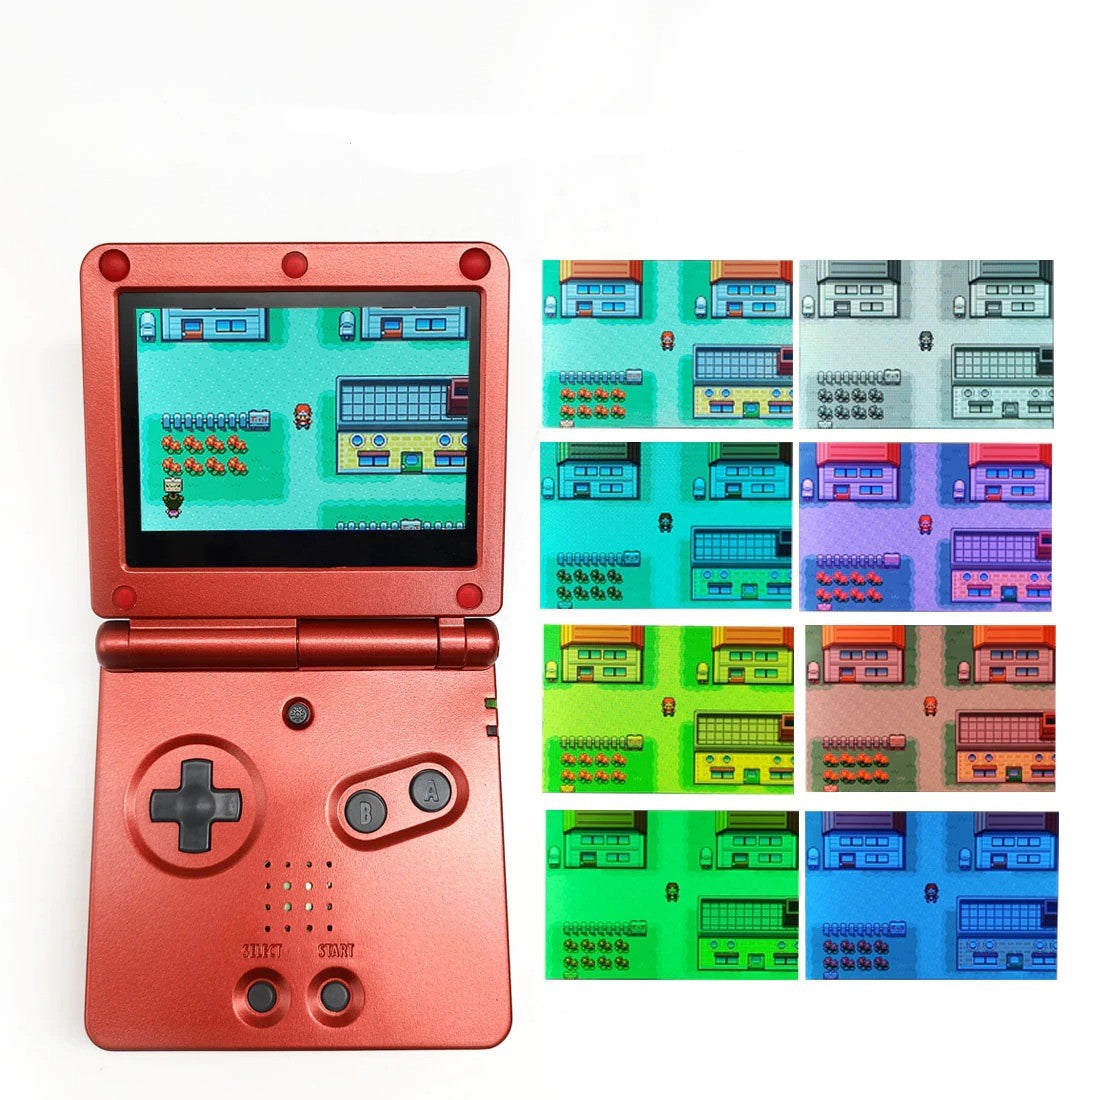
- 8 Color modes and 20 desaturation effects.
- Desaturation adjustment.
- Option to turn off touch sensor functions (Touch Shortcut).
- Frame Blending option (FRM) through OSD menu.
- Touch pad functionality for brightness, color, and pixel mode adjustments.
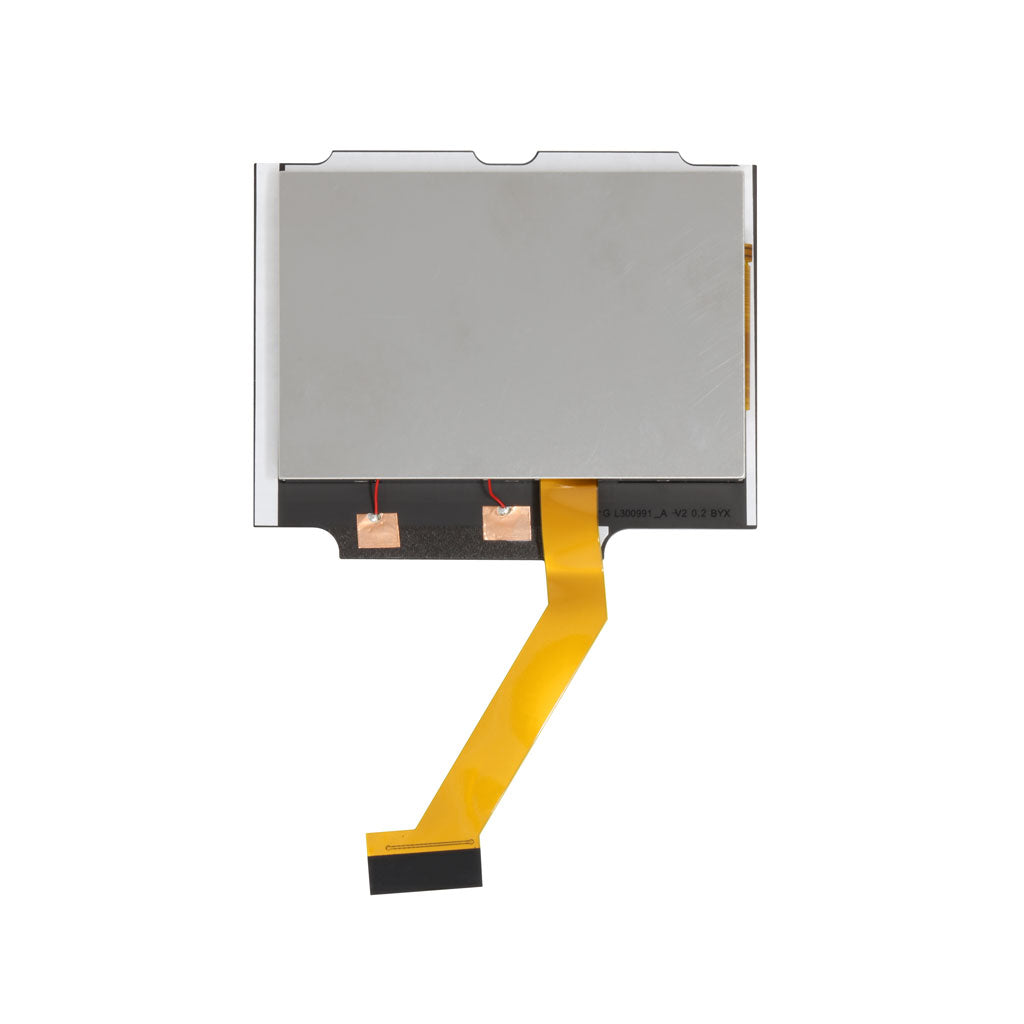
- Ribbon now has two points to solder to for the brightness wire. Both work, an extra pad is included as a backup.
- Soldering 1 wire is optional for button activated OSD/brightness.
- Shell modification not required.
INCLUDED:
- 1x LCD with adhered lens and attached PCB ribbon cable
- 1x Wire
DOCUMENATION:
NOTES:
- After installation, if it is noted that your touch sensor is overly sensitive or is cycling, please see this article for assistance.
Touch sensor use:
- After fully installed, press and hold down the left touch pad to cycle the color modes.
- Press and hold down the right touch pad to cycle pixel effects.
- Tap the right touch pad to cycle brightness.
If you soldered the brightness wire (Optional):
- Hold the brightness button down for 5 seconds to activate the OSD menu.
- Long press the button while in the menu to select the adjustment item. (Brightness, Color, Pixel)
- Quick press the button to adjust the selection.
WARNINGS:
- You do not need to purchase a separate lens. Removing pre-adhered lens from LCD can result in damage to the LCD and will void product warranty. If you received an extra lens in your order, this was likely an included plastic lens with a shell and should NOT be placed on top of the pre-adhered lens.
- Test before installation! When you receive a backlight/LCD kit, you should perform a dry run before installing to assure that nothing has been damaged in transit. A dry run or test fit means the kit is not installed in the shell. This includes the use of adhesives, brackets, and any performed soldering. All ribbon cables should have no bends or creases in them. If you are unsure how to perform a dry run, please contact our support team and we will be happy to help. Backlight kits that have been installed are not eligible for replacement or return.
- LCD may break if put under too much pressure or dropped. Please exercise extreme caution when installing.
Why Choose our Store?
Fast Shipping
We know you’re excited to get your gear, so we ship fast—usually within 1-2 business day. With reliable carriers and tracking included, your order arrives quickly and safely, every time.
Great Support
Have questions or need help? Our knowledgeable team is here to assist with fast, friendly support. Whether it’s product advice or order issues, we’ve got your back.
Get in TouchTransparency
What you see is what you get. We provide clear photos, detailed descriptions, and honest specs so you know exactly what you’re buying—no surprises.
Store ReviewsRewards
Get more with every purchase. Join our rewards program to earn points you can redeem for discounts, exclusive offers, and more—just for shopping with us.
Rewards Program


