

GBAccelerator Installation: Game Boy Advance
The GBAccelerator is the latest in speed mods for your Game Boy Advance or Game Boy Advance SP. With some simple soldering you are able to toggle between four different speeds and blast through your childhood Pokémon Yellow or slow down your boss battles.
Click here for a detailed walkthrough
- Disassemble your Game Boy Advance
- Desolder and remove crystal X1
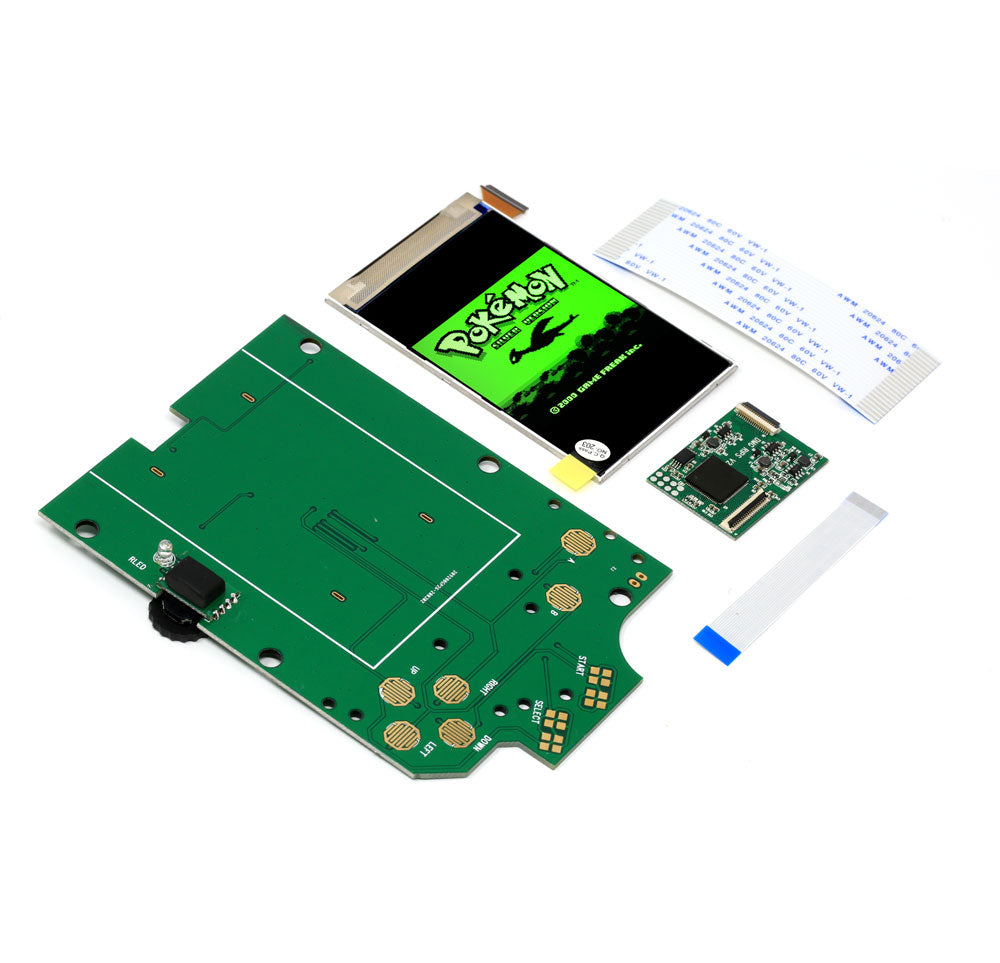
- Place the GBAccelerator on the PCB between the ARM processor and the cartridge connector as shown in the diagram (click diagram to enlarge)
- Make connections as shown in the diagram
- Reassemble your GBA

|
GBAccelerator Connections
|
|
|---|---|
| GND | Cartridge Connector Pin 32 (GND) |
| V+ | Cartridge Connector Pin 1 (S1) |
| CLK | CK1 |
| LED | DL2A |
| BUTTON | TP2 |
| BUTTON | TP8 |
| BUTTON | TP9 |
Installation Tips
- Use low-wattage, fine-tipped soldering iron
- Use flux or rosin-core solder
- Don’t hold the iron on the GBAccelerator or the GBA board too long as you may lift the solder pad
- solid 30-gauge wire is recommended
- Follow wire routing indicated in diagram so wires don’t cross button pads, screw holes, or tall components
- Cut off excess wire length
- The three button connections on the GBAccelerator are interchangeable; it does not matter which one goes to which button
- If alternate button assignments are desired, see button signal list for available connection points
|
Button Signal List
|
|
|---|---|
|
TP0- A
TP1- B TP2- Select TP3- Start TP4- Right |
TP5- Left
TP6- Up TP7- Down TP8- R TP9- L |

17 comments