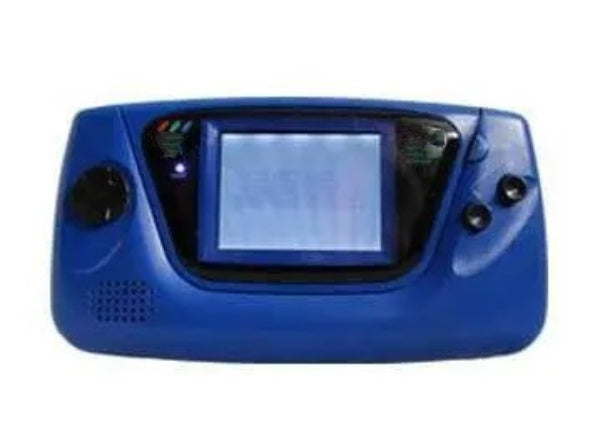
SEGA Game Gear and Atari Lynx Backlight
SEGA Game Gear and Atari Lynx Backlight
Hand Held Legend
519 Davisville Road
Unit 102
Willow Grove PA 19090
United States
Choose options
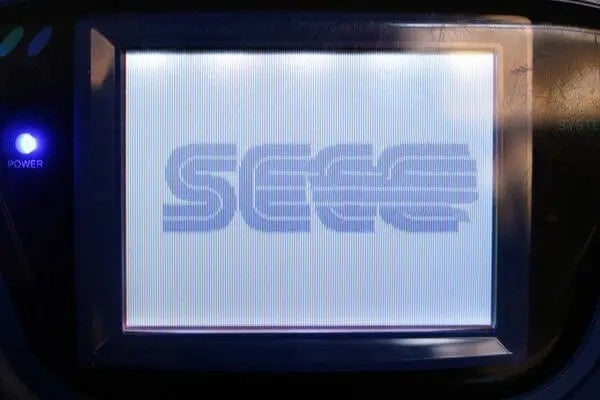
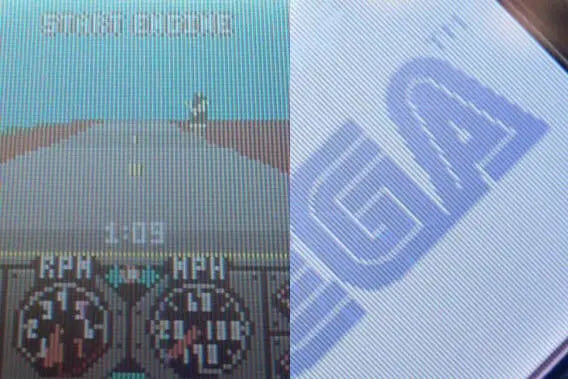
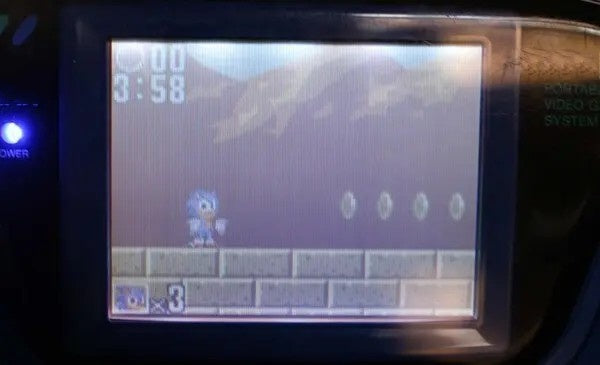
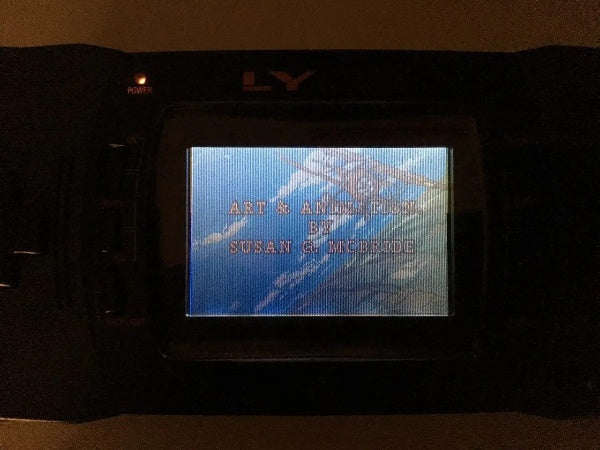
The old lighting tubes in the SEGA Game Gear are obsolete in the world of modern electronics. Tube lighting is a major power drain and many bulbs have burnt out or have lost their brightness. With a backlight replacement kit, you can double the battery life of your console, prevent overheating, improve screen brightness and improve the consistency of your LCD screen. This panel is thick to provide optimal light distribution and includes 5 bright SMD LEDs.
FEATURES:
- Doubles battery life
- Reduced operating temperature over time: Testing shows consoles with hand-Held Legend Game Gear backlights installed had no change to operating temp from start to hour 2. Non-modded consoles show a 40 degree increase in 2 hours!
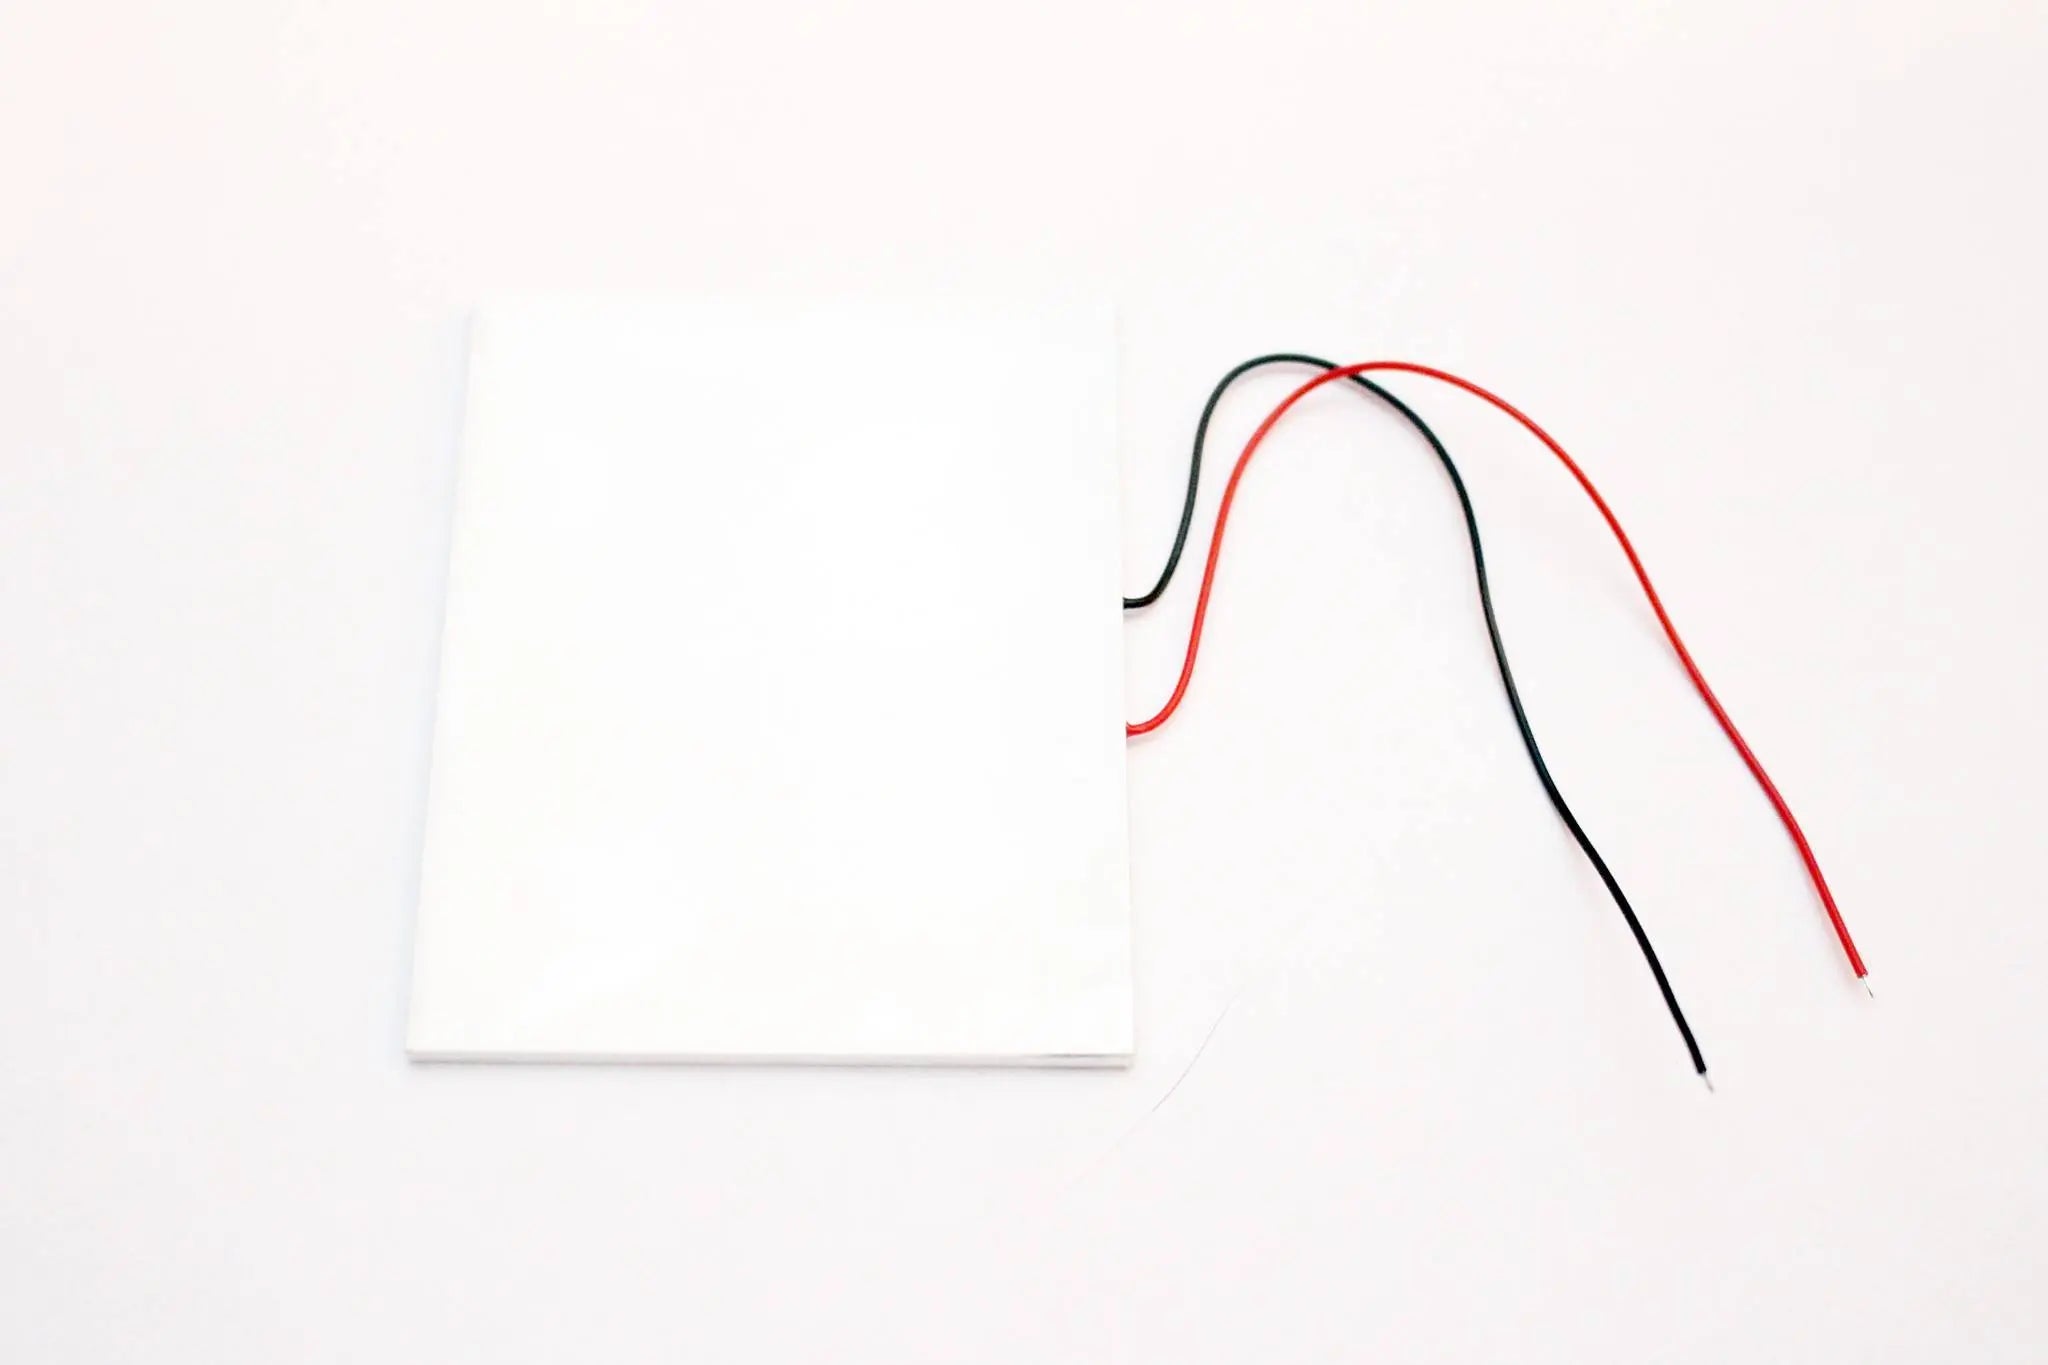
- Dimensions: 2.2 inches by 2.8 inches.
INCLUDED:
- 1x Game Gear/Lynx 5-LED Backlight
- 1x 33ohm resistor
DOCUMENTATION:
- Install Guide for Game Gear. This guide says a 100ohm resistor is included but it is now a 33ohm resistor.
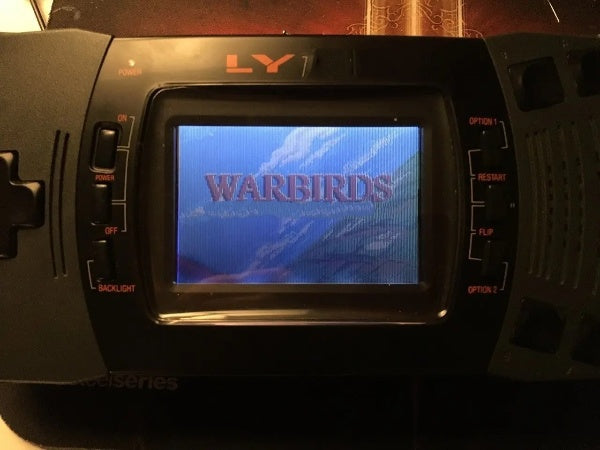
- This item can also be installed in the Atari Lynx although we do not support this modification. Please install at your own risk. Install guide here by Anubis.
WARNINGS:
-
Test before installation! When you receive a backlight/LCD kit, you should perform a dry run before installing to assure that nothing has been damaged in transit. A dry run or test fit means the kit is not installed in the shell. This includes the use of adhesives, brackets, and any performed soldering. All ribbon cables should have no bends or creases in them. If you are unsure how to perform a dry run, please contact our support team and we will be happy to help. Backlight kits that have been installed are not eligible for replacement or return.
- LCD may break if put under too much pressure or dropped. Please exercise extreme caution when installing.
Nintendo®, NES®, Super Nintendo Entertainment System™, Nintendo 64®, Nintendo GameCube®, Game Boy®, Game Boy Color®, Game Boy Advance®, Nintendo DS™, Nintendo 3DS™, Wii™, Wii U™, Nintendo Switch™, and all related names, logos, and trademarks are the property of Nintendo Co., Ltd. or its subsidiaries.
This product is an independent, third-party restoration or accessory product and is not endorsed, licensed, sponsored by, or affiliated with Nintendo Co., Ltd. in any way.


Why Choose our Store?
Fast Shipping
We know you’re excited to get your gear, so we ship fast—usually within 1-2 business day. With reliable carriers and tracking included, your order arrives quickly and safely, every time.
Great Support
Have questions or need help? Our knowledgeable team is here to assist with fast, friendly support. Whether it’s product advice or order issues, we’ve got your back.
Get in TouchTransparency
What you see is what you get. We provide clear photos, detailed descriptions, and honest specs so you know exactly what you’re buying—no surprises.
Store ReviewsRewards
Get more with every purchase. Join our rewards program to earn points you can redeem for discounts, exclusive offers, and more—just for shopping with us.
Rewards ProgramDeep Discounts
CLEARANCE