Part 2: Function
As mentioned in the first part of the chiptune article; Part 2 will provide detailed information on 2 modifications to create chiptune on a Game Boy DMG. A pro-sound mod, which is imperative for music production with the DMG and a capacitor replacement for both stereo channels on the Game Boy.

The pro-sound mod is essentially a line out rewiring for the Game Boy, by bypassing the original headphone amp, tons of gain is added to the console to really play it LOUD!
The picture above shows the different ways to wire the new jack, it is really a matter of choice, I prefer with no volume control (line out).

The bass-boost mod will be a replacement of the 1uF capacitors for slight bigger ones, 10uF capacitors. This will allow more bass to flow through the motherboard adding a richer and more vibrant sound to your songs as well as your games!
NOTE: BE AWARE OF THE POLARITY OF THE CAPACITORS, REPLACE THEM AS SHOWN ON THE MOTHERBOARD TO AVOID DAMAGE!
Materials

Bass Boost / Capacitor Replacement
1) After using your triwing screwdriver to open the console, take out the motherboard and locate capacitors labeled 3 and 4.
2) Use the alligator clip to grip the capacitors, and gently poke the leads on the opposite side with your soldering iron, wiggle them out gently. (Flux is an optional material for a clean replacement)

3) Use the leads on your new 10uF Capacitors and with your soldering iron, minding the polarity of the labels on the motherboard, place them in the through-holes until they sit like the originals.
4) Once in place just add some fresh solder on the top side of each lead and cut them. I don't necessarily go for a clean finish, but rather solder towards the trace, for a stronger bond!

All Done, they even look way bigger, but there is plenty of room under the hood!

Pro-Sound Mod
1) Using your drill bit, make a hole for the new jack in the bottom left corner of the top half of the shell.

2) Use your ⅛” Jack to measure things up nicely. For a strong fit, try to center it as best as possible in its corner.

3) Solder your wire to your 3 points on your ⅛” Jack and then to your selected points on the motherboard. I usually go for a direct stereo connection and bypass volume control entirely. Points 3 and 4 will have volume control over the new jack, point 5 is Ground.
4) Bend the capacitors inward on the original headphone jack to make room for your pro-sound jack.
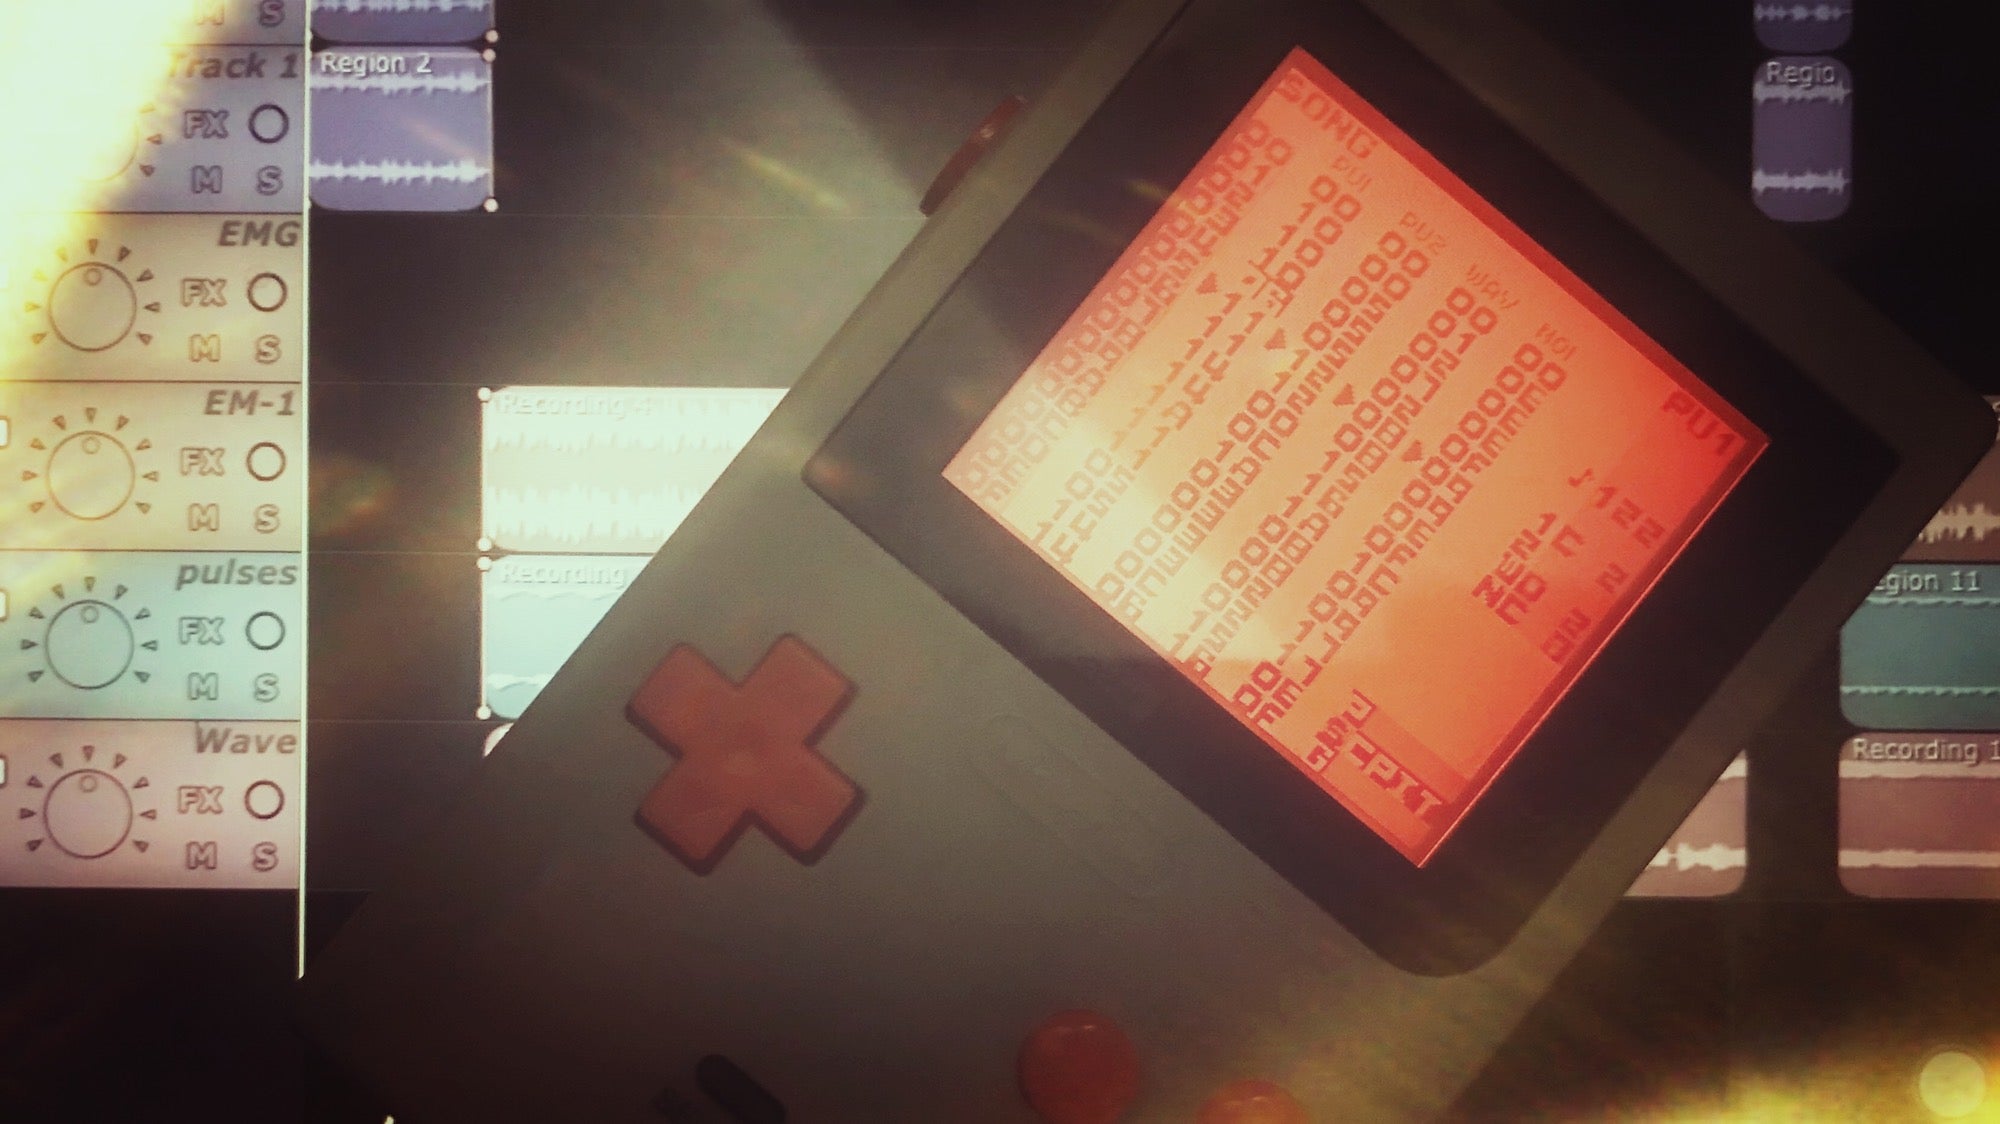
Chiptune Ready!

Now just calmly close up your Game Boy again and be mindful of your new wires! The new jack looks sleek and your Game Boy is ready for the gig!! This Game Boy changed quite a bit, since I also added a backlight/bivert mod, a half-speed crystal oscillator and a matte finish, for some darkwave or heavy chiptune!
I would like to thank Hand Held Legend for allowing me to talk about chiptune for a bit, and I hope this article leads to more Game Boys getting new and louder jacks!